Drone portrait photography guide: How to shoot and edit portrait photos with your drone
Most drones can only shoot photos in landscape format, but by shooting vertical panoramic images you can capture and create high-resolution portrait format images with ease.
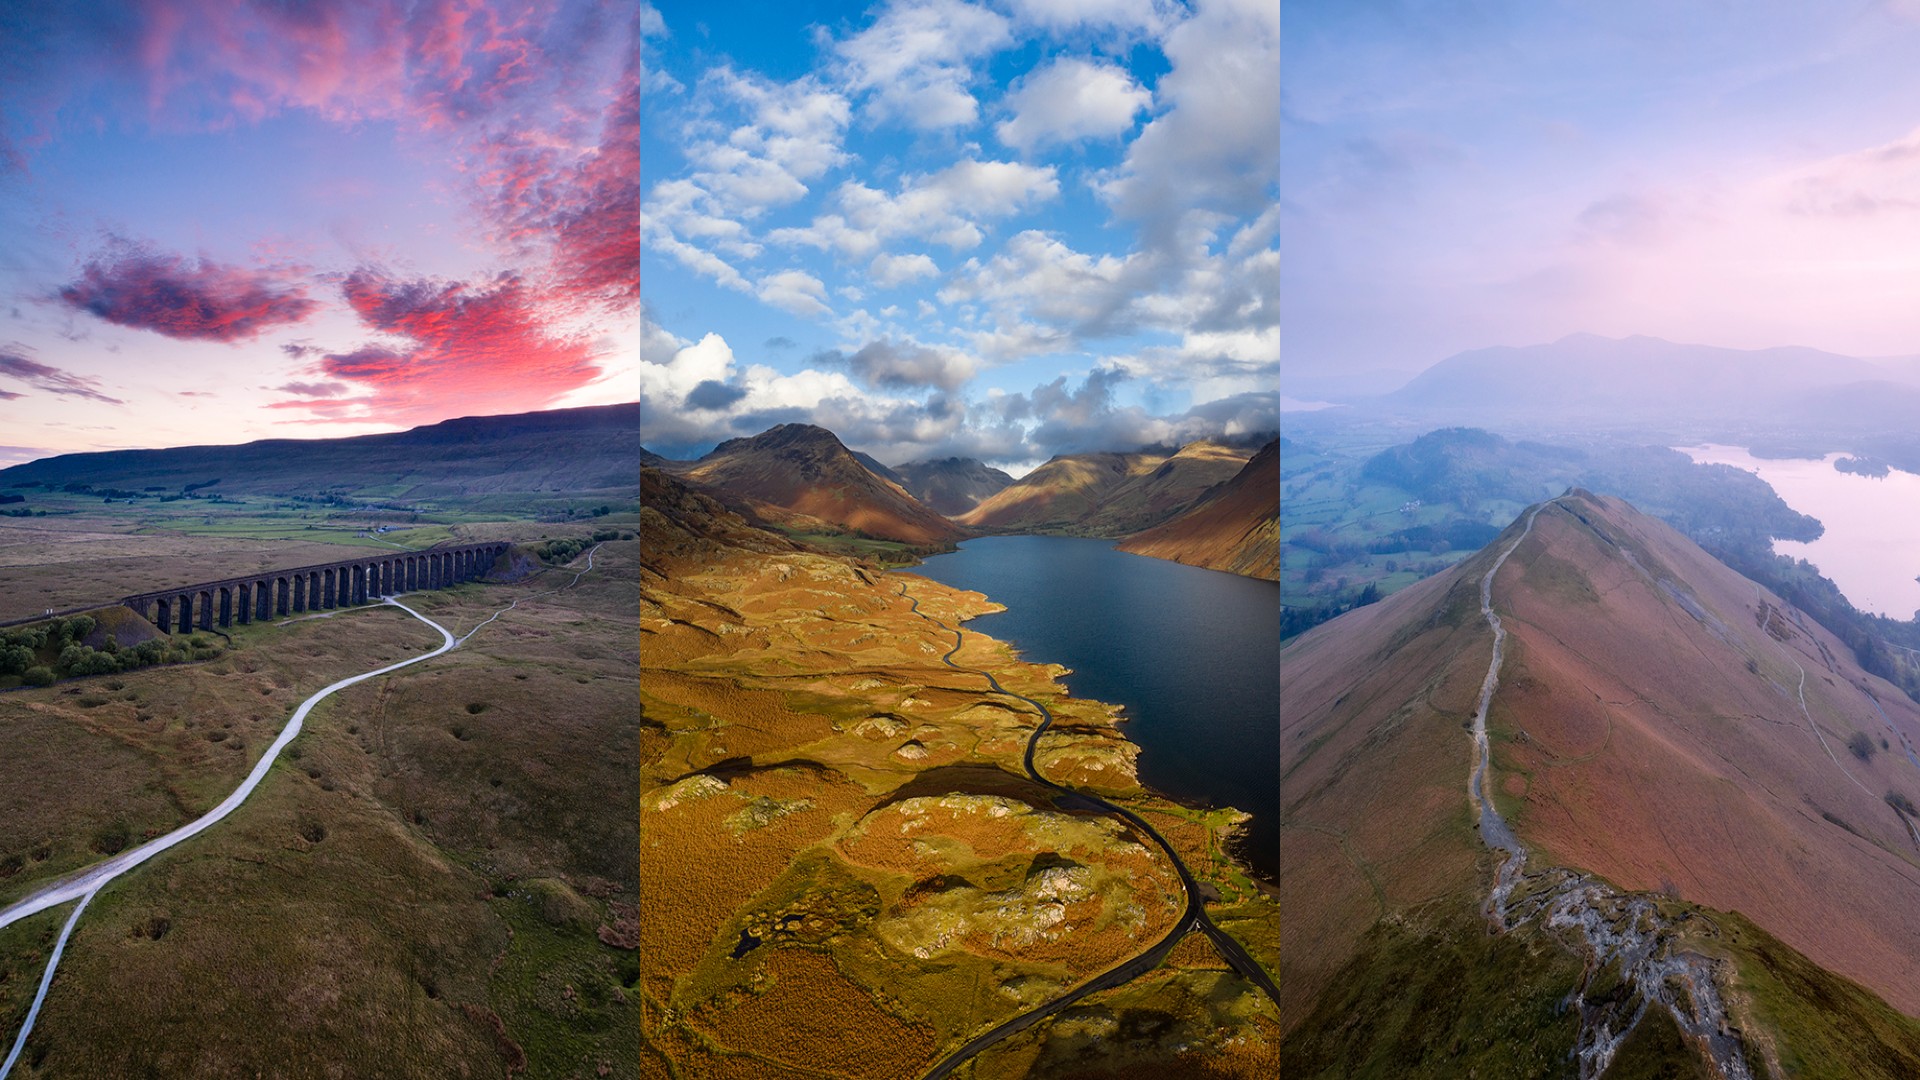
Challenges are made to be overcome, and drones are far from being immune. The most testing of these, arguably, is that most drones are unable to take portrait photos – they can only capture landscape format images. But it’s not the end of the world because our drone portrait photography guide will show you a simple way around the problem.
Even amongst the best drones, there are only three consumer drones ever been made that can rotate the camera 90° into portrait (upright) format; the original DJI Mavic Pro, the DJI Mavic Mini 3 Pro, and the Autel EVO Lite with the latter two models being currently available. So, chances are, your drone is only capable of shooting photos in a landscape format.
With this common limitation, the only way to capture portrait/upright format images is to shoot vertical panoramas that are made up of three to five landscape images. These are best captured in Raw format, processed in Lightroom, and then merged together in Photoshop to create an upright photo of a scene. The whole process is easy to navigate, and with this guide you’ll be able to confidently create this type of image in no time.
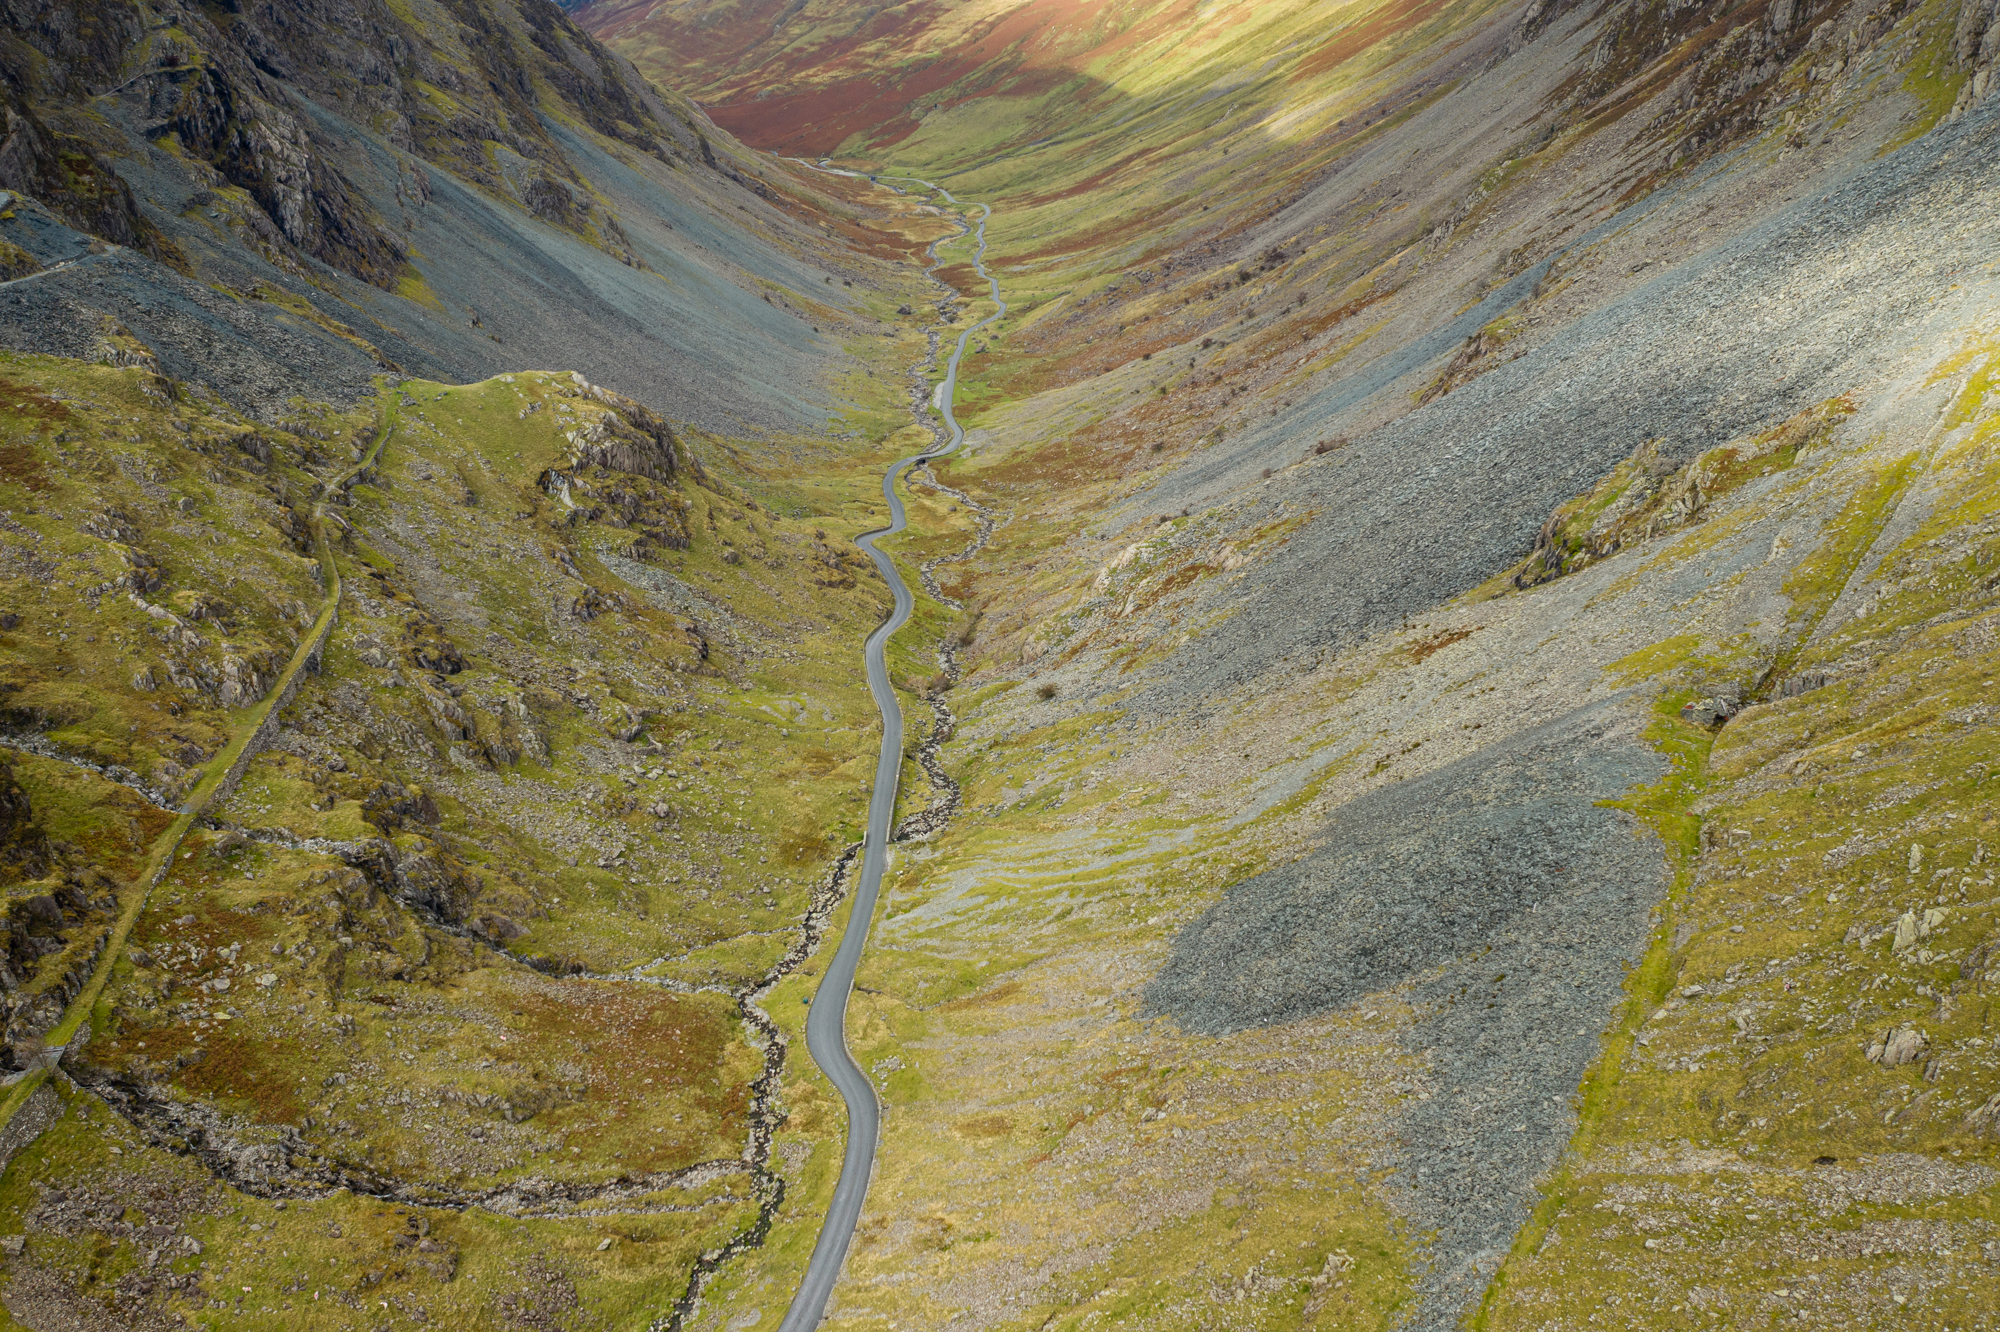
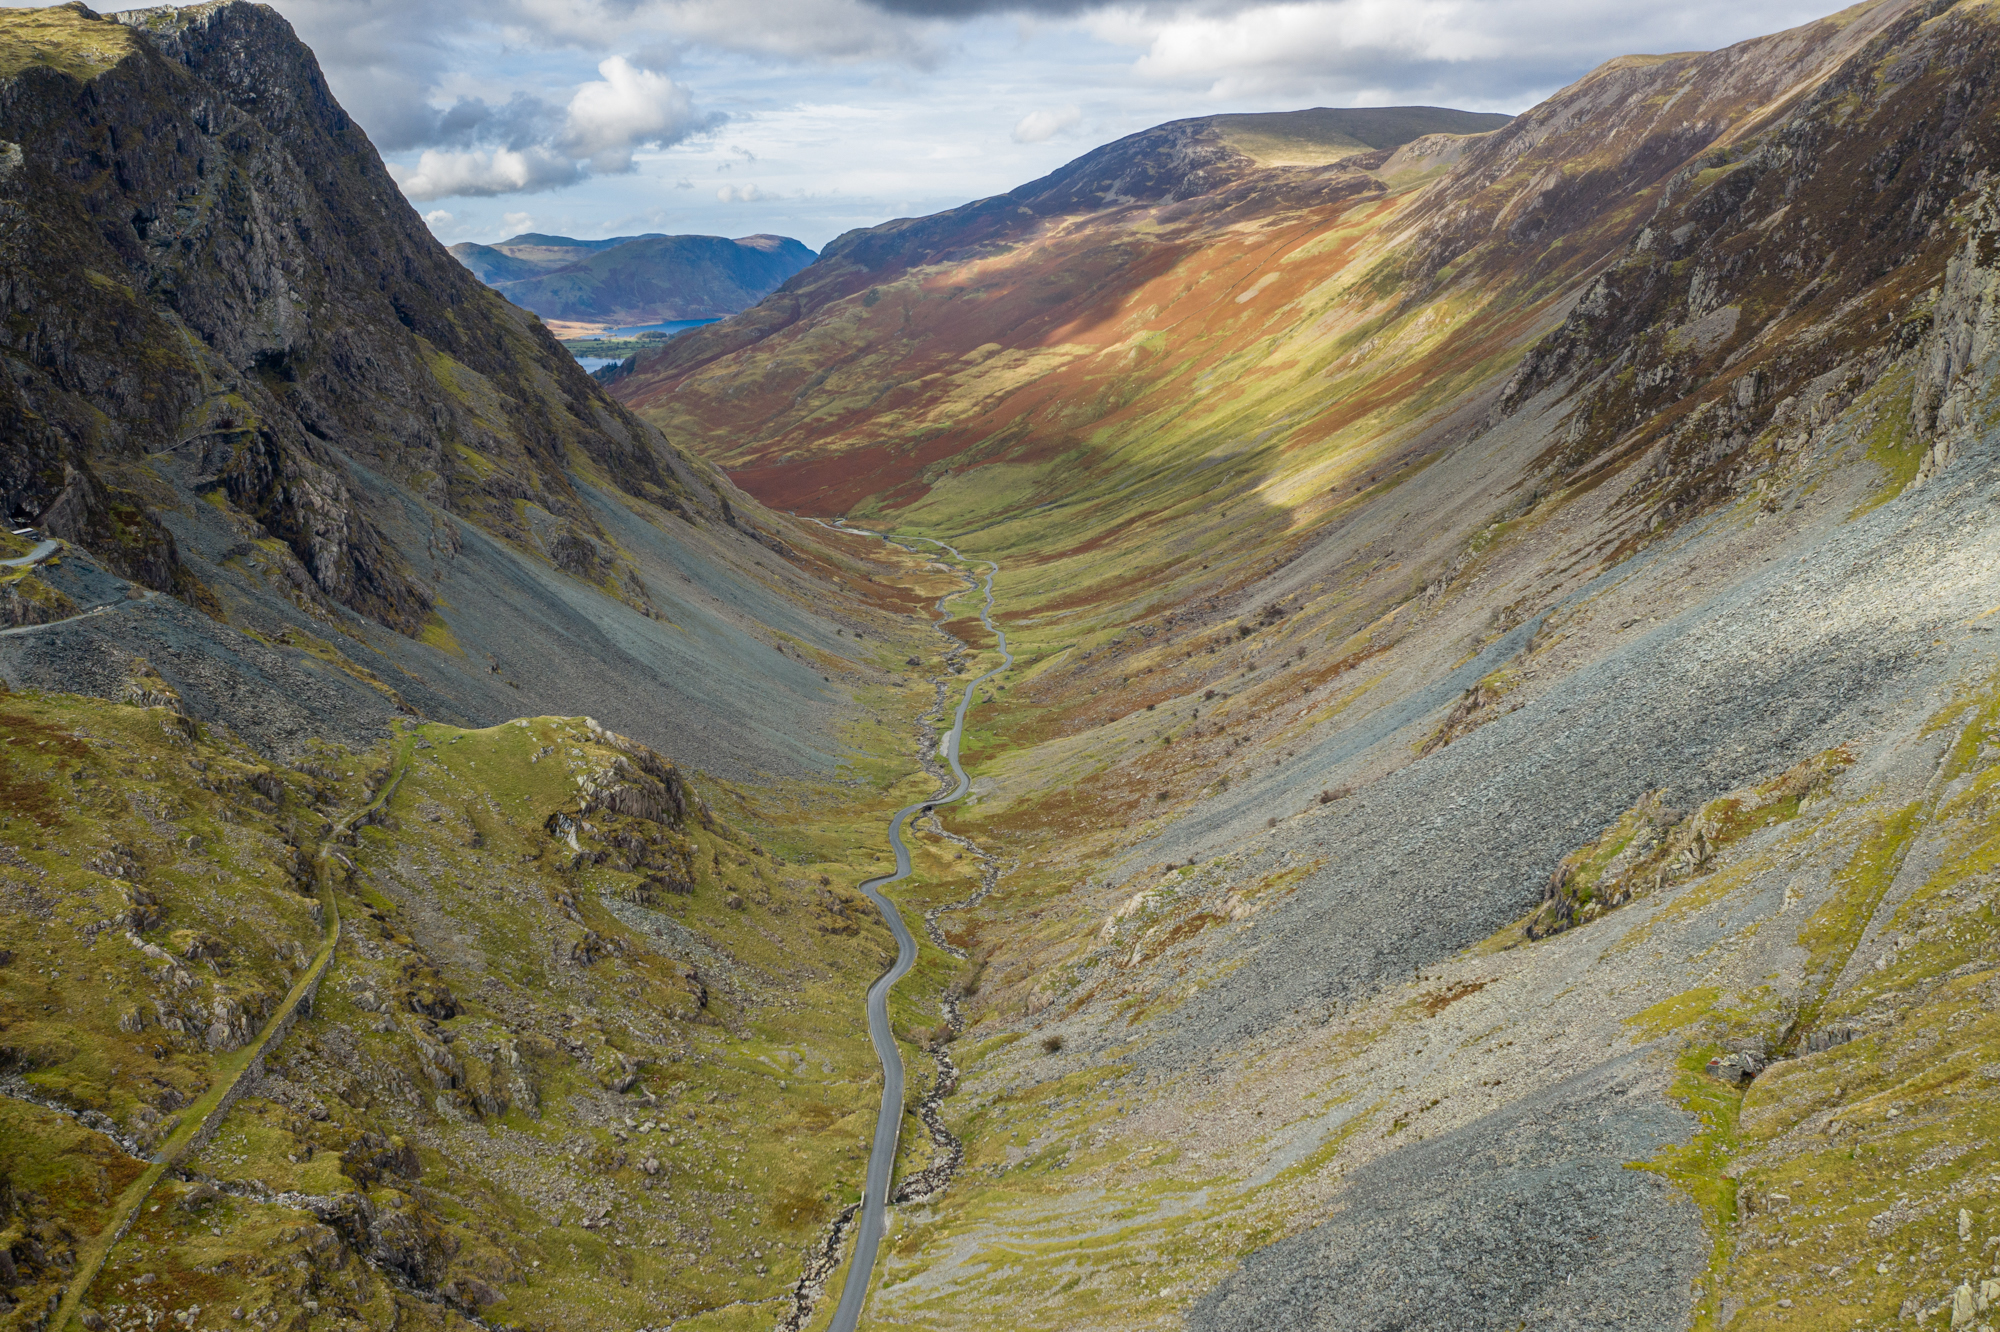
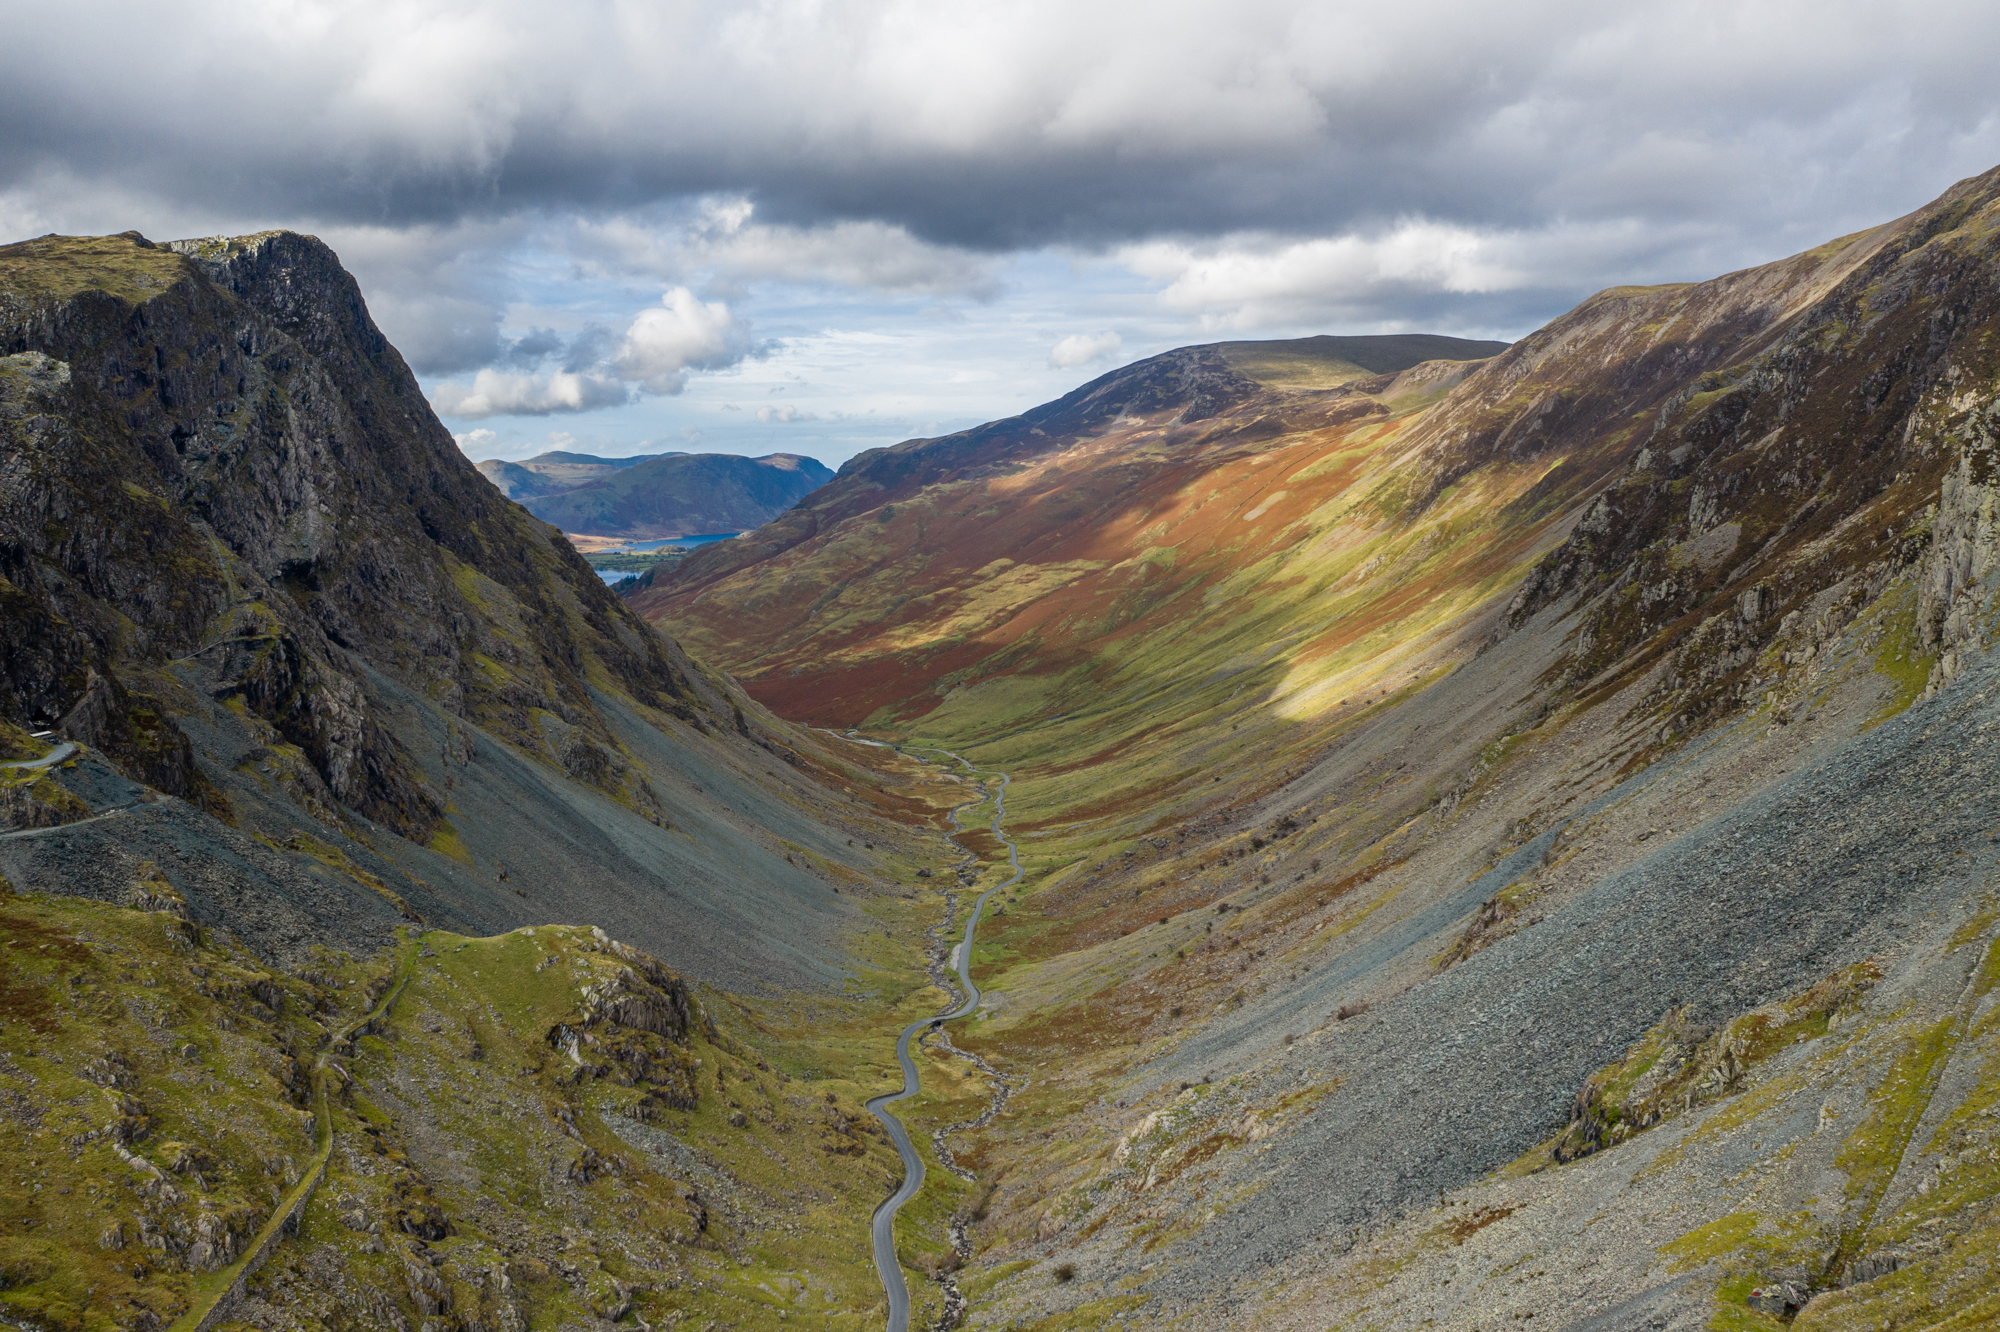
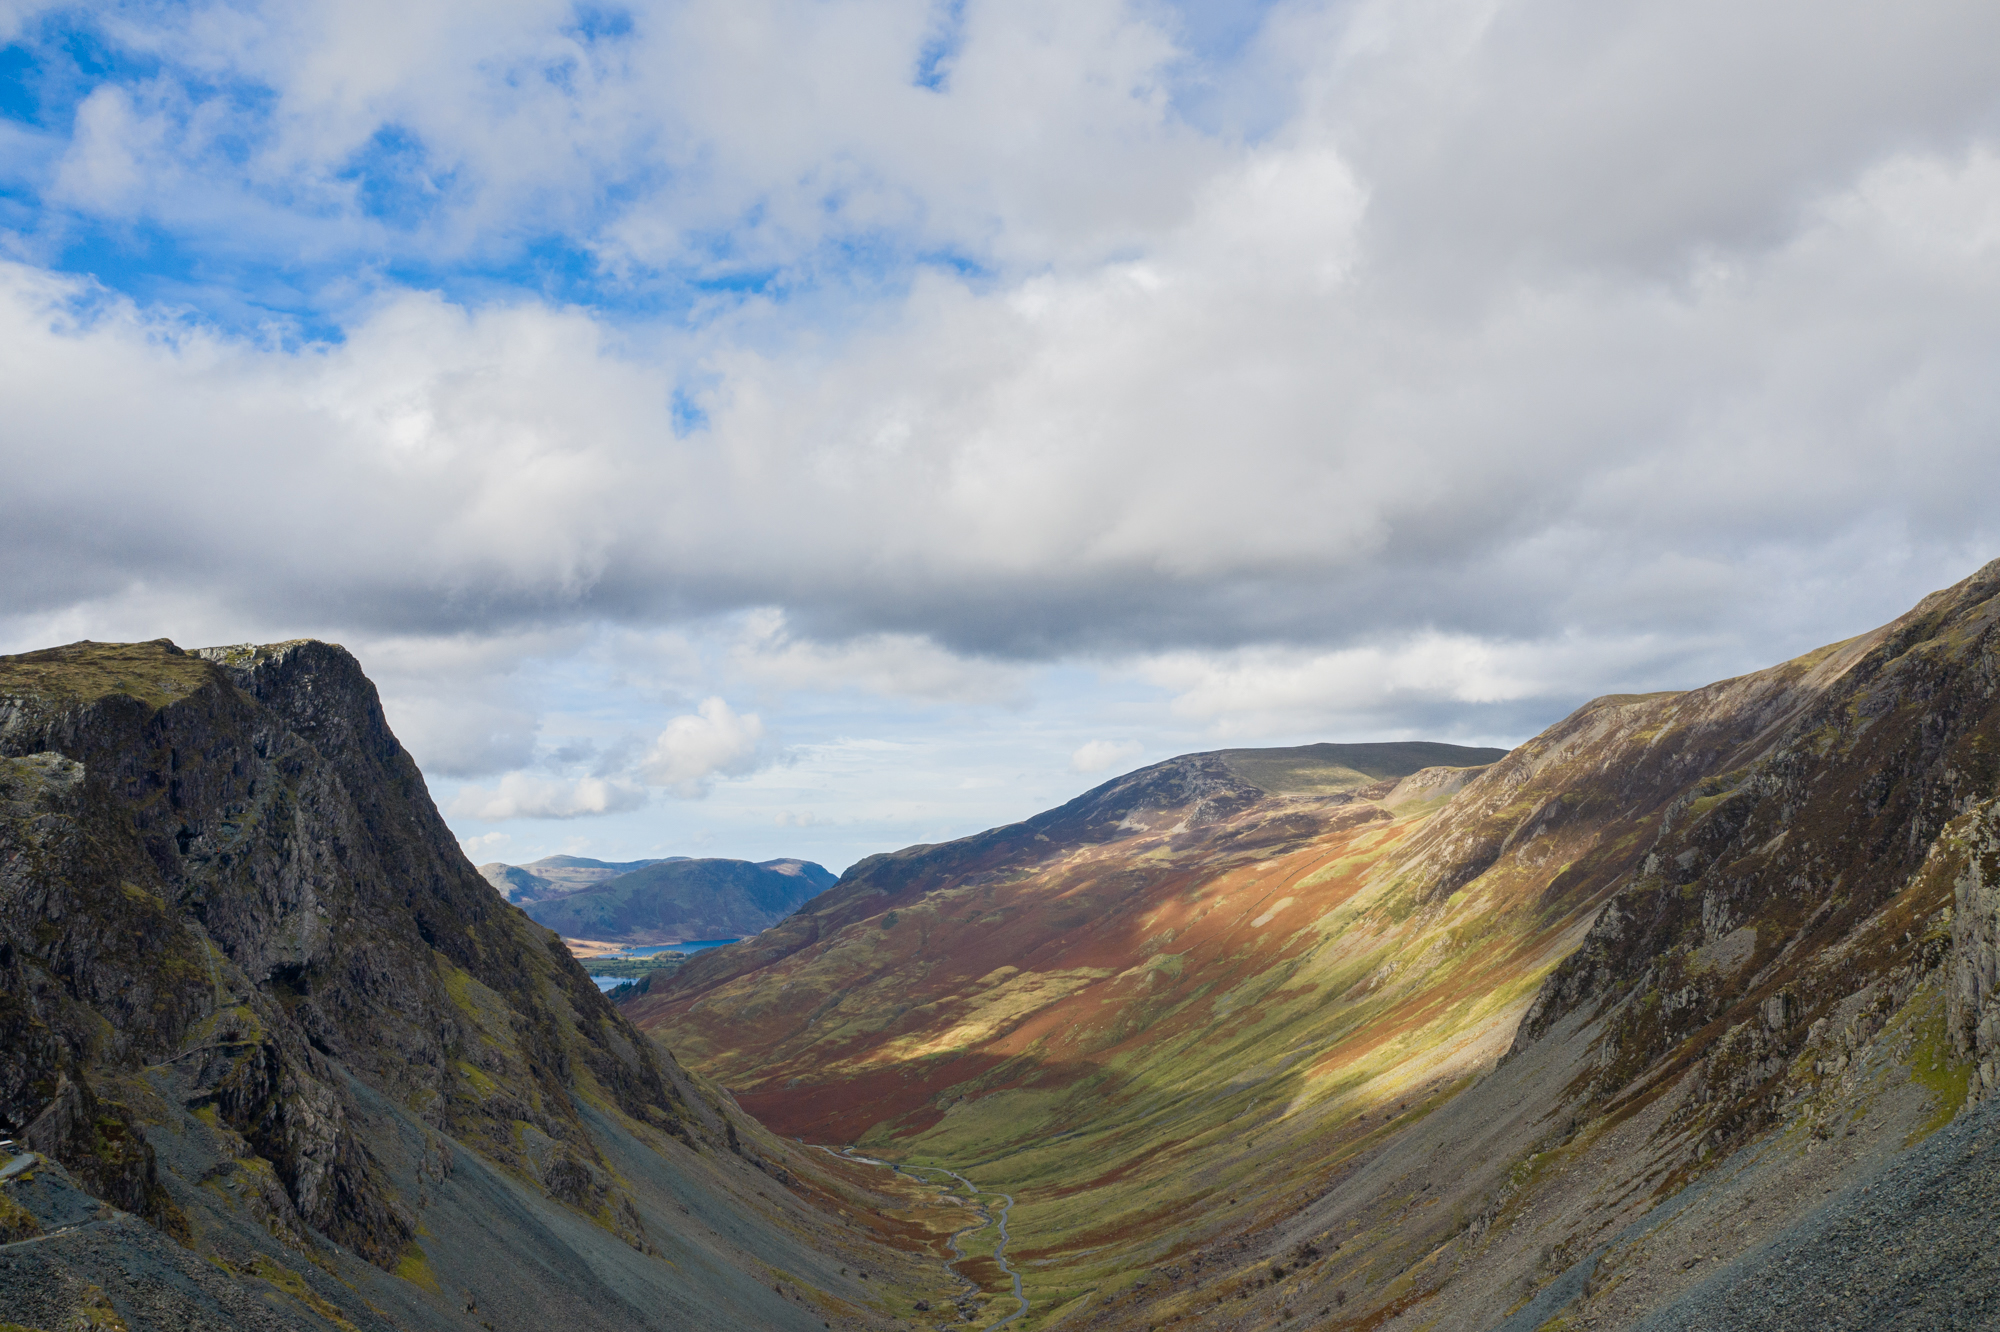
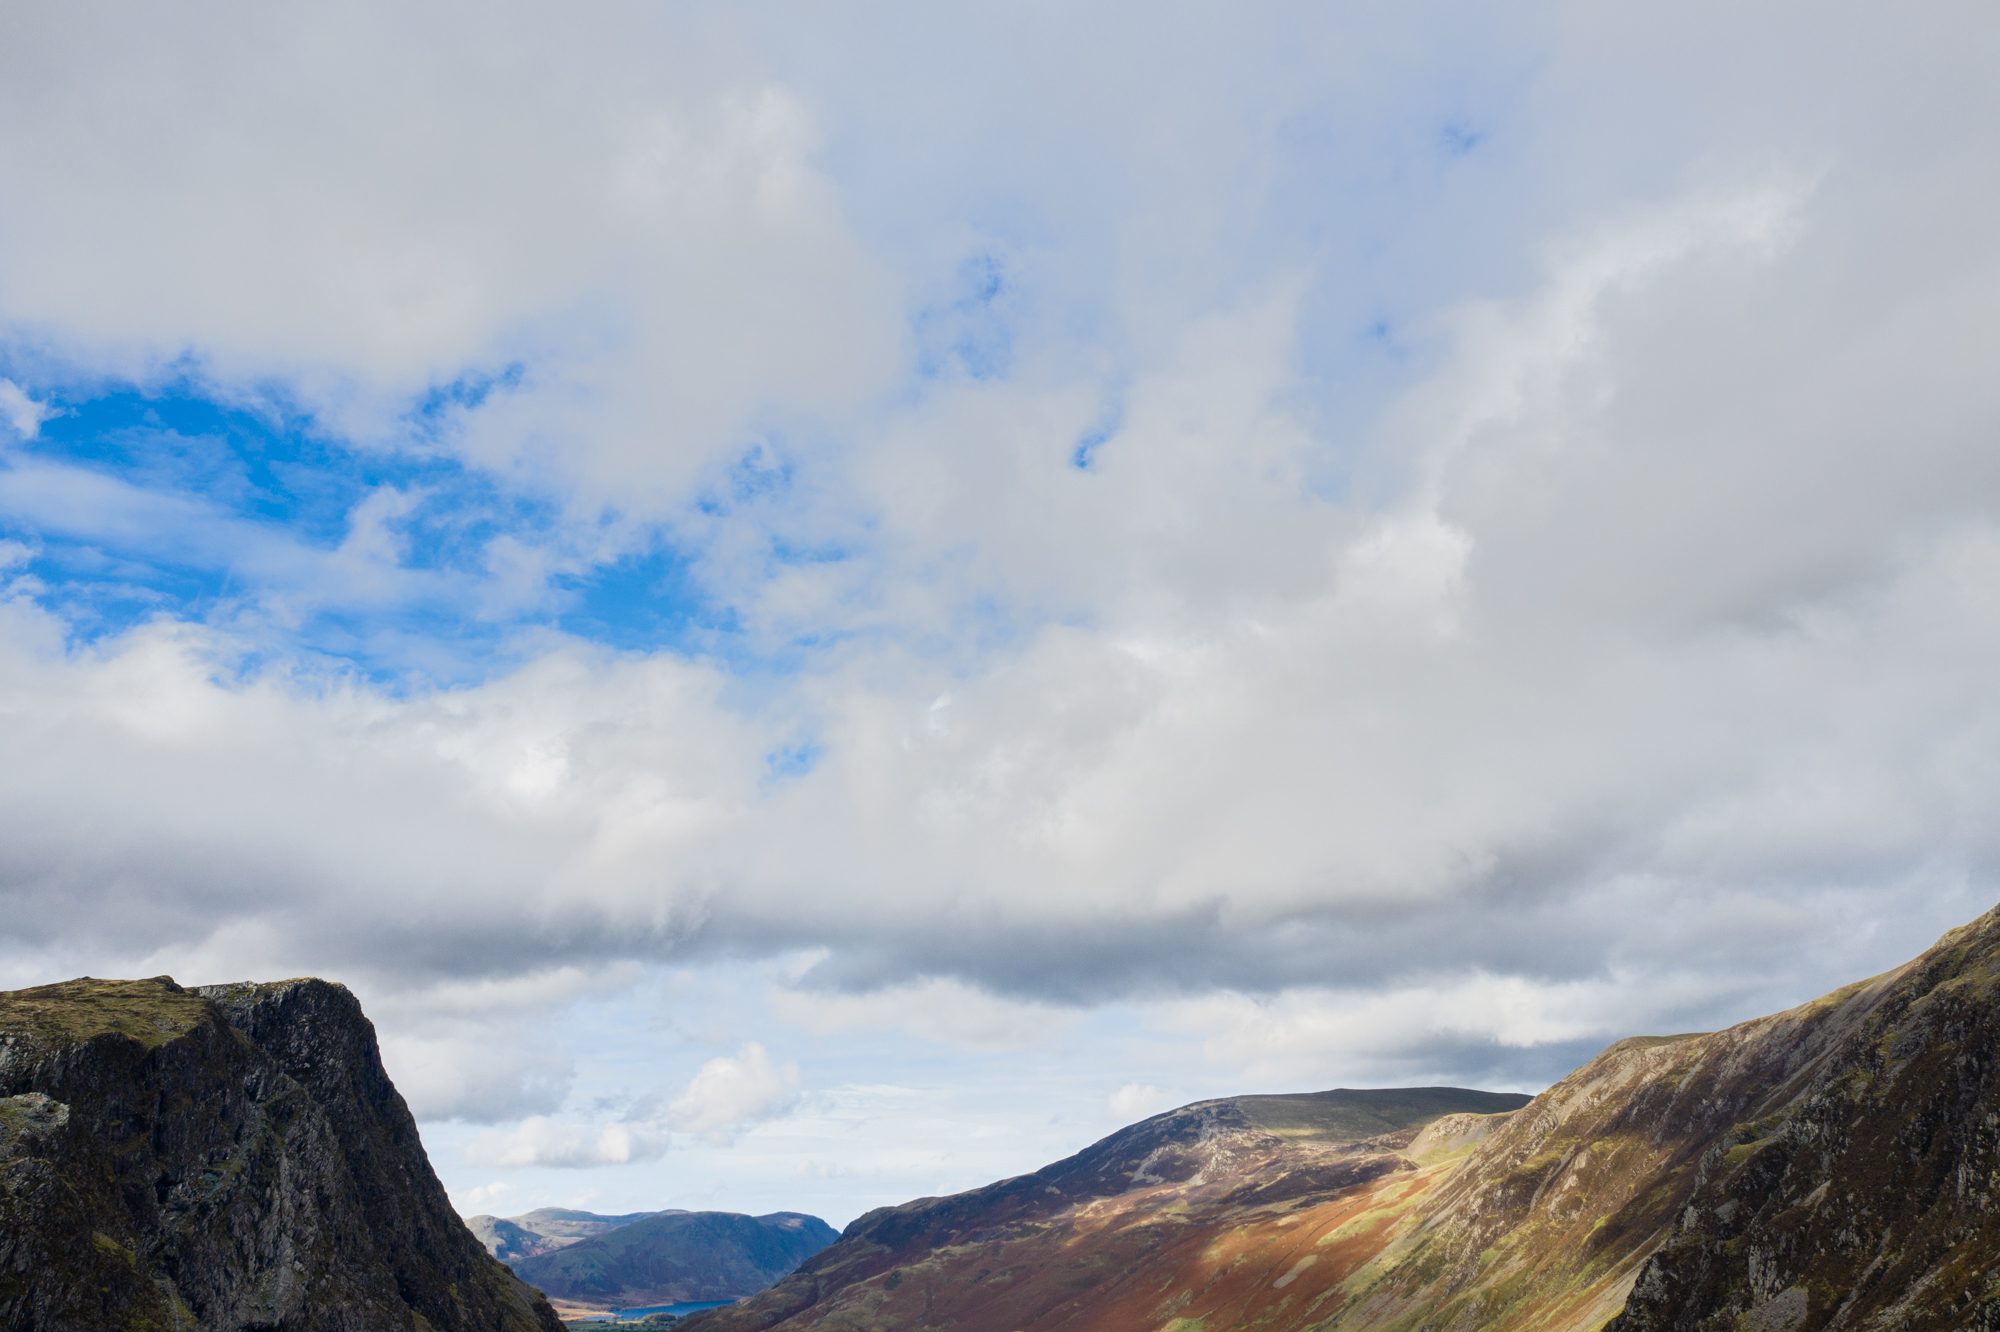
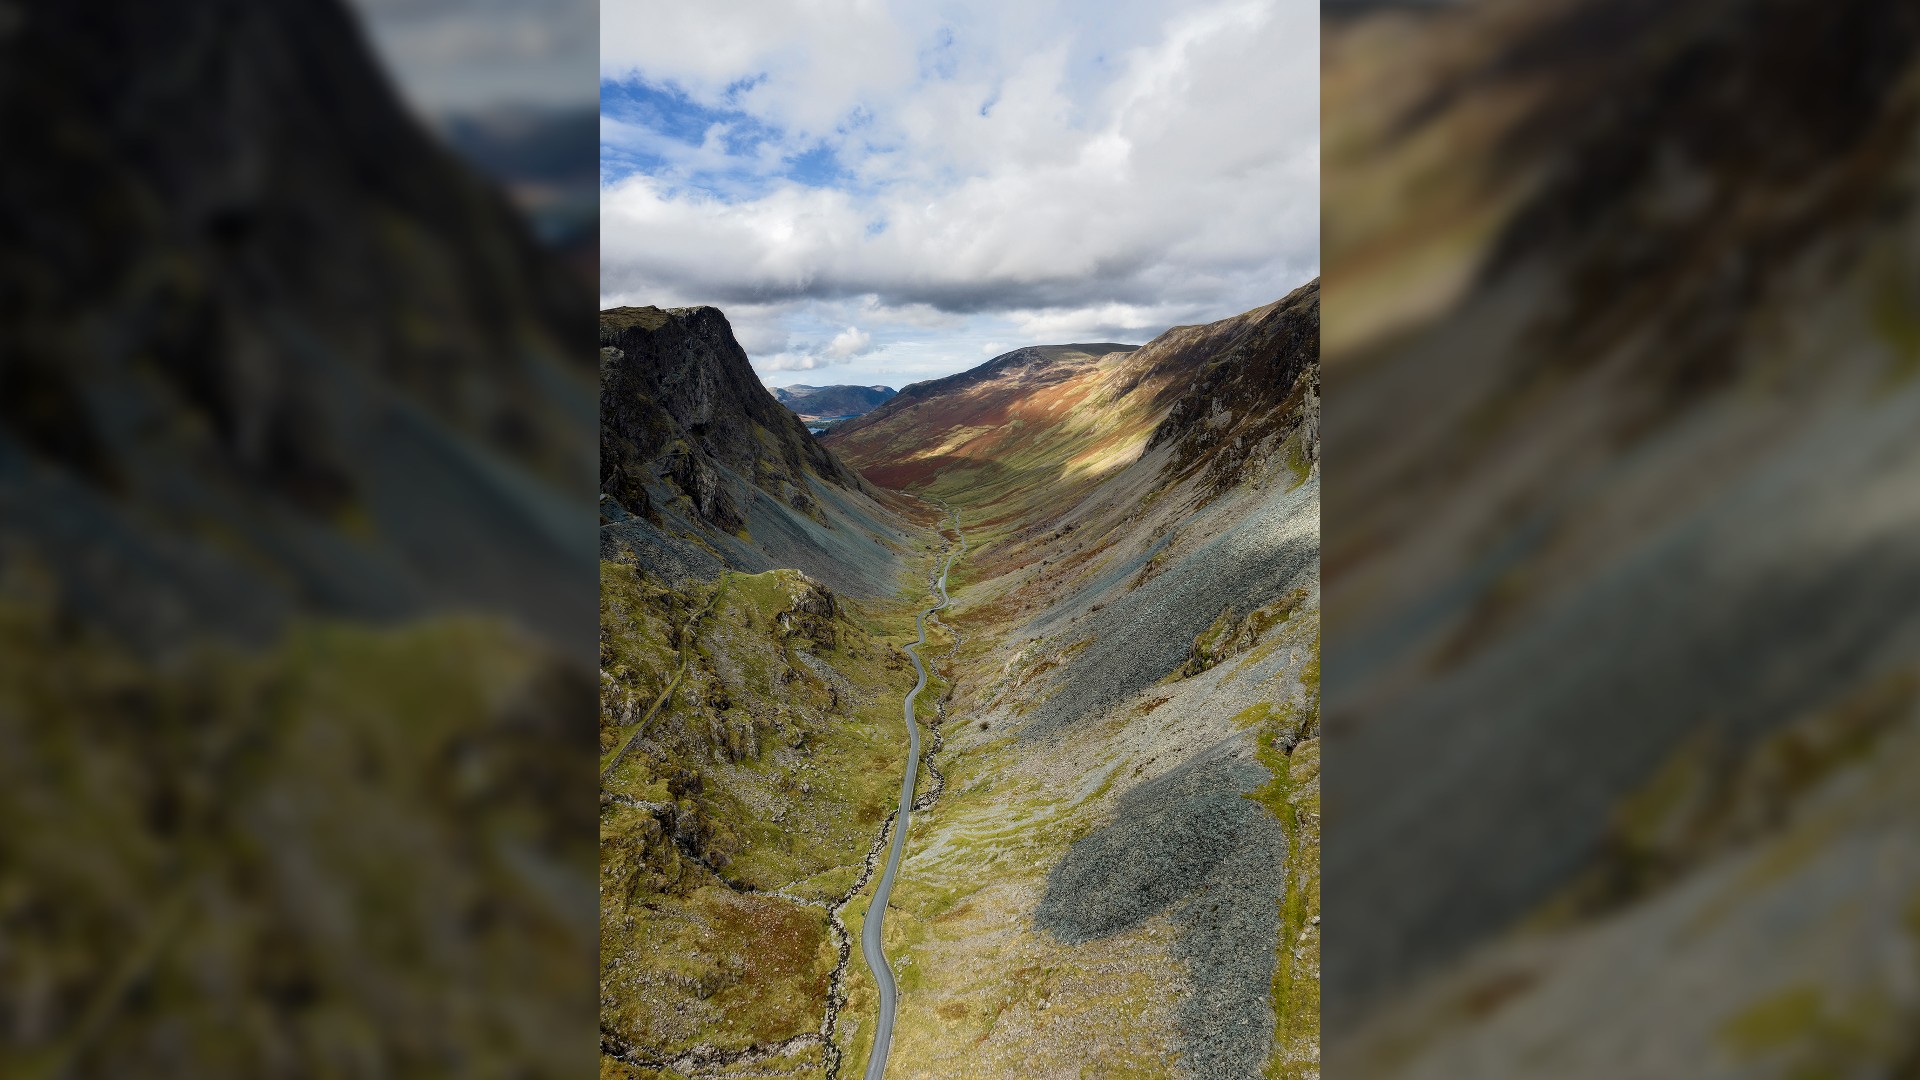
Step-by-step of how to shoot a vertical panorama with a drone
Shooting vertical panoramas can be achieved in less than 20 seconds once you’ve shot this way a few times. You simply compose your shots, starting at the top or bottom of the scene, and shoot an image before rotating just the gimbal so the current photo overlaps half of the previous to ensure a seamless blend during editing. The most important aspect of shooting is balancing the exposure between the darker ground and brighter sky, so shooting with the sun behind the drone makes things much easier.
1. Fly into position
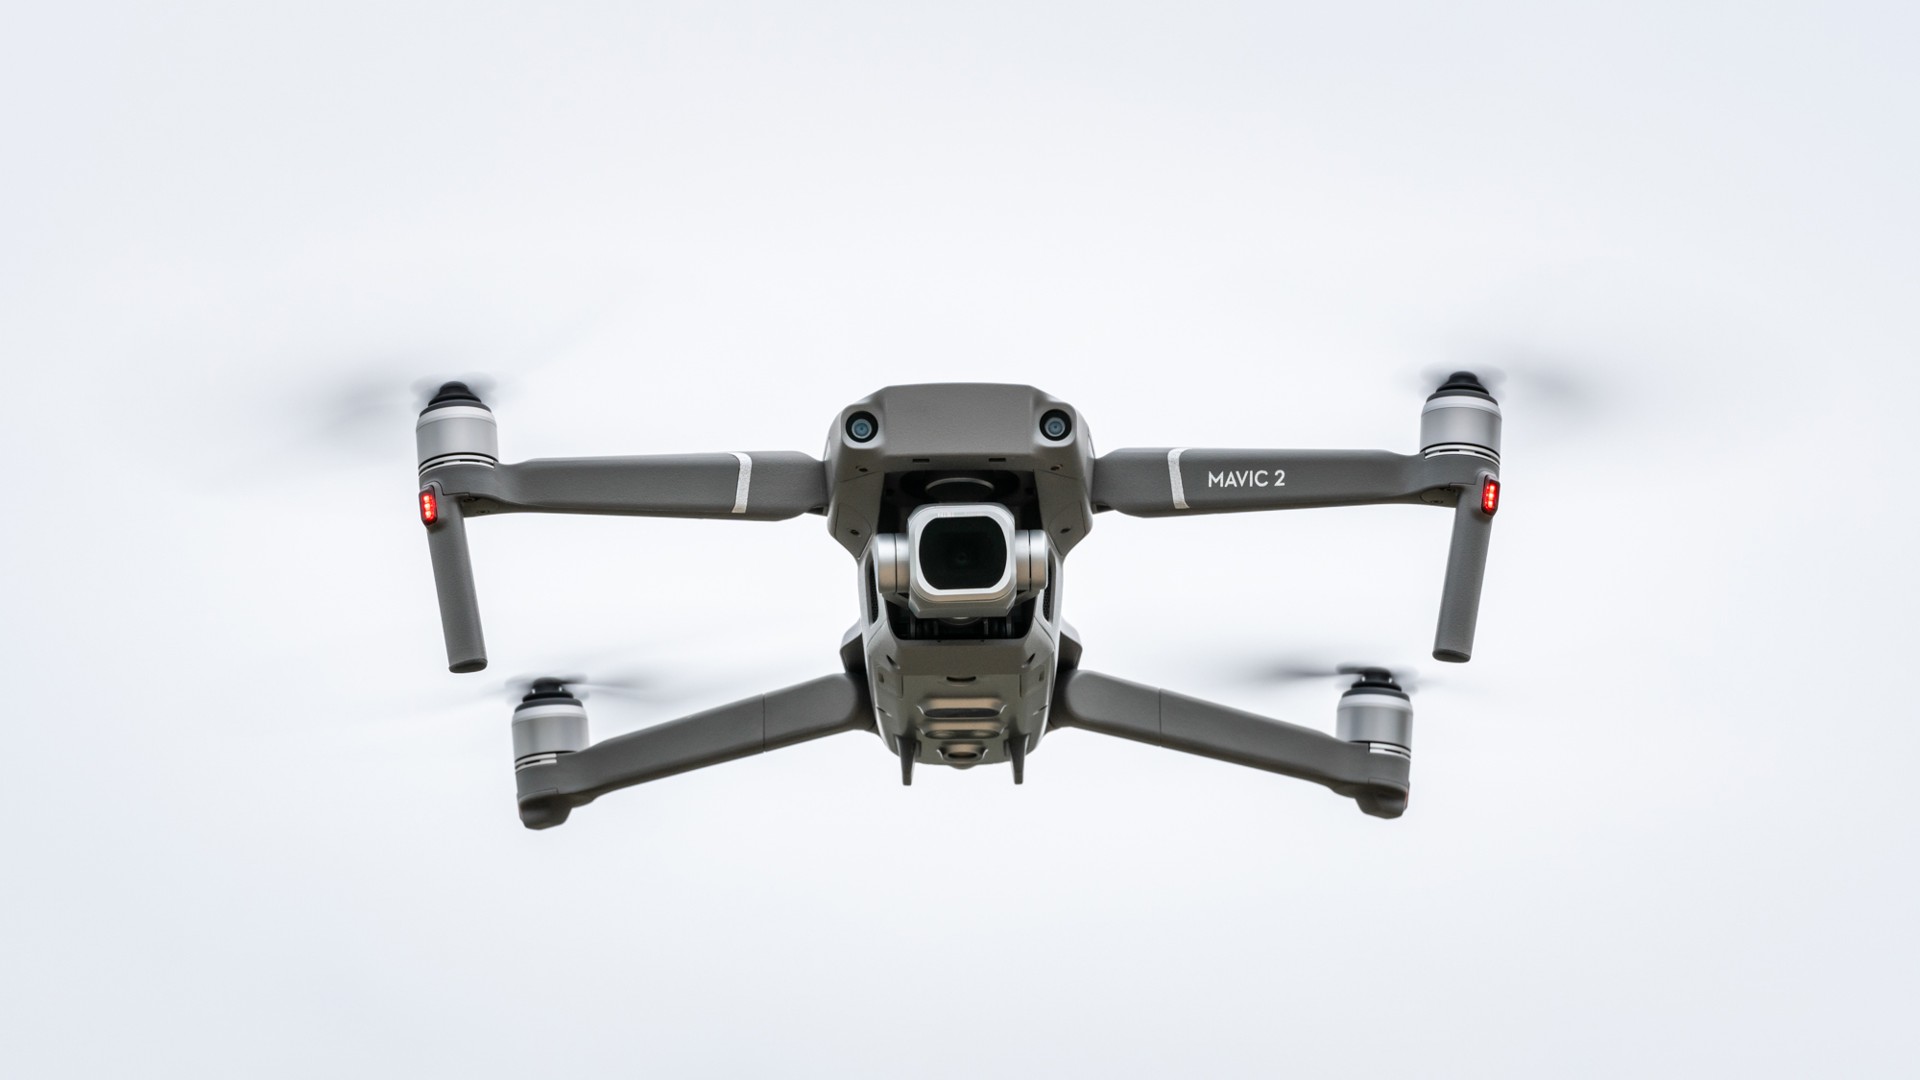
Check a smartphone app such as Drone Assist to make sure that it’s safe and legal to fly in your chosen location, and that there are no ground obstacles such as pylons that could present a risk. Remember, it’s important to be aware of drone regulations in your area. Fly the drone into position and leave it in a hover while you adjust the gimbal angle vertically to make sure the viewpoint of the drone will allow you to capture the scene vertically.
2. Shoot the first image
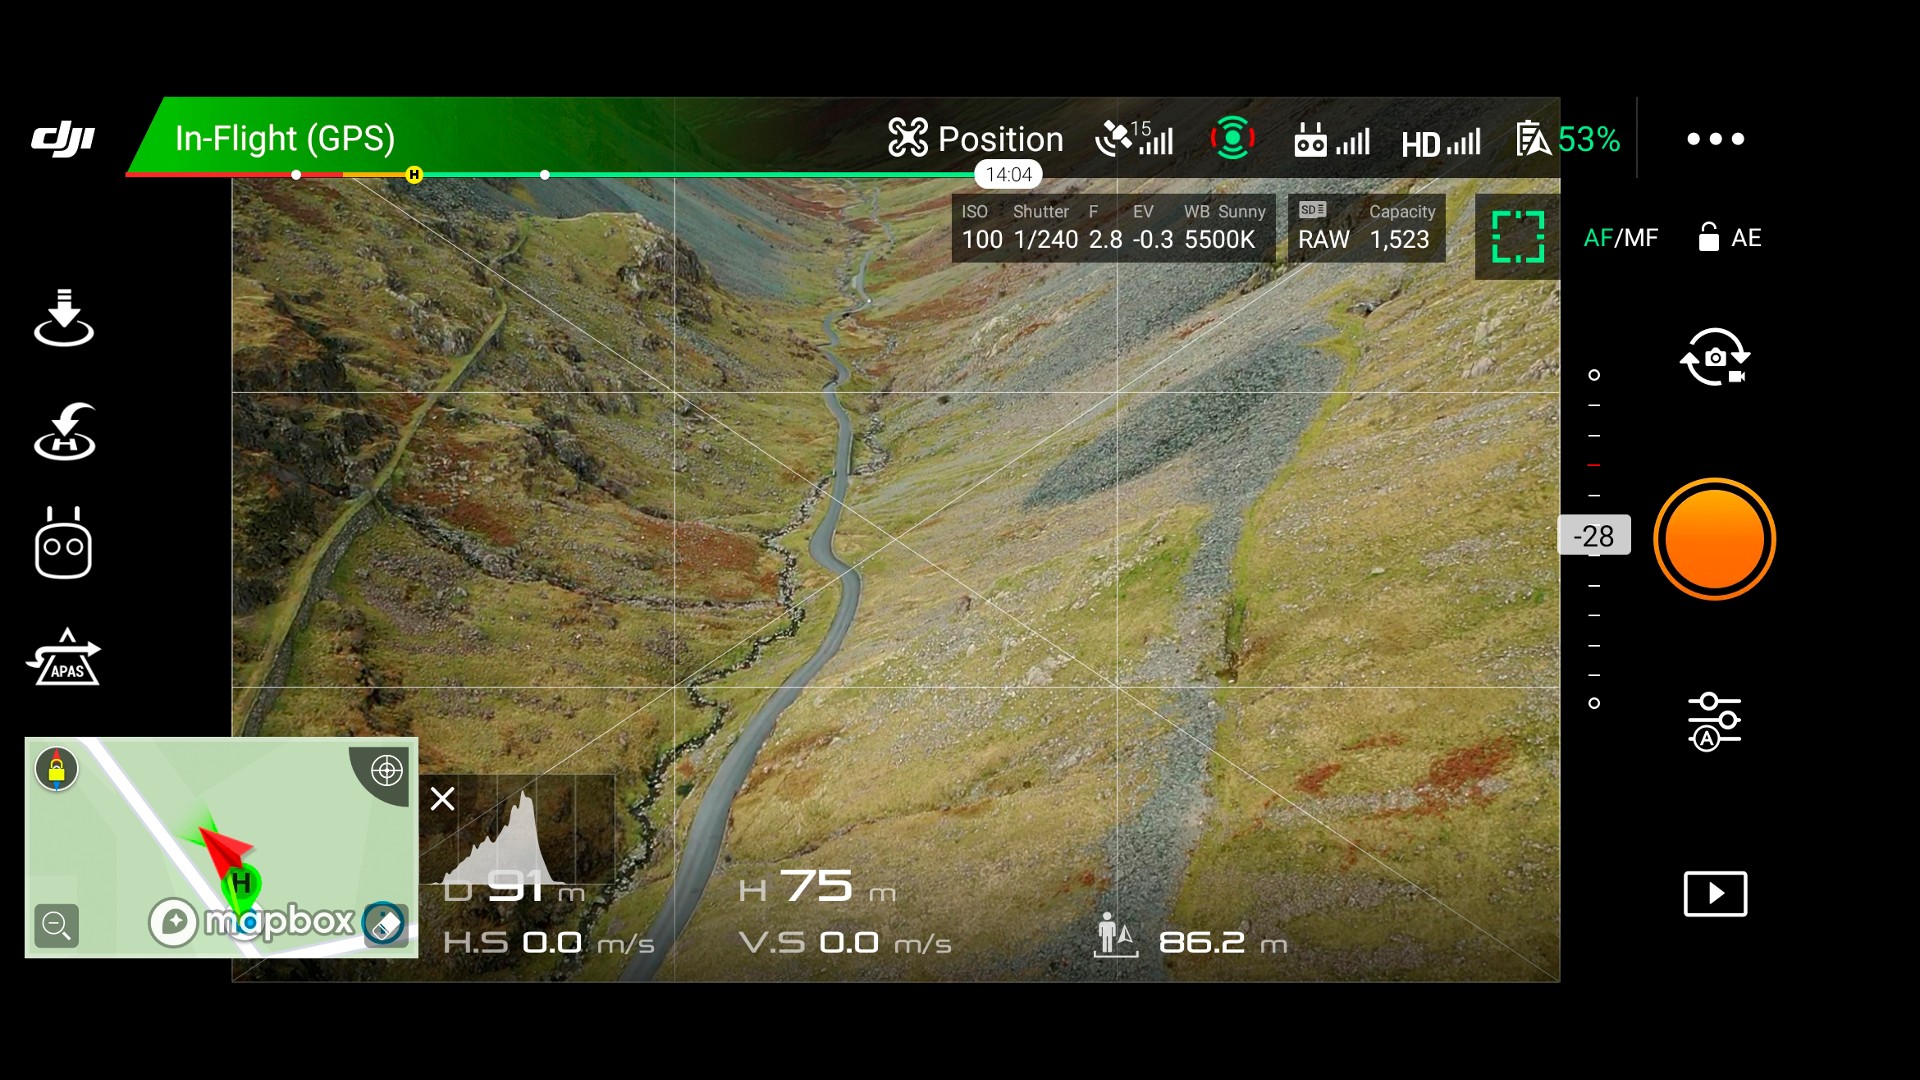
Set the camera to single shot mode and make sure file capture is set to Raw. Set ISO to 100, and if your drone has an adjustable aperture set this to between f/2.8 – f/5.6, then set your shutter speed using the histogram as a guide. If you have a drone with a fixed aperture, simply adjust the shutter speed. Point the gimbal down to the bottom of the scene, and take the first of the three to five shots. Need some inspiration? Then check out our ‘Where can I fly my drone?’ article for some top location ideas.
3. Complete the vertical panorama
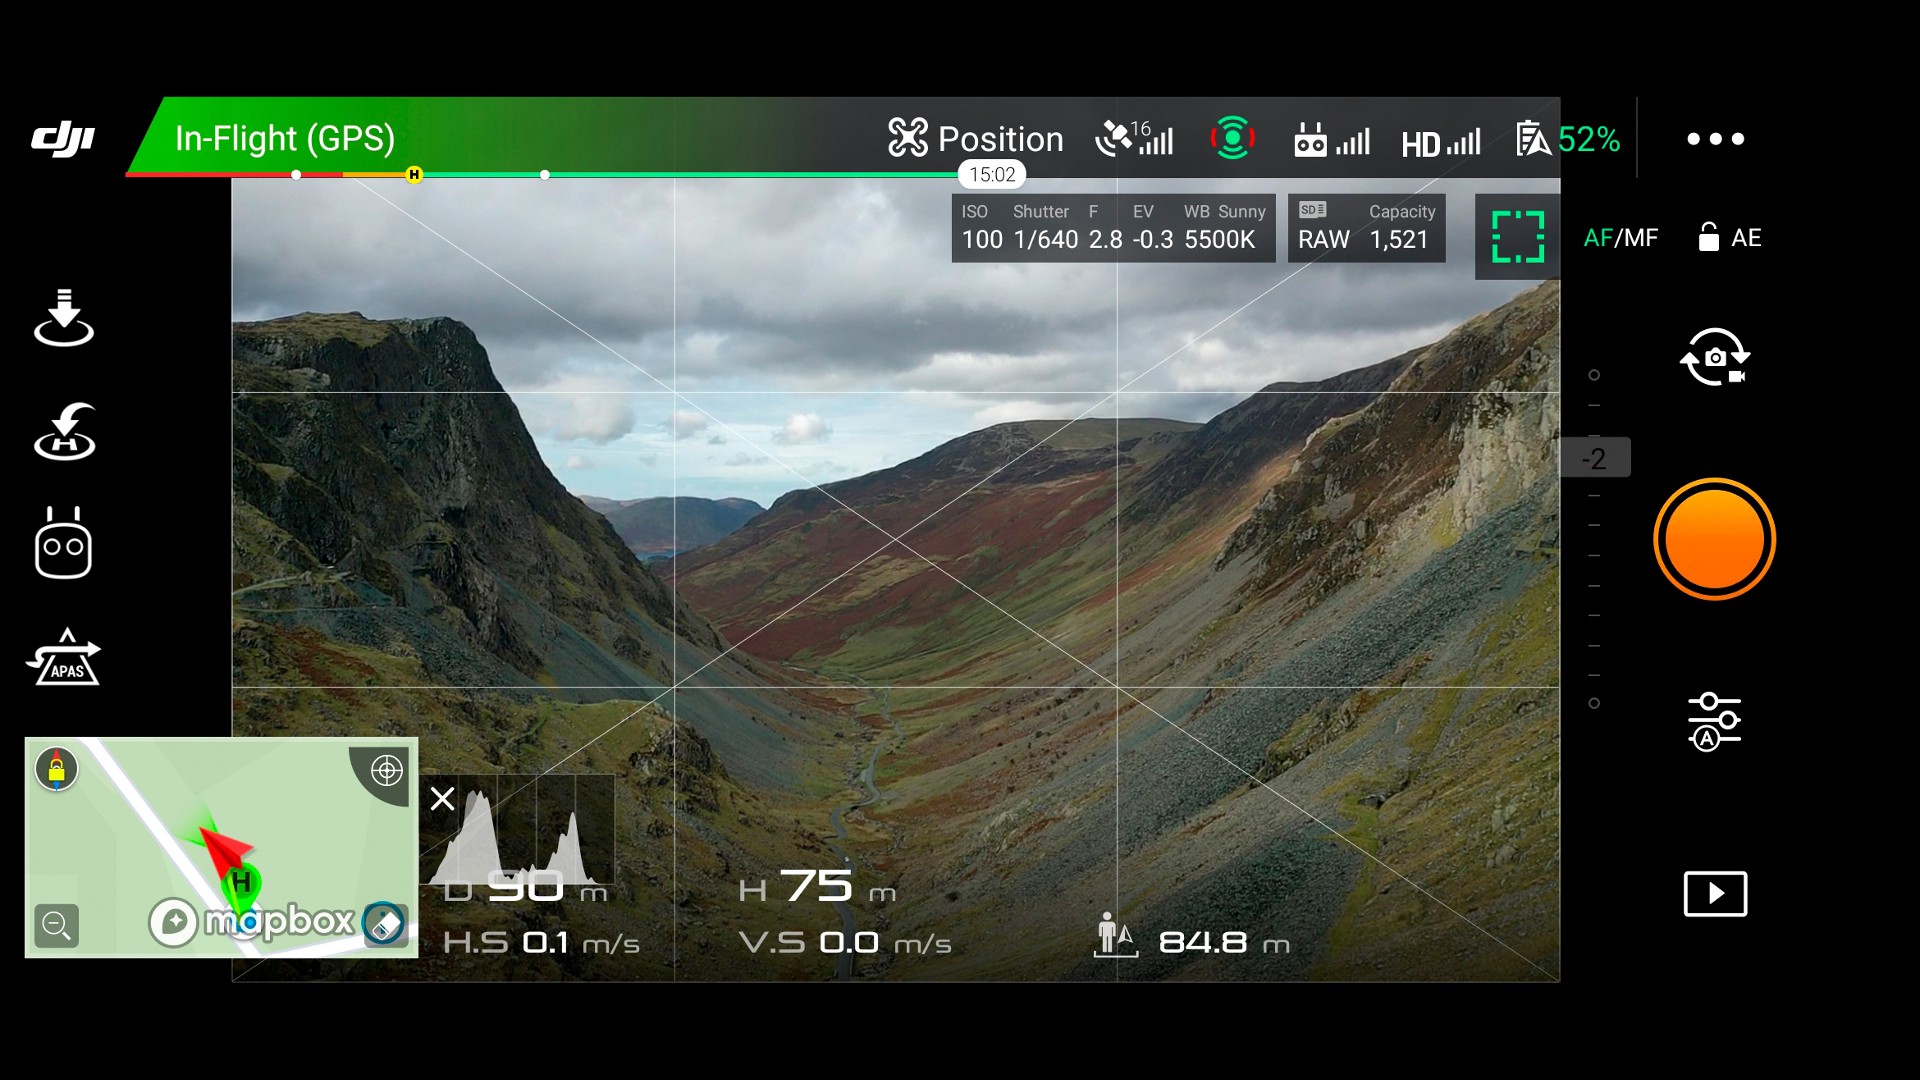
Move the gimbal up slightly and make sure that the next shot contains the top half of the previous shot. As you rotate the gimbal up, adjust the shutter speed to match the exposure in each shot. Take the next photo and repeat until you have all the required images. Some scenes may only require three shots, while others will require four or five to capture the whole vertical scene.
Step-by-step of how to edit a vertical panorama shot with a drone
The great thing about shooting vertical panoramas is that you end up with much more detailed, higher-resolution images than your drone is natively capable of capturing. Not to mention, social media platforms often favor portrait format images over landscape. The editing process is simple and requires Adobe Lightroom and Photoshop, which are the most commonly used photo editing software options.
1. Import and process
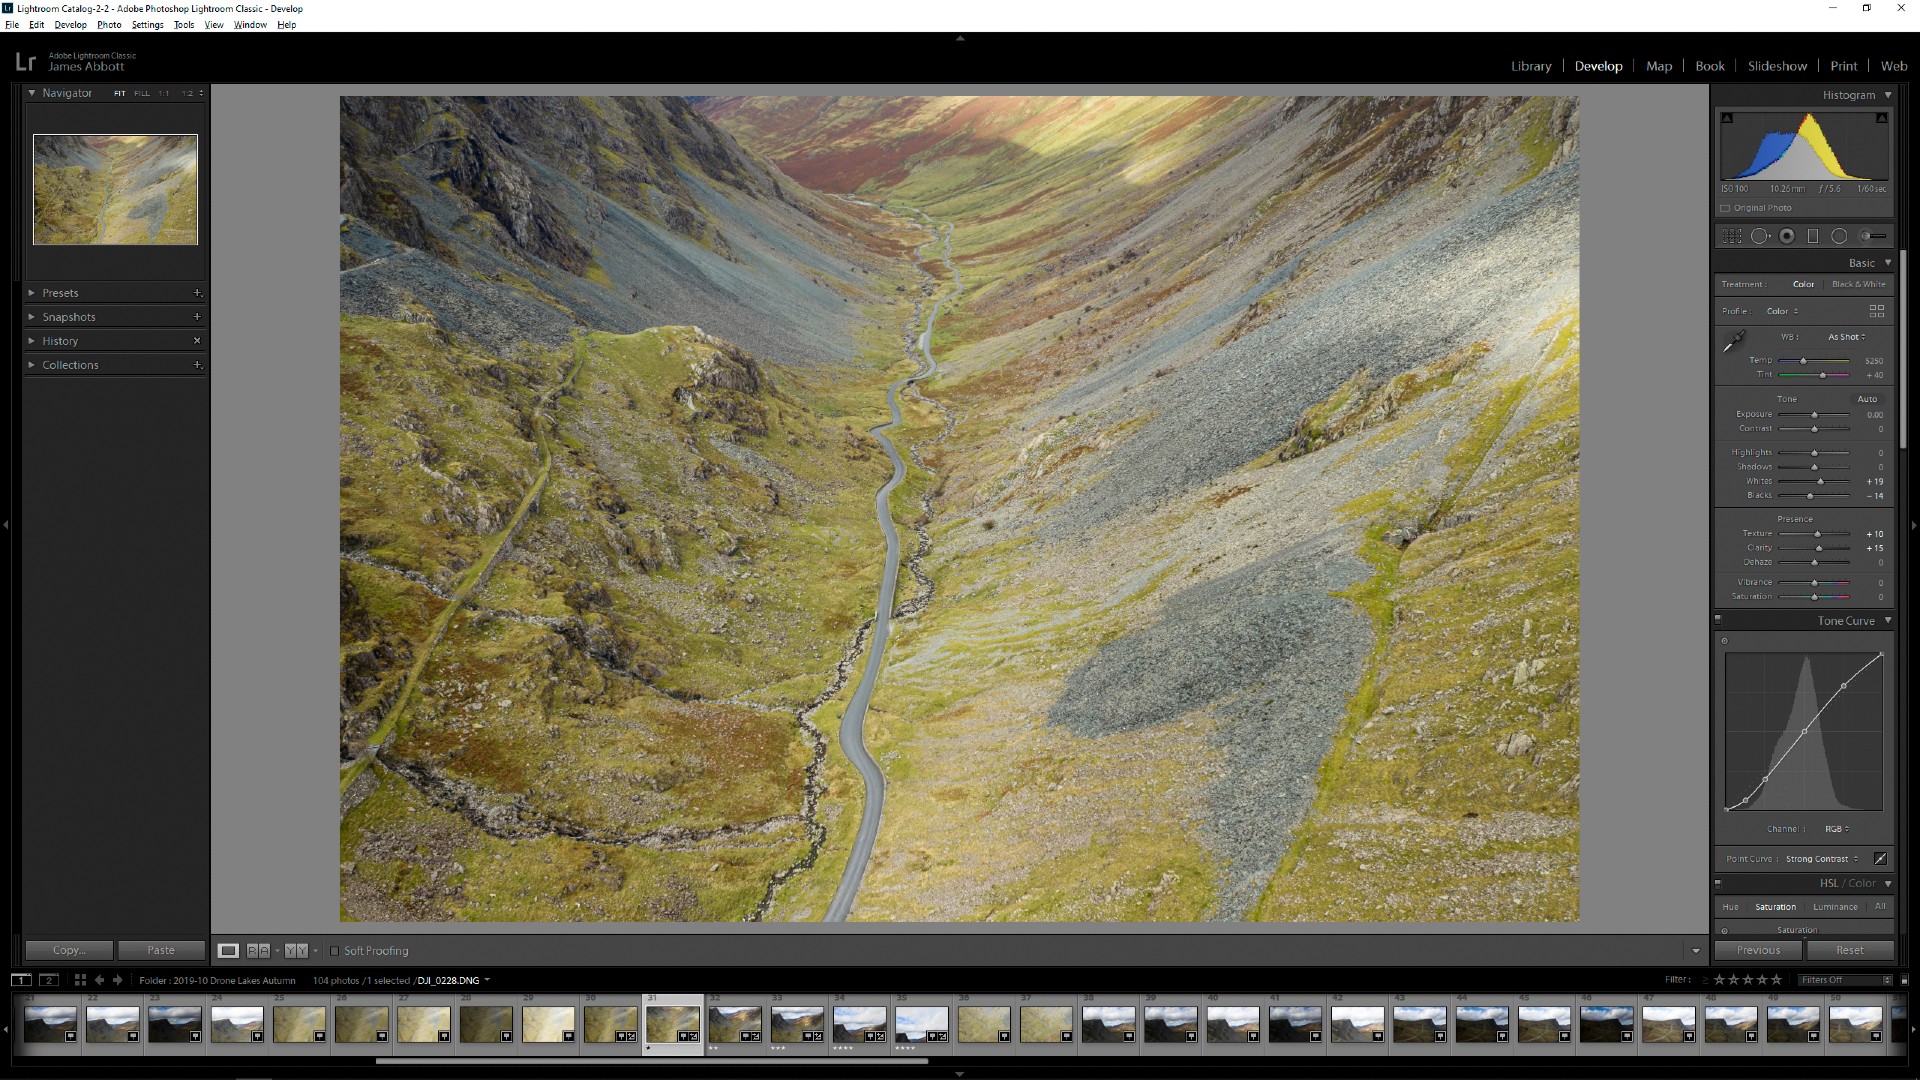
Import your images into Lightroom and process the first image of the set of three to five shots. For these images contrast was added using the Tone Curve, the Whites and Blacks adjusted, and Texture and Clarity increased to accentuate detail. Depending on the scene, you may need to adjust Shadows and Highlights, too. Once the first image is processed, hold down Shift and click on the last image.
2. Sync settings and refine
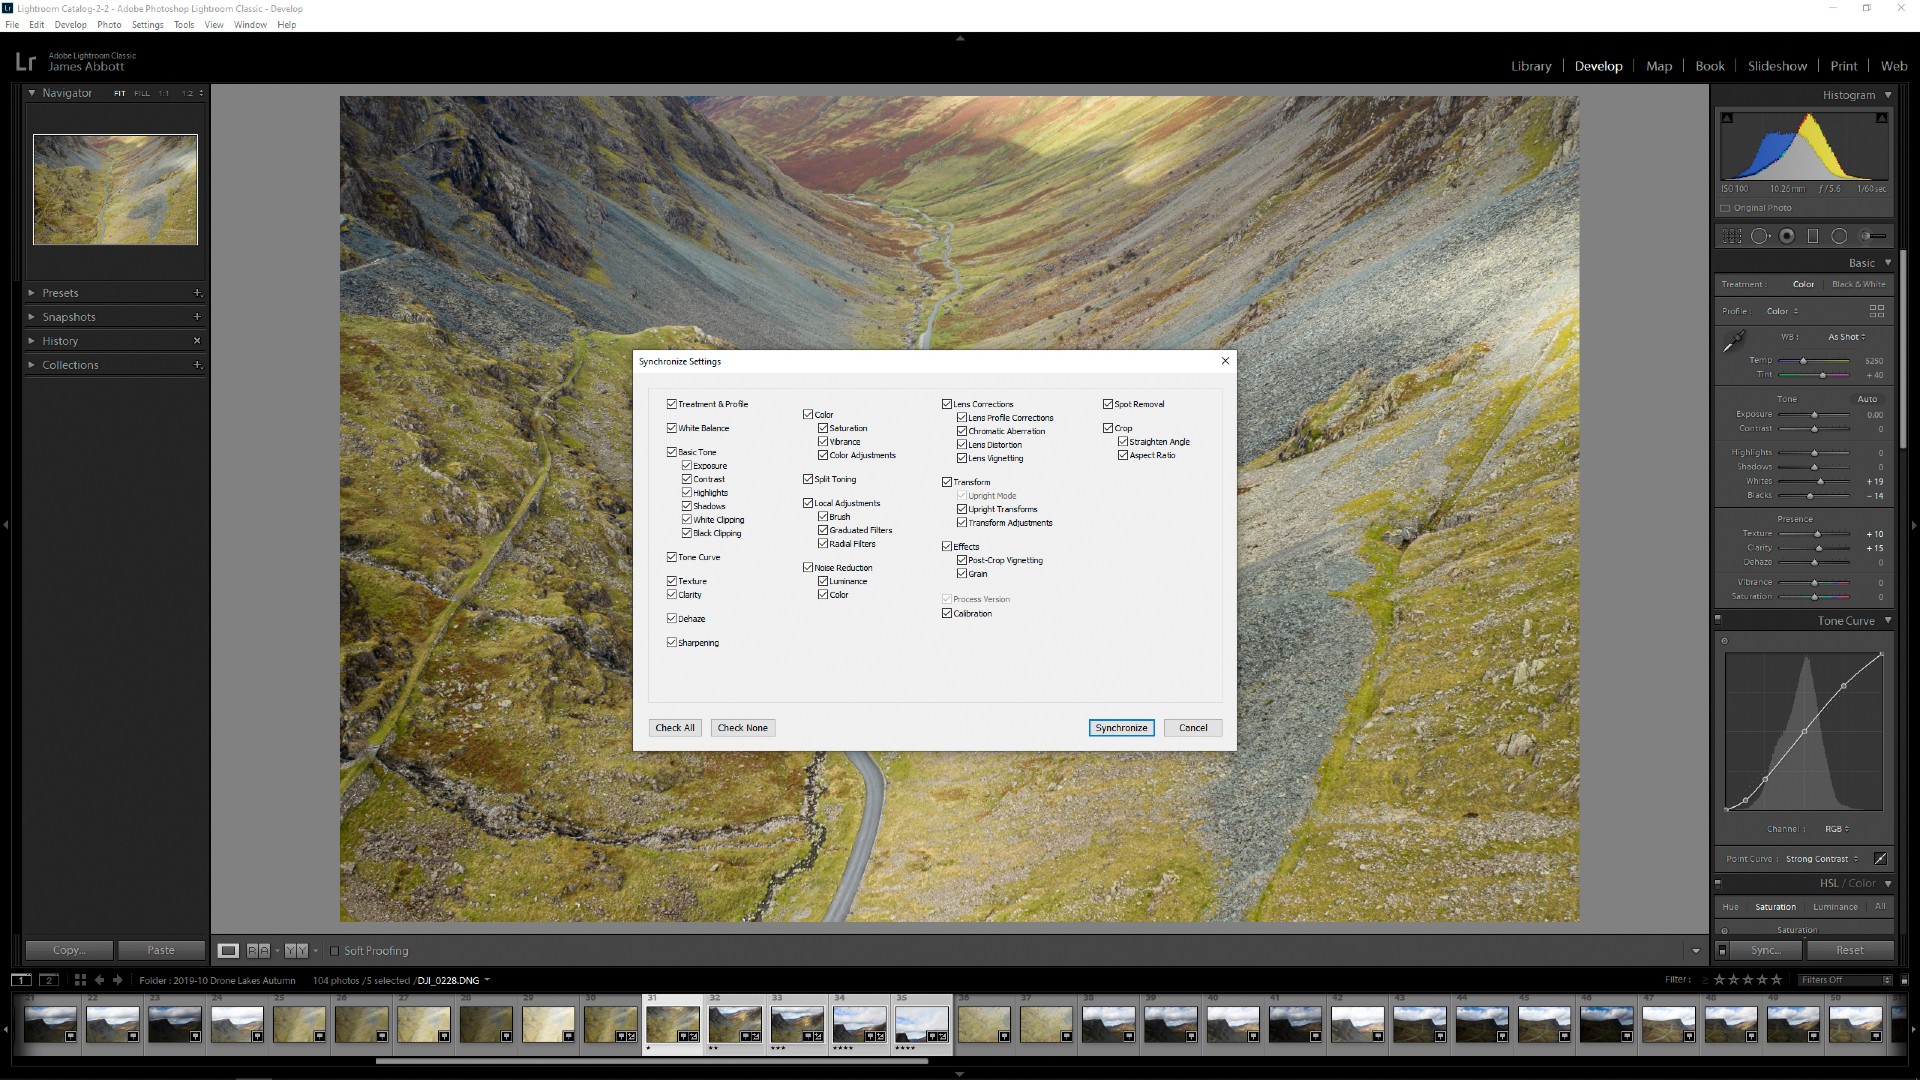
Press the Sync button and when the dialogue box opens click on Check All and then on Synchronize to apply the settings from the first image to all the others so the processing matches. The exposure may vary slightly in each, so go through each image and adjust exposure if required so the exposure matches. Once happy, select all images by clicking on the first, hold down Shift, and click on the last.
3. Export, merge, and crop
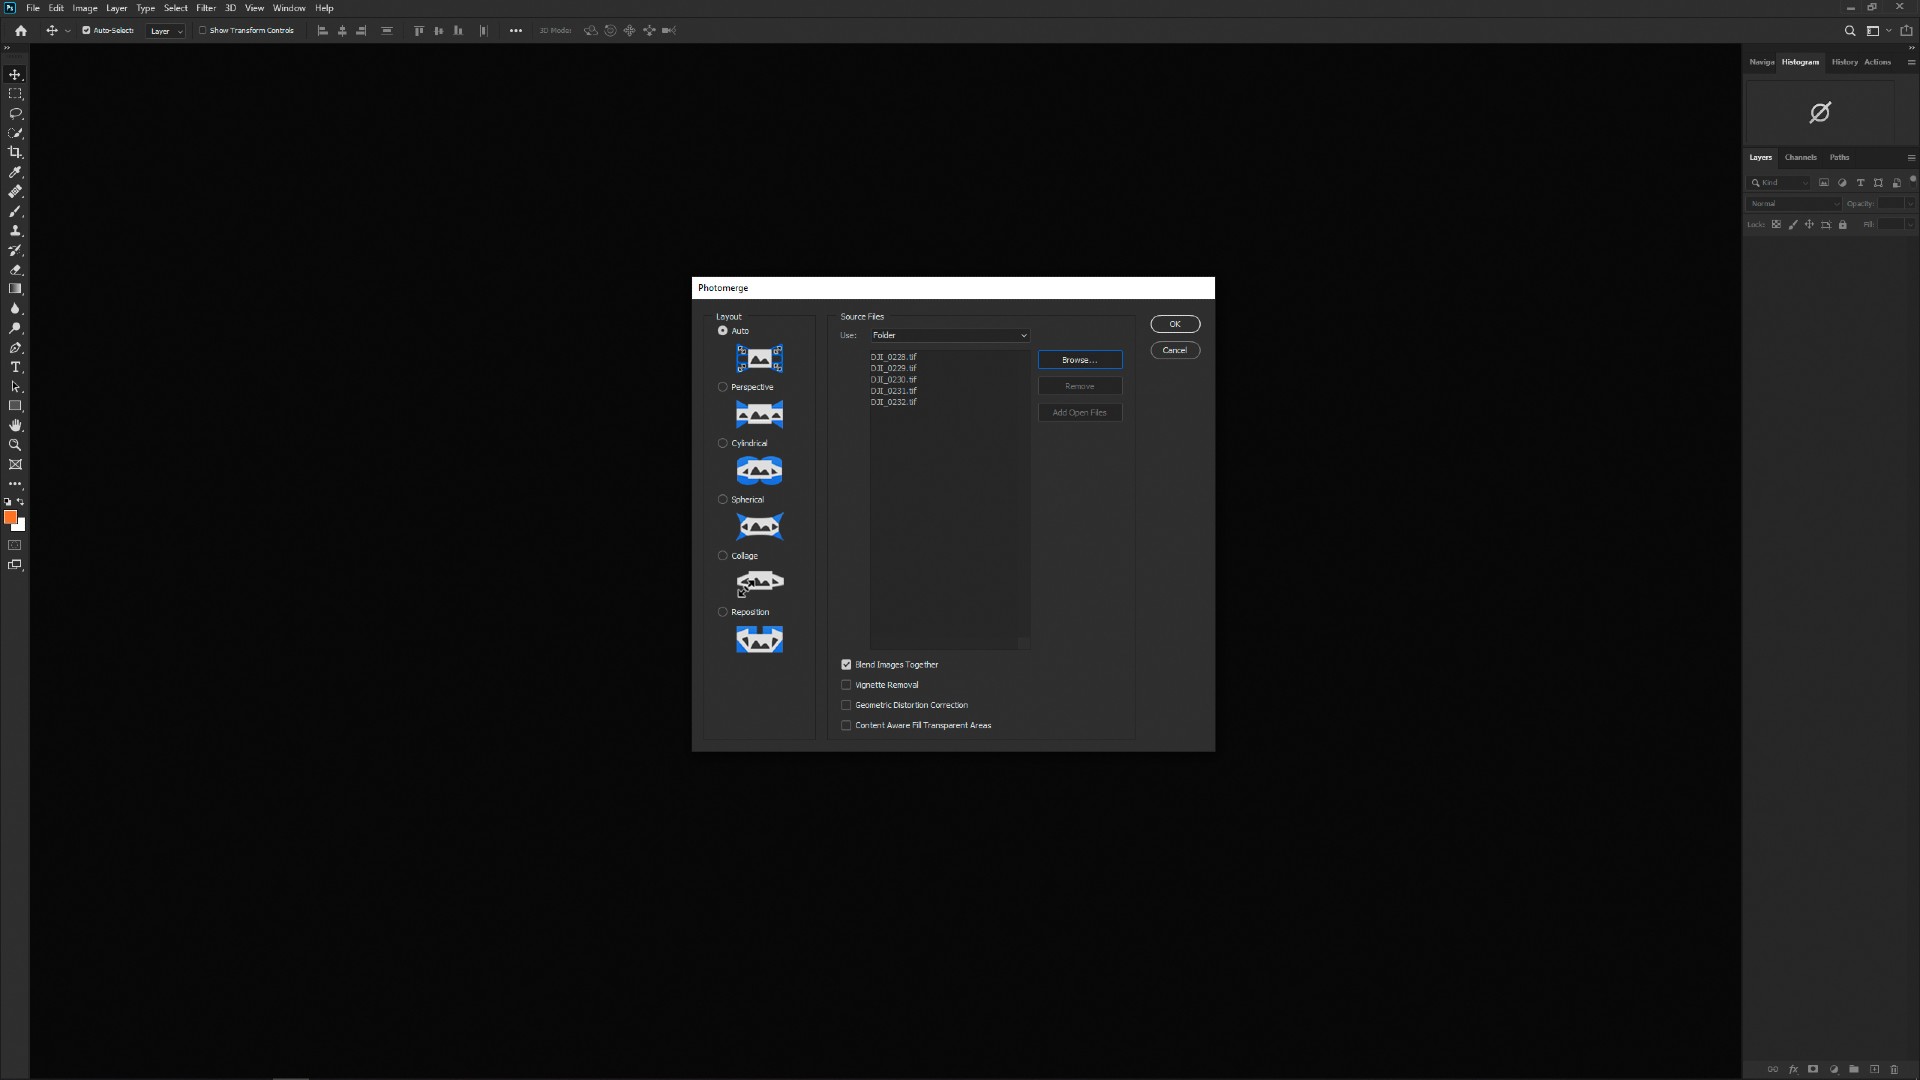
In Photoshop, go to File>Automate>Photomerge and leave Layout set to auto. Set Use to Folder and locate your image folder before clicking on OK. Once the panorama has been assembled, use the Crop Tool to crop out the empty space around the image, and then use Save As to save the new image.
Join our Space Forums to keep talking space on the latest missions, night sky and more! And if you have a news tip, correction or comment, let us know at: community@space.com.
Get the Space.com Newsletter
Breaking space news, the latest updates on rocket launches, skywatching events and more!
James is an award-winning freelance landscape and portrait photographer, as well as a highly experienced photography journalist working with some of the best photography magazines and websites with a worldwide audience. He’s also the author of The Digital Darkroom: The Definitive Guide to Photo Editing. www.jamesaphoto.co.uk
