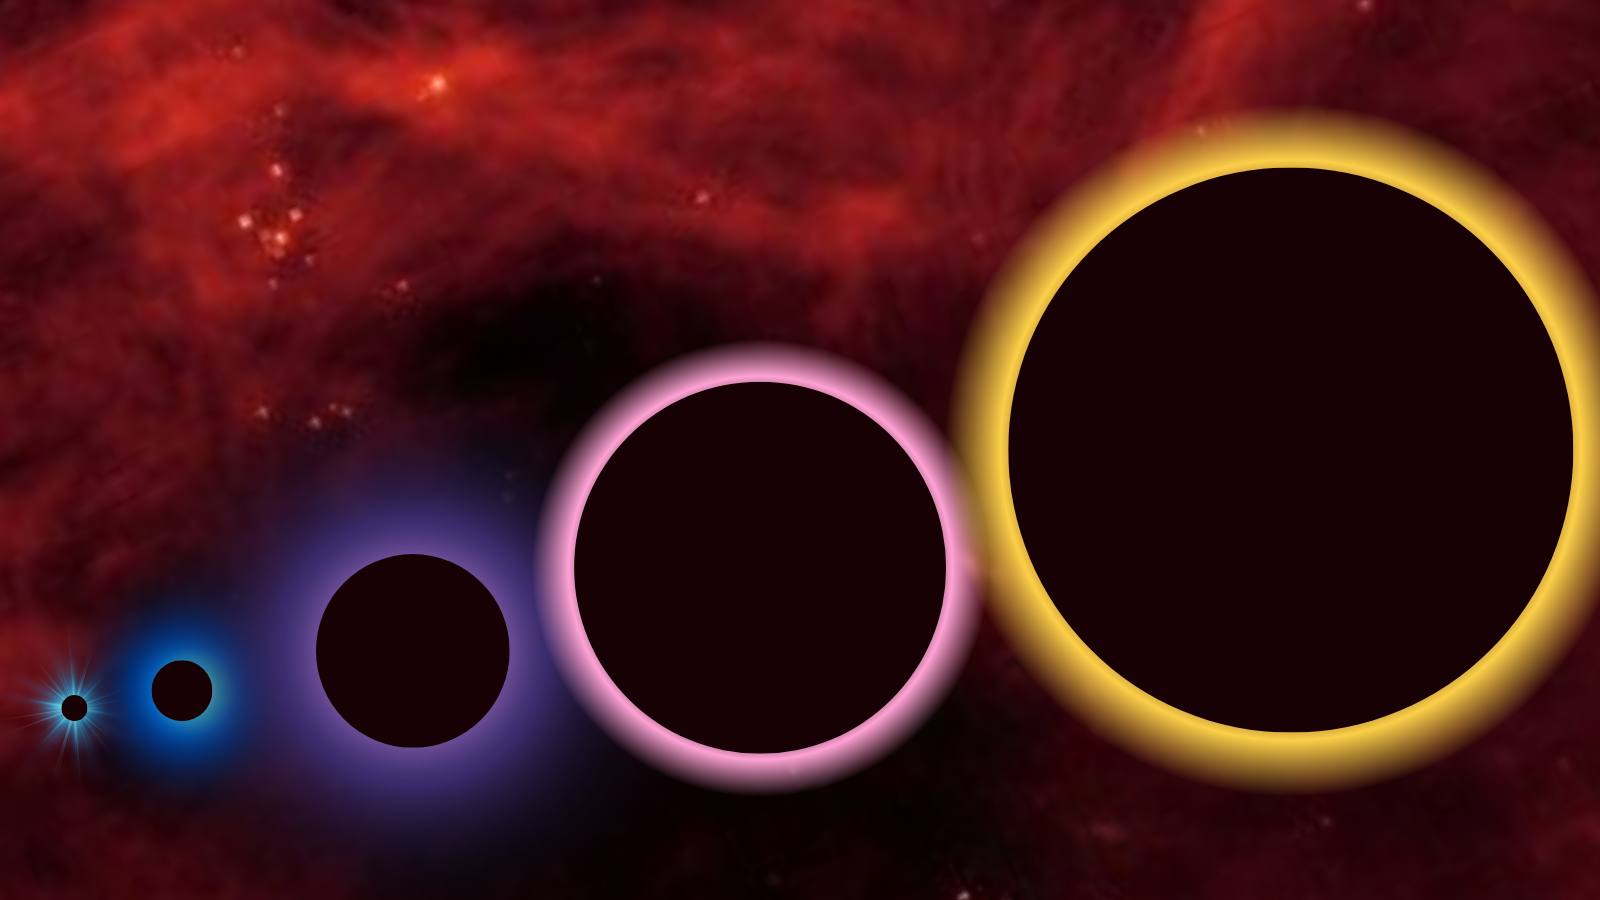
How to photograph the Milky Way: A guide for beginners and enthusiasts
Create stunning night sky images by learning to photograph the Milky Way like a pro.
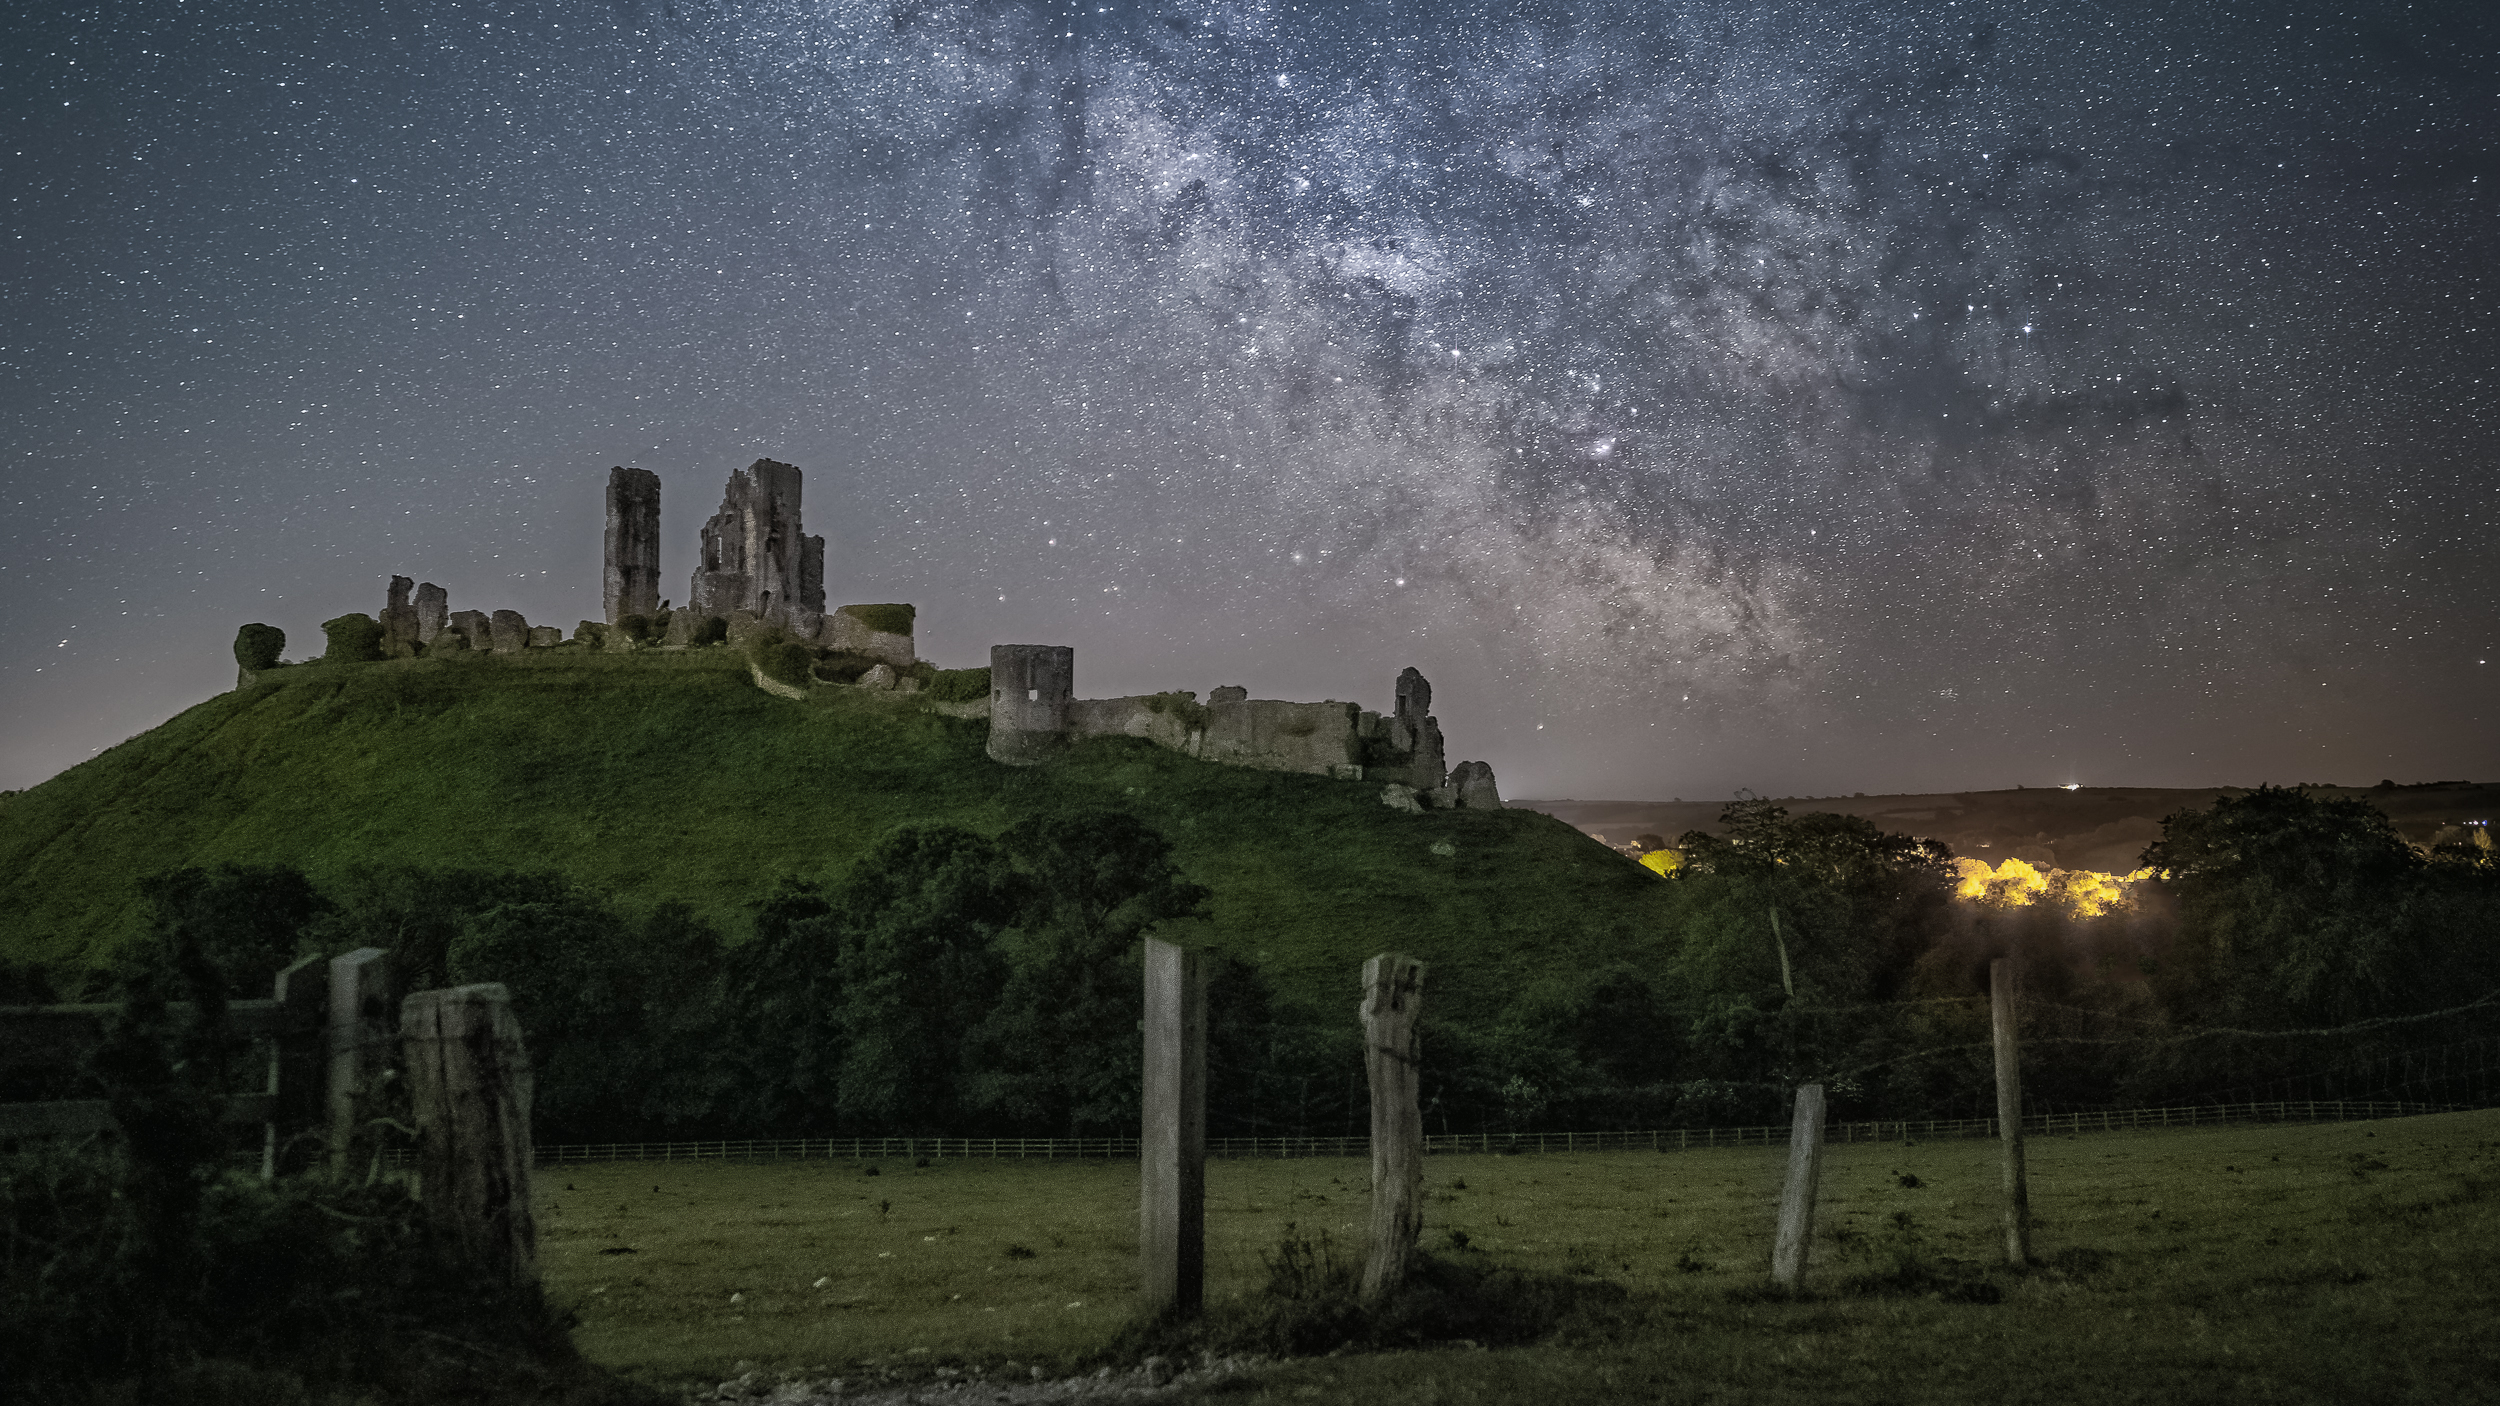
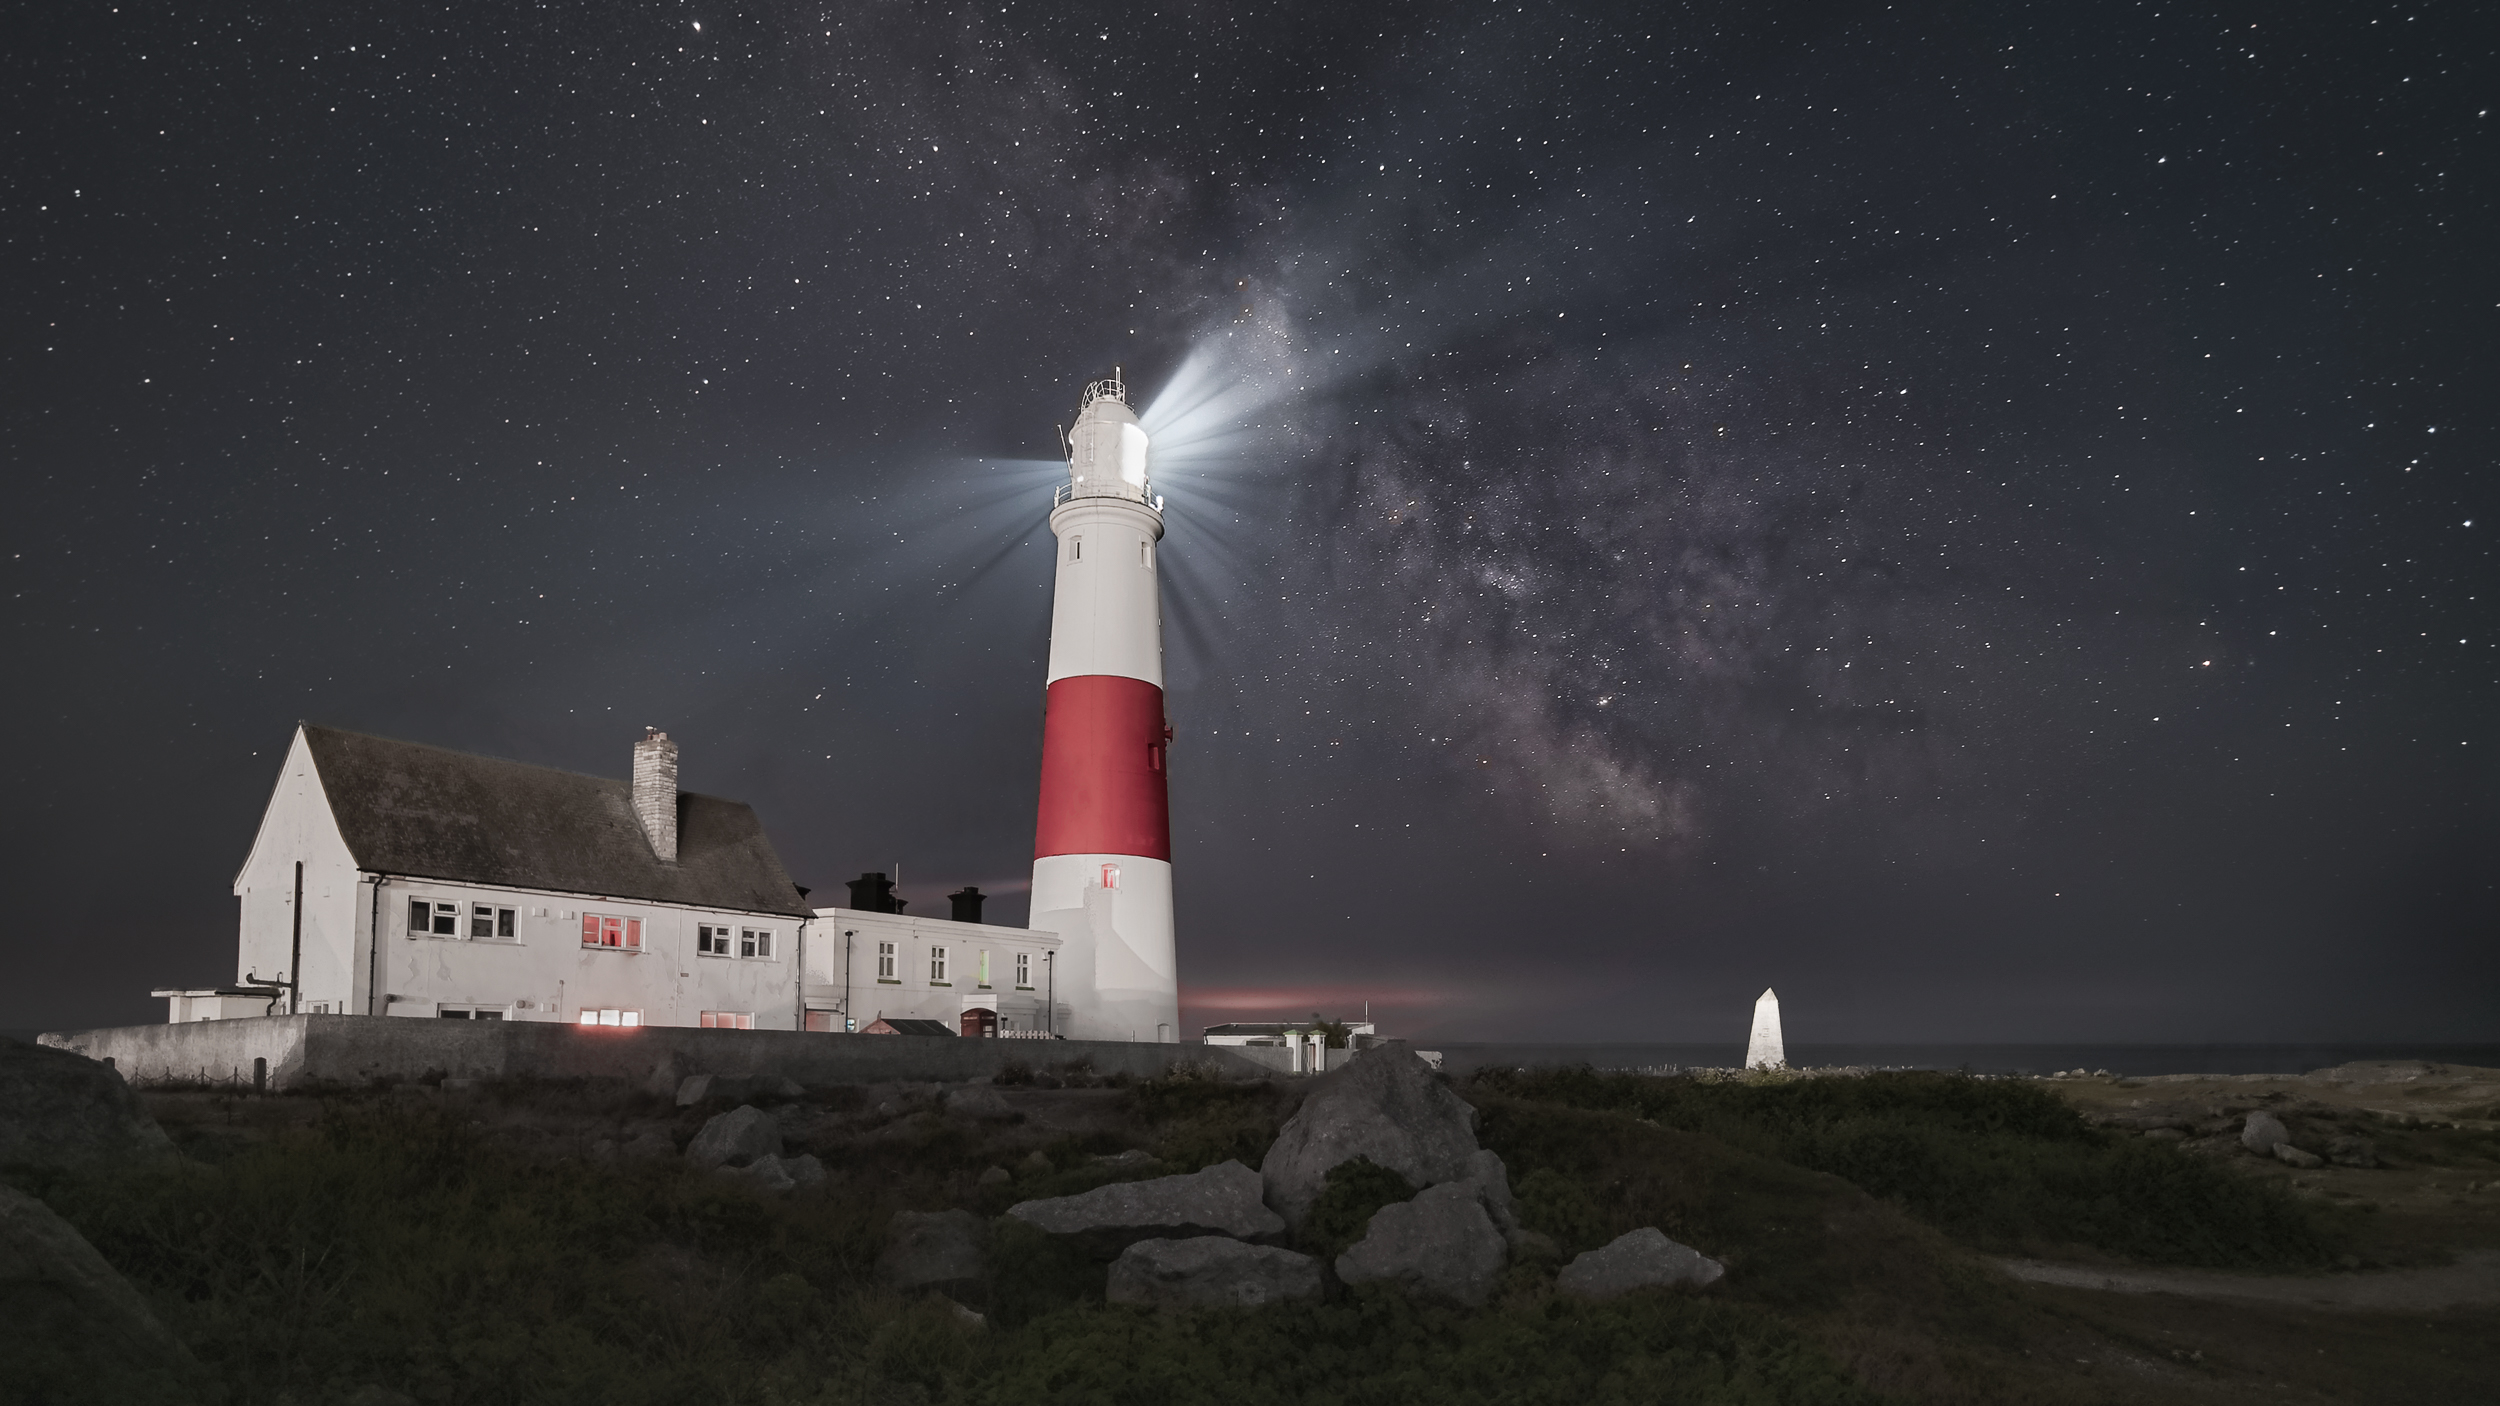
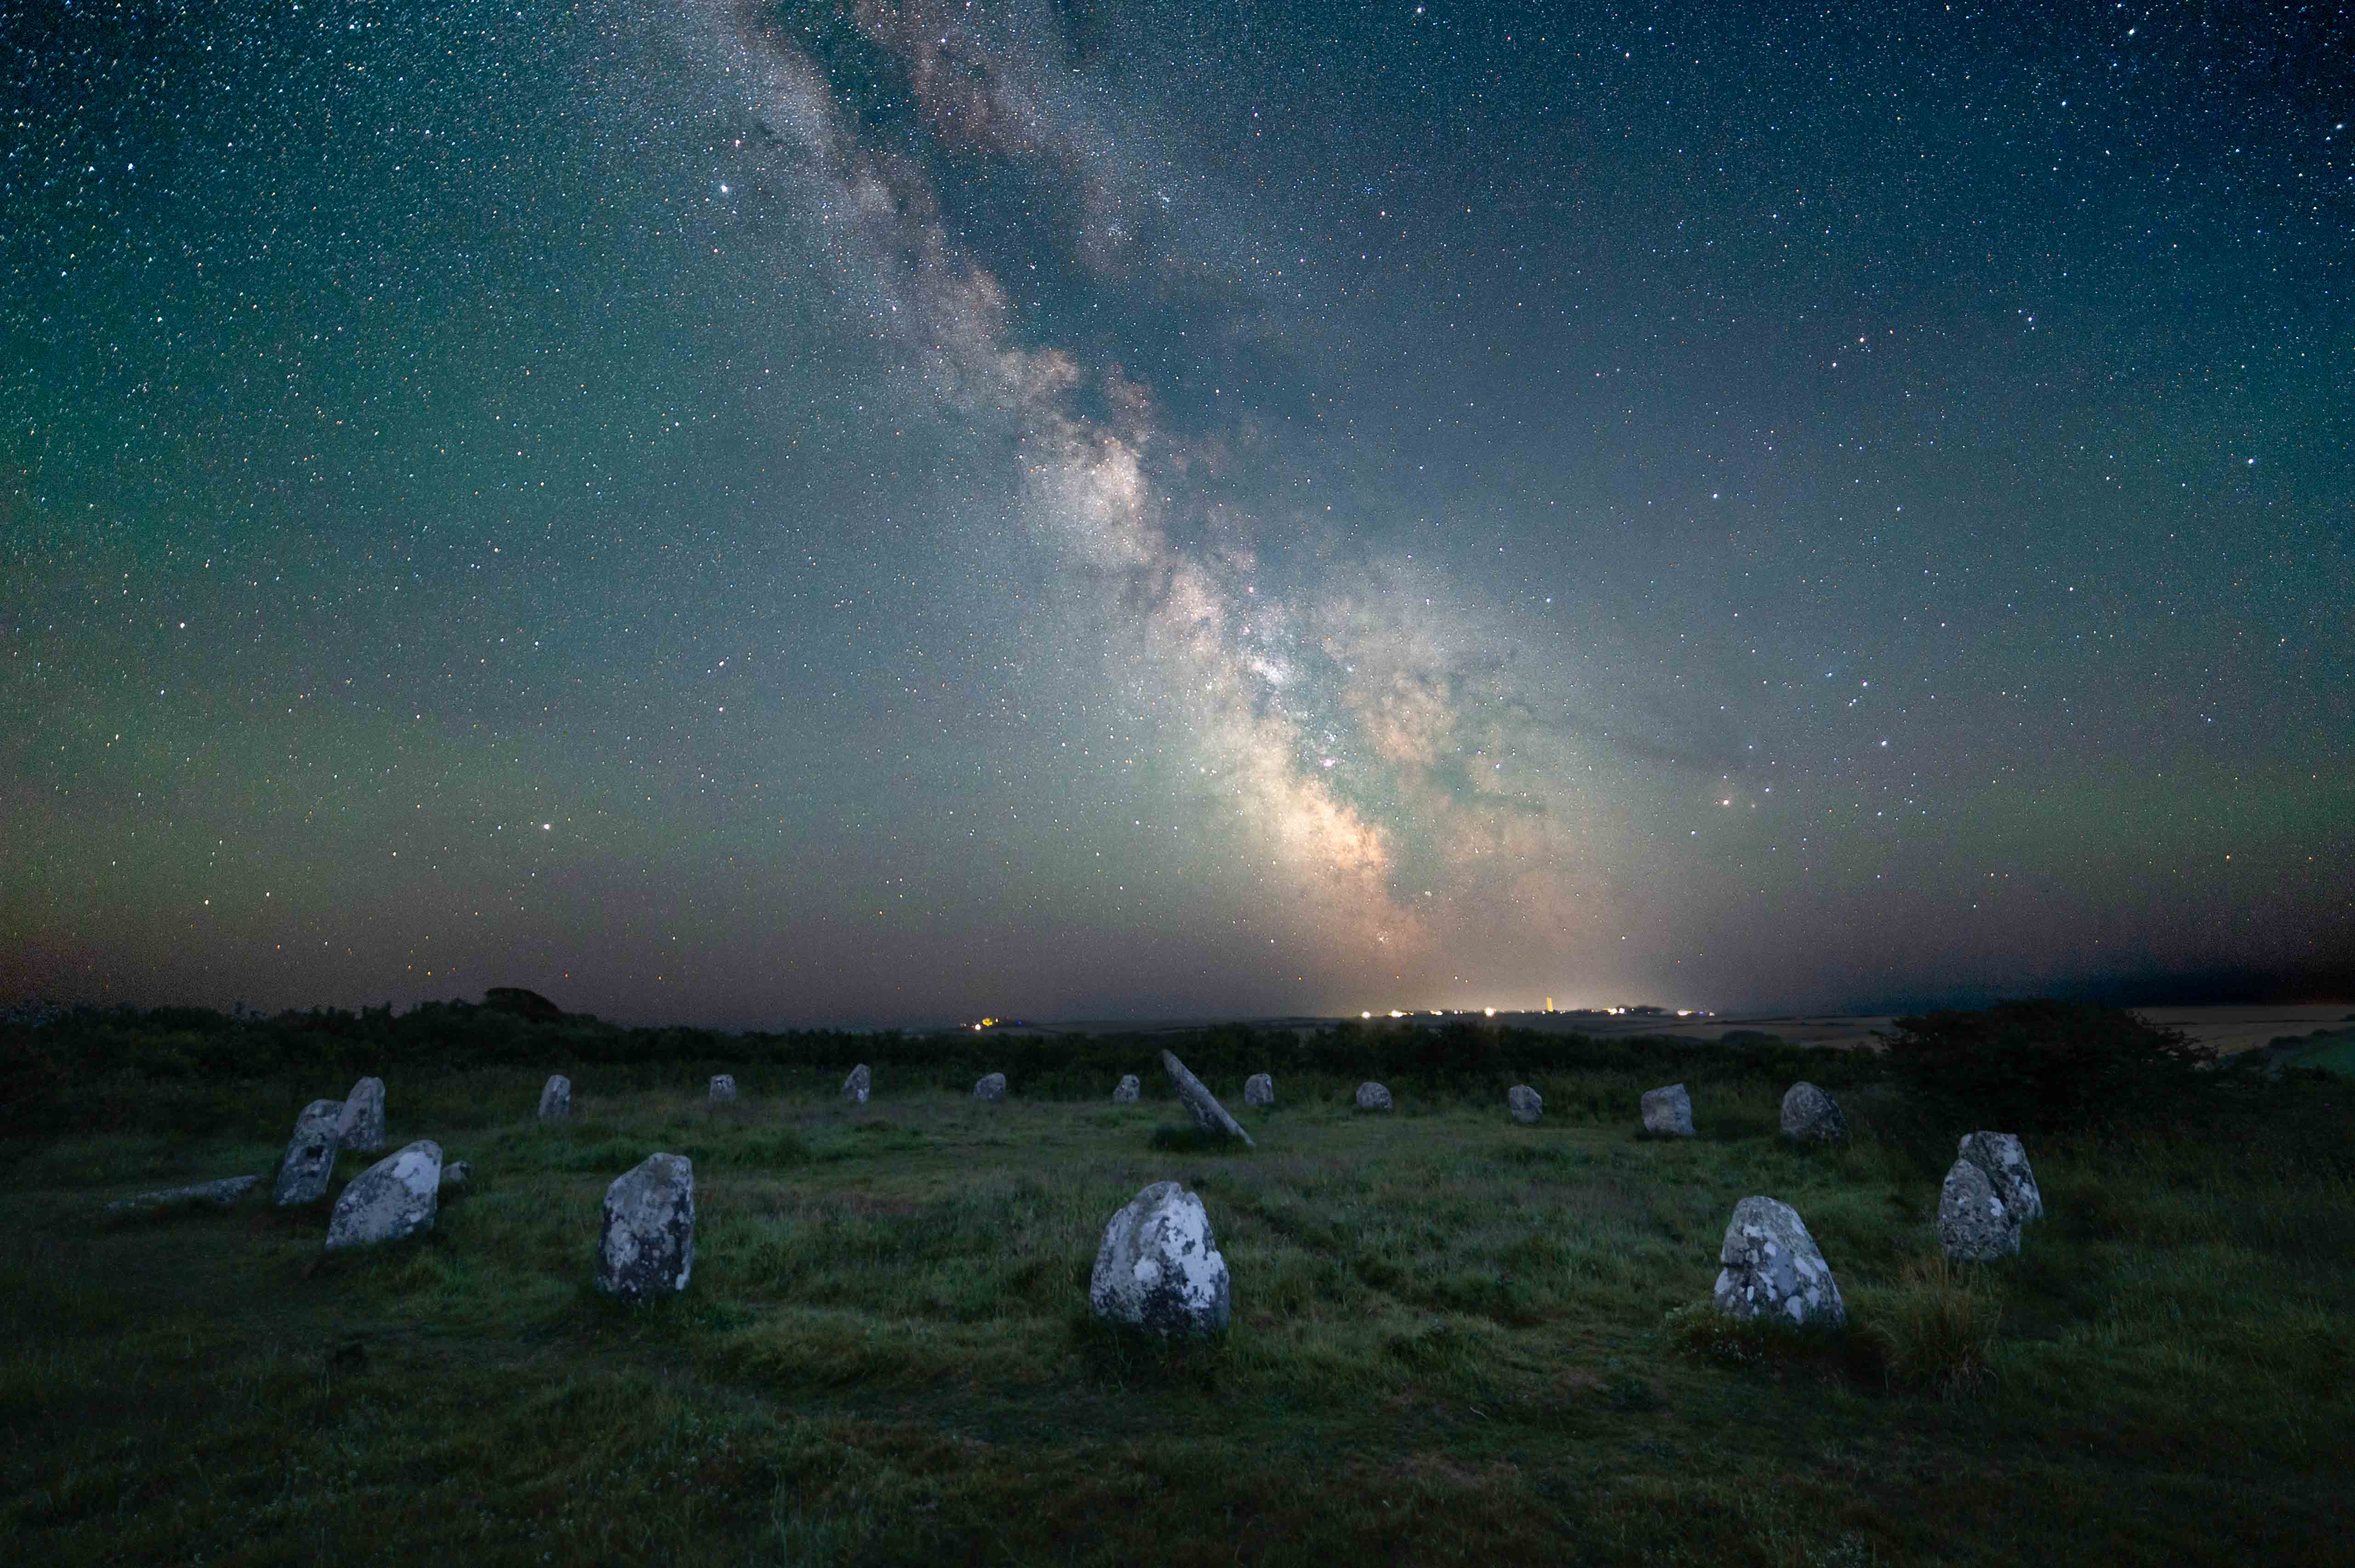
Even though you might not be able to see it with the naked eye, photographing the Milky Way isn’t as difficult as it first seems. It’s easy to find remarkable pictures online of the Milky Way glistening brightly, fronted by a forest or other landmark, and become despondent… but it is easier to capture than you might think. With a bit of planning and practice anyone with a camera - especially one of the best cameras for astrophotography - and a decent lens can capture the Milky Way. Be warned, however, that running around in the dark chasing the glowing arm of our galaxy can become addictive!
There are lots of things you can try as you get better at Milky Way shooting, but this guide will get you up and running from a standing start. There aren’t actually that many differences between shooting the Milky Way and regular astrophotography, although the timings and direction you shoot in need to be considered. If you’re just getting started and want the basics, we do have a beginners guide to astrophotography.
- Read more: Milky Way: Facts and images
Basic equipment for shooting the Milky Way
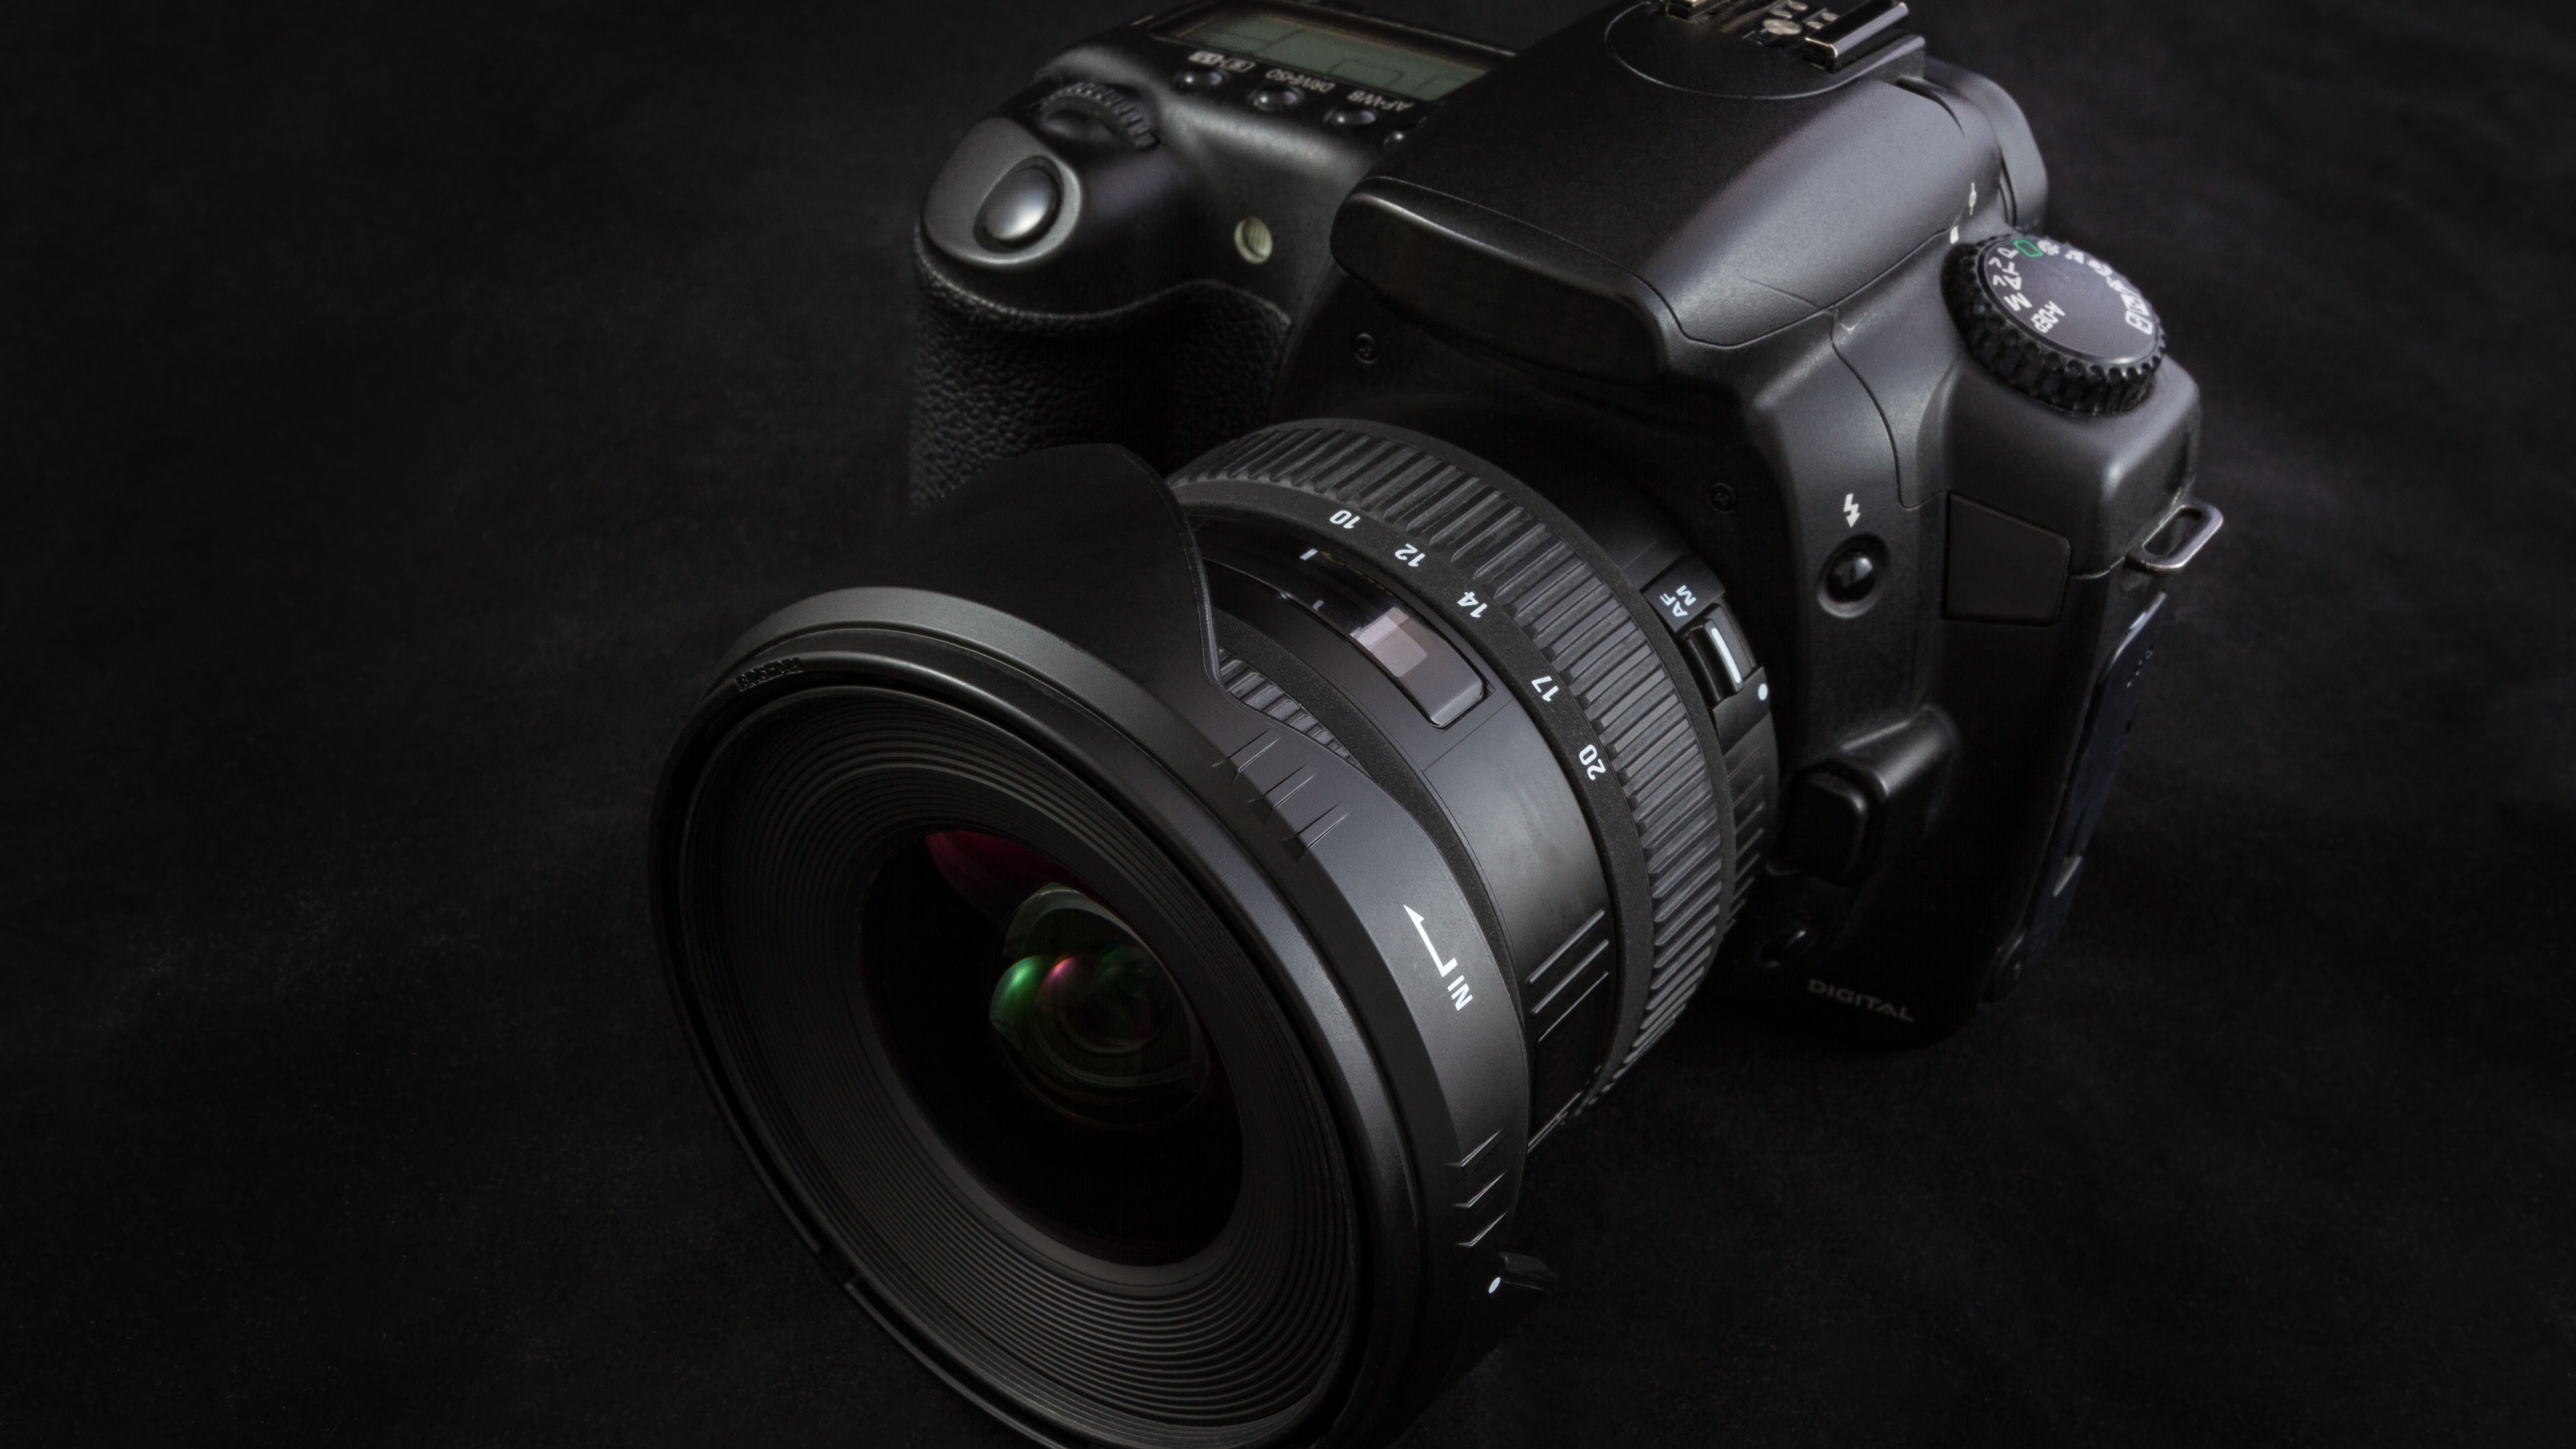
These days it is possible to capture the night sky with a phone camera, especially more modern ones with a dedicated ‘night mode’, but for this guide we will focus (excuse the pun) on using a standard interchangeable lens DSLR or mirrorless camera. You’ll need:
- A camera – any DSLR or Mirrorless camera will be fine
- A ‘fast’ lens - that’s one with an aperture rating ( f/ number) of f/2.8 or faster. Generally, we advise a wider lens (24mm or less) for beginners, as they are easier to work with when starting out
- A tripod – most tripods are fine, but make sure it can hold your camera completely still! We have a guide to the best tripods for astro.
- A remote shutter release – you can use a wired, wireless or phone app release. Your camera’s built-in self-timer is a good alternative.
- A head torch with a red light mode – not essential, but it can make a huge difference, as red light doesn’t affect your natural night vision.
Planning your shoot
Once you’ve got all your kit together, you will need to do some planning. Things you need to find include: a clear sky, a dark sky location, and the visible part of the Milky Way in the sky. This means having your camera facing the right way and at the correct angle, which isn’t always obvious.
The Milky Way Season is generally considered to be February to October. There are lots of factors that affect its visibility, depending on your location and the time of year, but we’d recommend using an app such as Photopills, Star Walk 2, SkySafari 6 Pro, or Stellarium to pick the right time to go outside based on your location. In general, the Milky Way Core will be to the south, so keep that in mind when planning your shot.
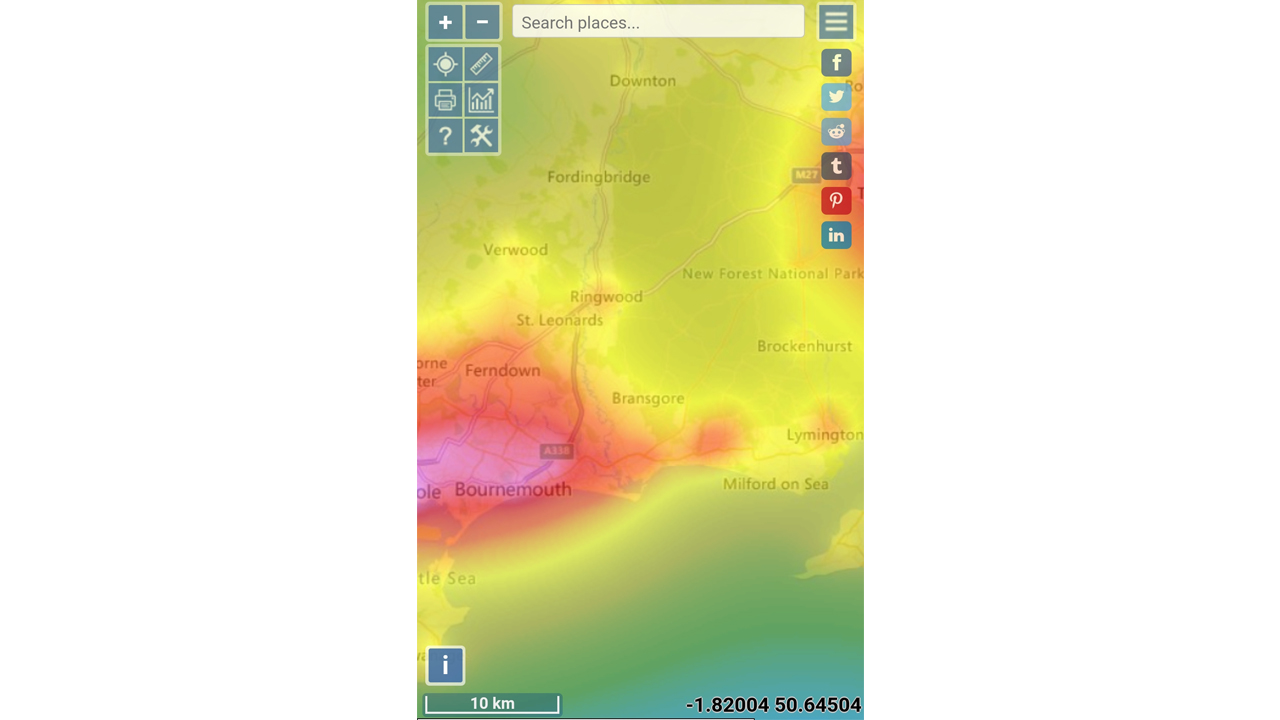
Next you need a dark site (one with as little light pollution as possible), and there are various websites that can help with this such as Dark Site Finder and Light Pollution Map.
Finally, you need a clear sky, so keep an eye on the weather forecast!
Get your set-up right
Before you leave the house, get your camera ready. This saves much fumbling about in the dark while possibly wearing gloves. Set your camera to Manual (M) mode, make sure you are shooting in raw, and turn your screen brightness down to its minimum.
It can be a good idea to practice the basic process in the dark in your garden or somewhere close to home before heading out.
Mount your camera on the tripod - not always easy in the dark when the camera, lens and tripod are all colored black - and practice focusing on the stars in the dark. You will almost certainly need to learn manual focus, which can be quite a barrier for some people, though digital cameras help immensely thanks to the screen on the back which means you don’t have to contort to peer through the viewfinder. Pick a bright star (or very distant light), use any sort of focus zoom you can (most cameras have this) and adjust the focus until the star/light appears as small as possible. Alternatively, if you know the exact infinity focus point on your lens you could use that, but be sure to check it’s right. When you are using a zoom lens, you will almost always need to refocus if you change the focal length.
Basic settings for shooting the Milky Way
Your exact settings will vary night by night, but you need to always use the widest/fastest (lowest f/ number) aperture your lens will allow. If this is f/2, and you are in an area with a little light pollution, then we would recommend starting with f/2, ISO 3200 and 15 seconds.
ISO 1600-6400 is usually used by Milky Way shooters, but remember that the higher the ISO the more noise you will get, though some modern mirrorless cameras have made remarkable strides in producing clean high-ISO images. We have a guide to reducing noise in astrophotography, if you need it.
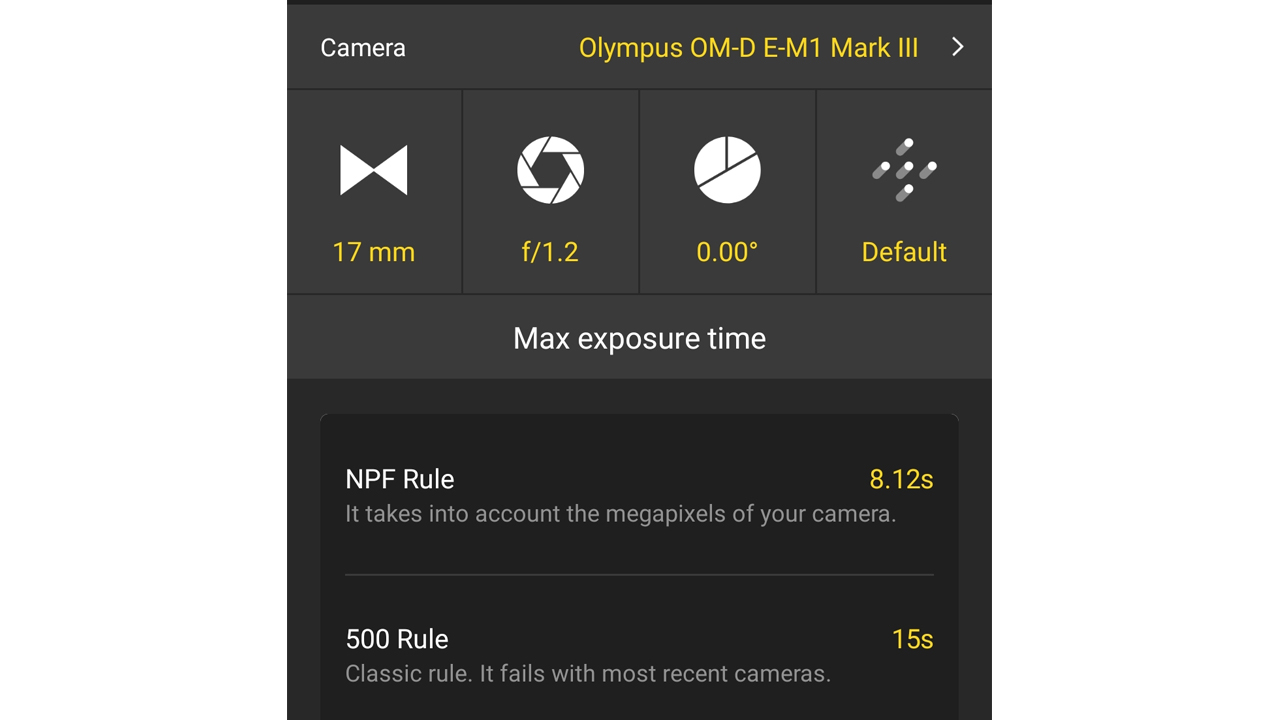
Your shutter speed is important, as if you leave it open for too long the stars will start to trail, especially at the edges of the frame. Use 500 divided by your lens’ focal length (for full frame, try 300 for crop-frame) to get the maximum exposure time to avoid trailing. Alternatively, a little trial and error can be applied - keep adjusting the shutter speed and checking the resulting picture. Zoom in and, as soon as the stars become ovals, you know you have gone too far.
Tips for your first shoot
Get on site during daylight hours if you can, to scout out your spot and get set-up safely. Lock your tripod legs in position, use a compass to make sure you’re facing the right way, mount your camera, connect your shutter release and check everything is secure.
Once it’s dark enough that the stars become visible, focus on them and compose your final shot. By temporarily setting the ISO very high (ISO 12,000 or even greater if your camera supports it) you can take a quick (2-3 sec) test shot to check your focus and composition, before discarding it. It was probably very noisy, but served a purpose.
Finally, dial in your main settings and shoot. Review the image for pin-sharp stars, making sure they are not blurry (check focus) or beginning to trail (increase the shutter speed). Also don’t forget the basics like straight horizons and keeping some foreground interest in the frame.
Editing your Milky Way photos
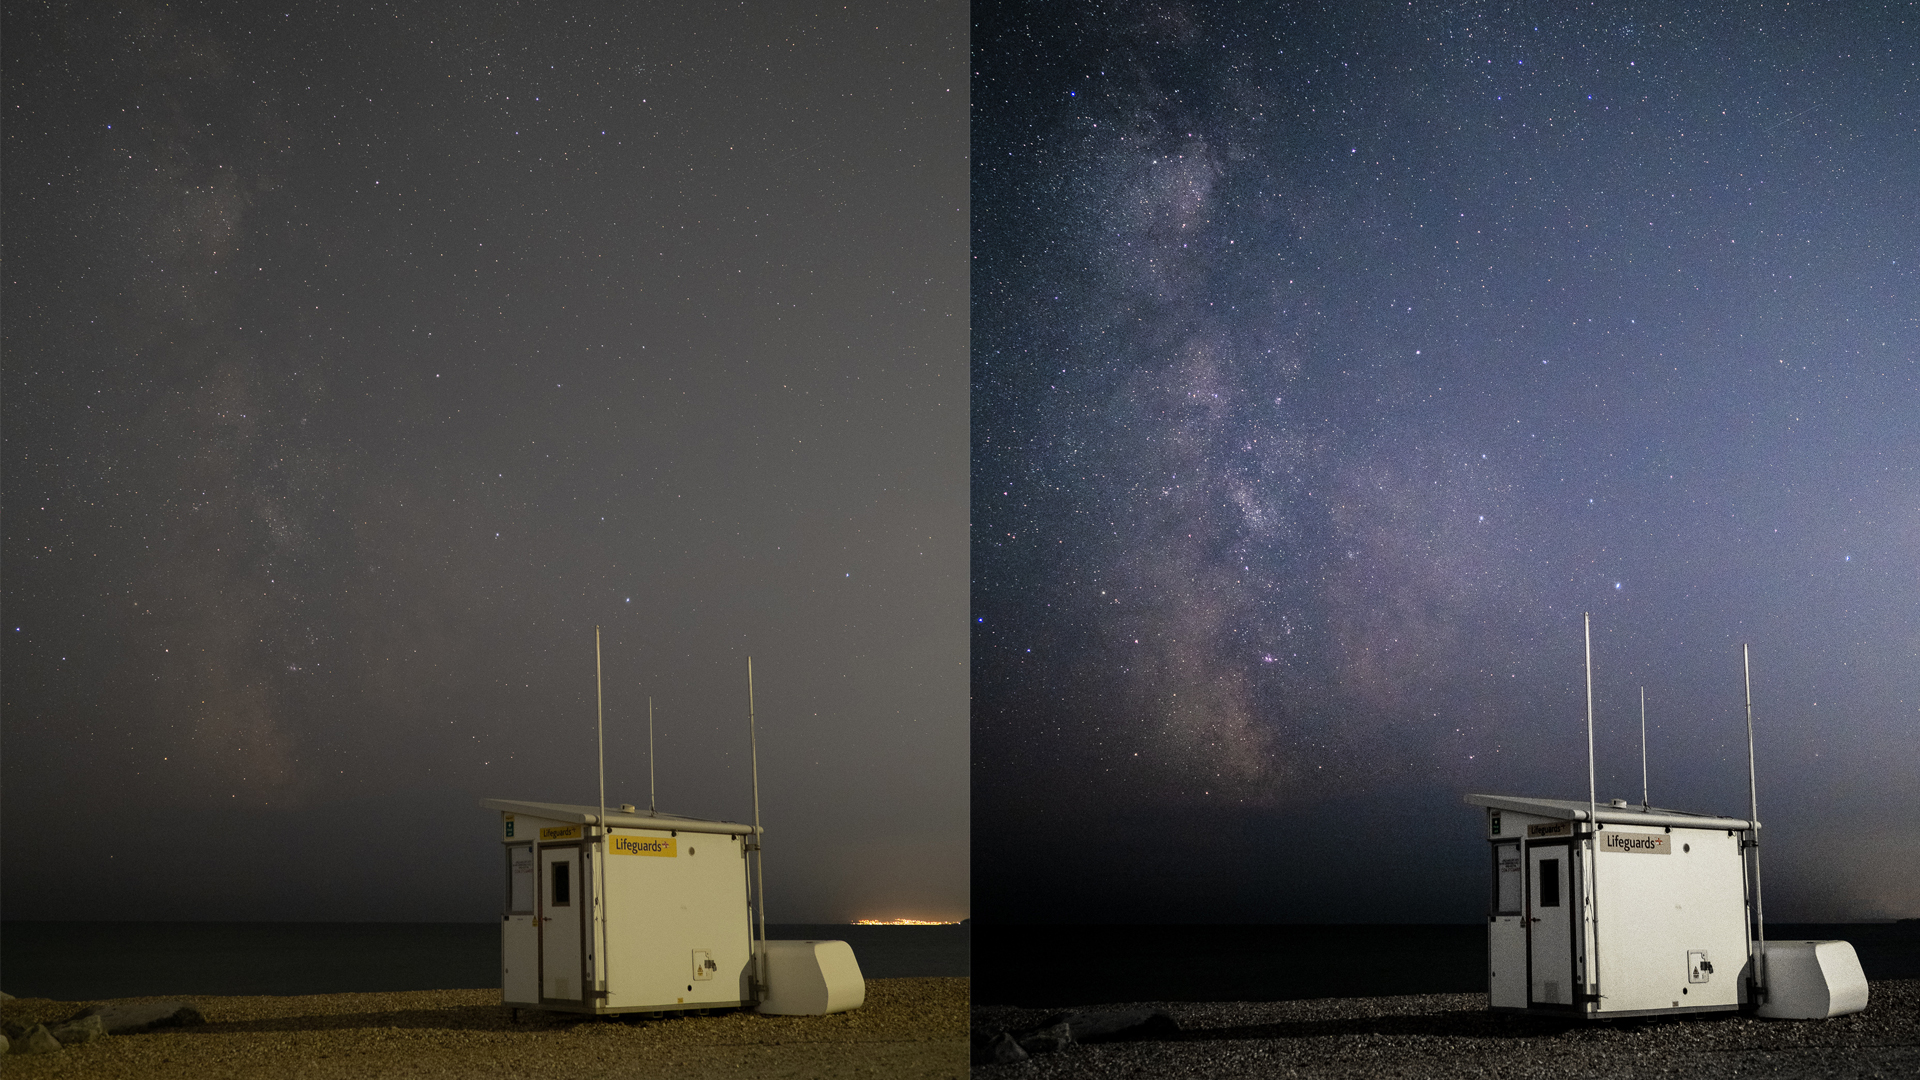
Most digital photos, and all raw images, will benefit from editing, and this is especially true of those attempting to capture the Milky Way. Remember editing is very much a personal preference, so do not be afraid to experiment. And check out our reviews of the best photo editing apps.
The first thing to do after importing files is to adjust the white balance. This is something you can only do if you’ve shot raw files - JPEG shooters are stuck with the setting from the camera - and can make a huge difference to the colors in an image. Somewhere between 4000k-5000K usually works well. You will almost certainly need to increase the exposure, and we usually find shots need to be pushed by one or two stops.
We usually decrease the highlights and increase the contrast and shadows a little, to really being out the details of the dust lanes and bright spots in the Milky Way. If you are comfortable using radial gradients, then they can be fantastic for adding some extra touches to the final result. Try adjusting the clarity, dehaze and whites sliders to make the Milky Way pop a bit more. Remember that it is meant to be white, against a dark background, so if you’re trying to retain the proper colors, don’t go crazy with any color adjustments. Don’t, however, be afraid to experiment - the best thing about raw image processing is that it’s entirely non-destructive, and you can always go back to your original image, or just use the Undo button, if you feel you’ve made a mistake.
Join our Space Forums to keep talking space on the latest missions, night sky and more! And if you have a news tip, correction or comment, let us know at: community@space.com.
Breaking space news, the latest updates on rocket launches, skywatching events and more!
Family man Tom lives in Bournemouth on the south coast of England. As an Olympus OM-D Mentor and Astrophotography workshop/webinar leader he spends a large amount of time sharing his knowledge and passion for the night sky and landscape photography. Tom is well known for his enthusiasm and friendliness, encouraging the social side of photography as much as the creative and technical aspects.
