Astrophotography time-lapse tips
Create your own astrophotography time-lapse videos by following these simple tips.
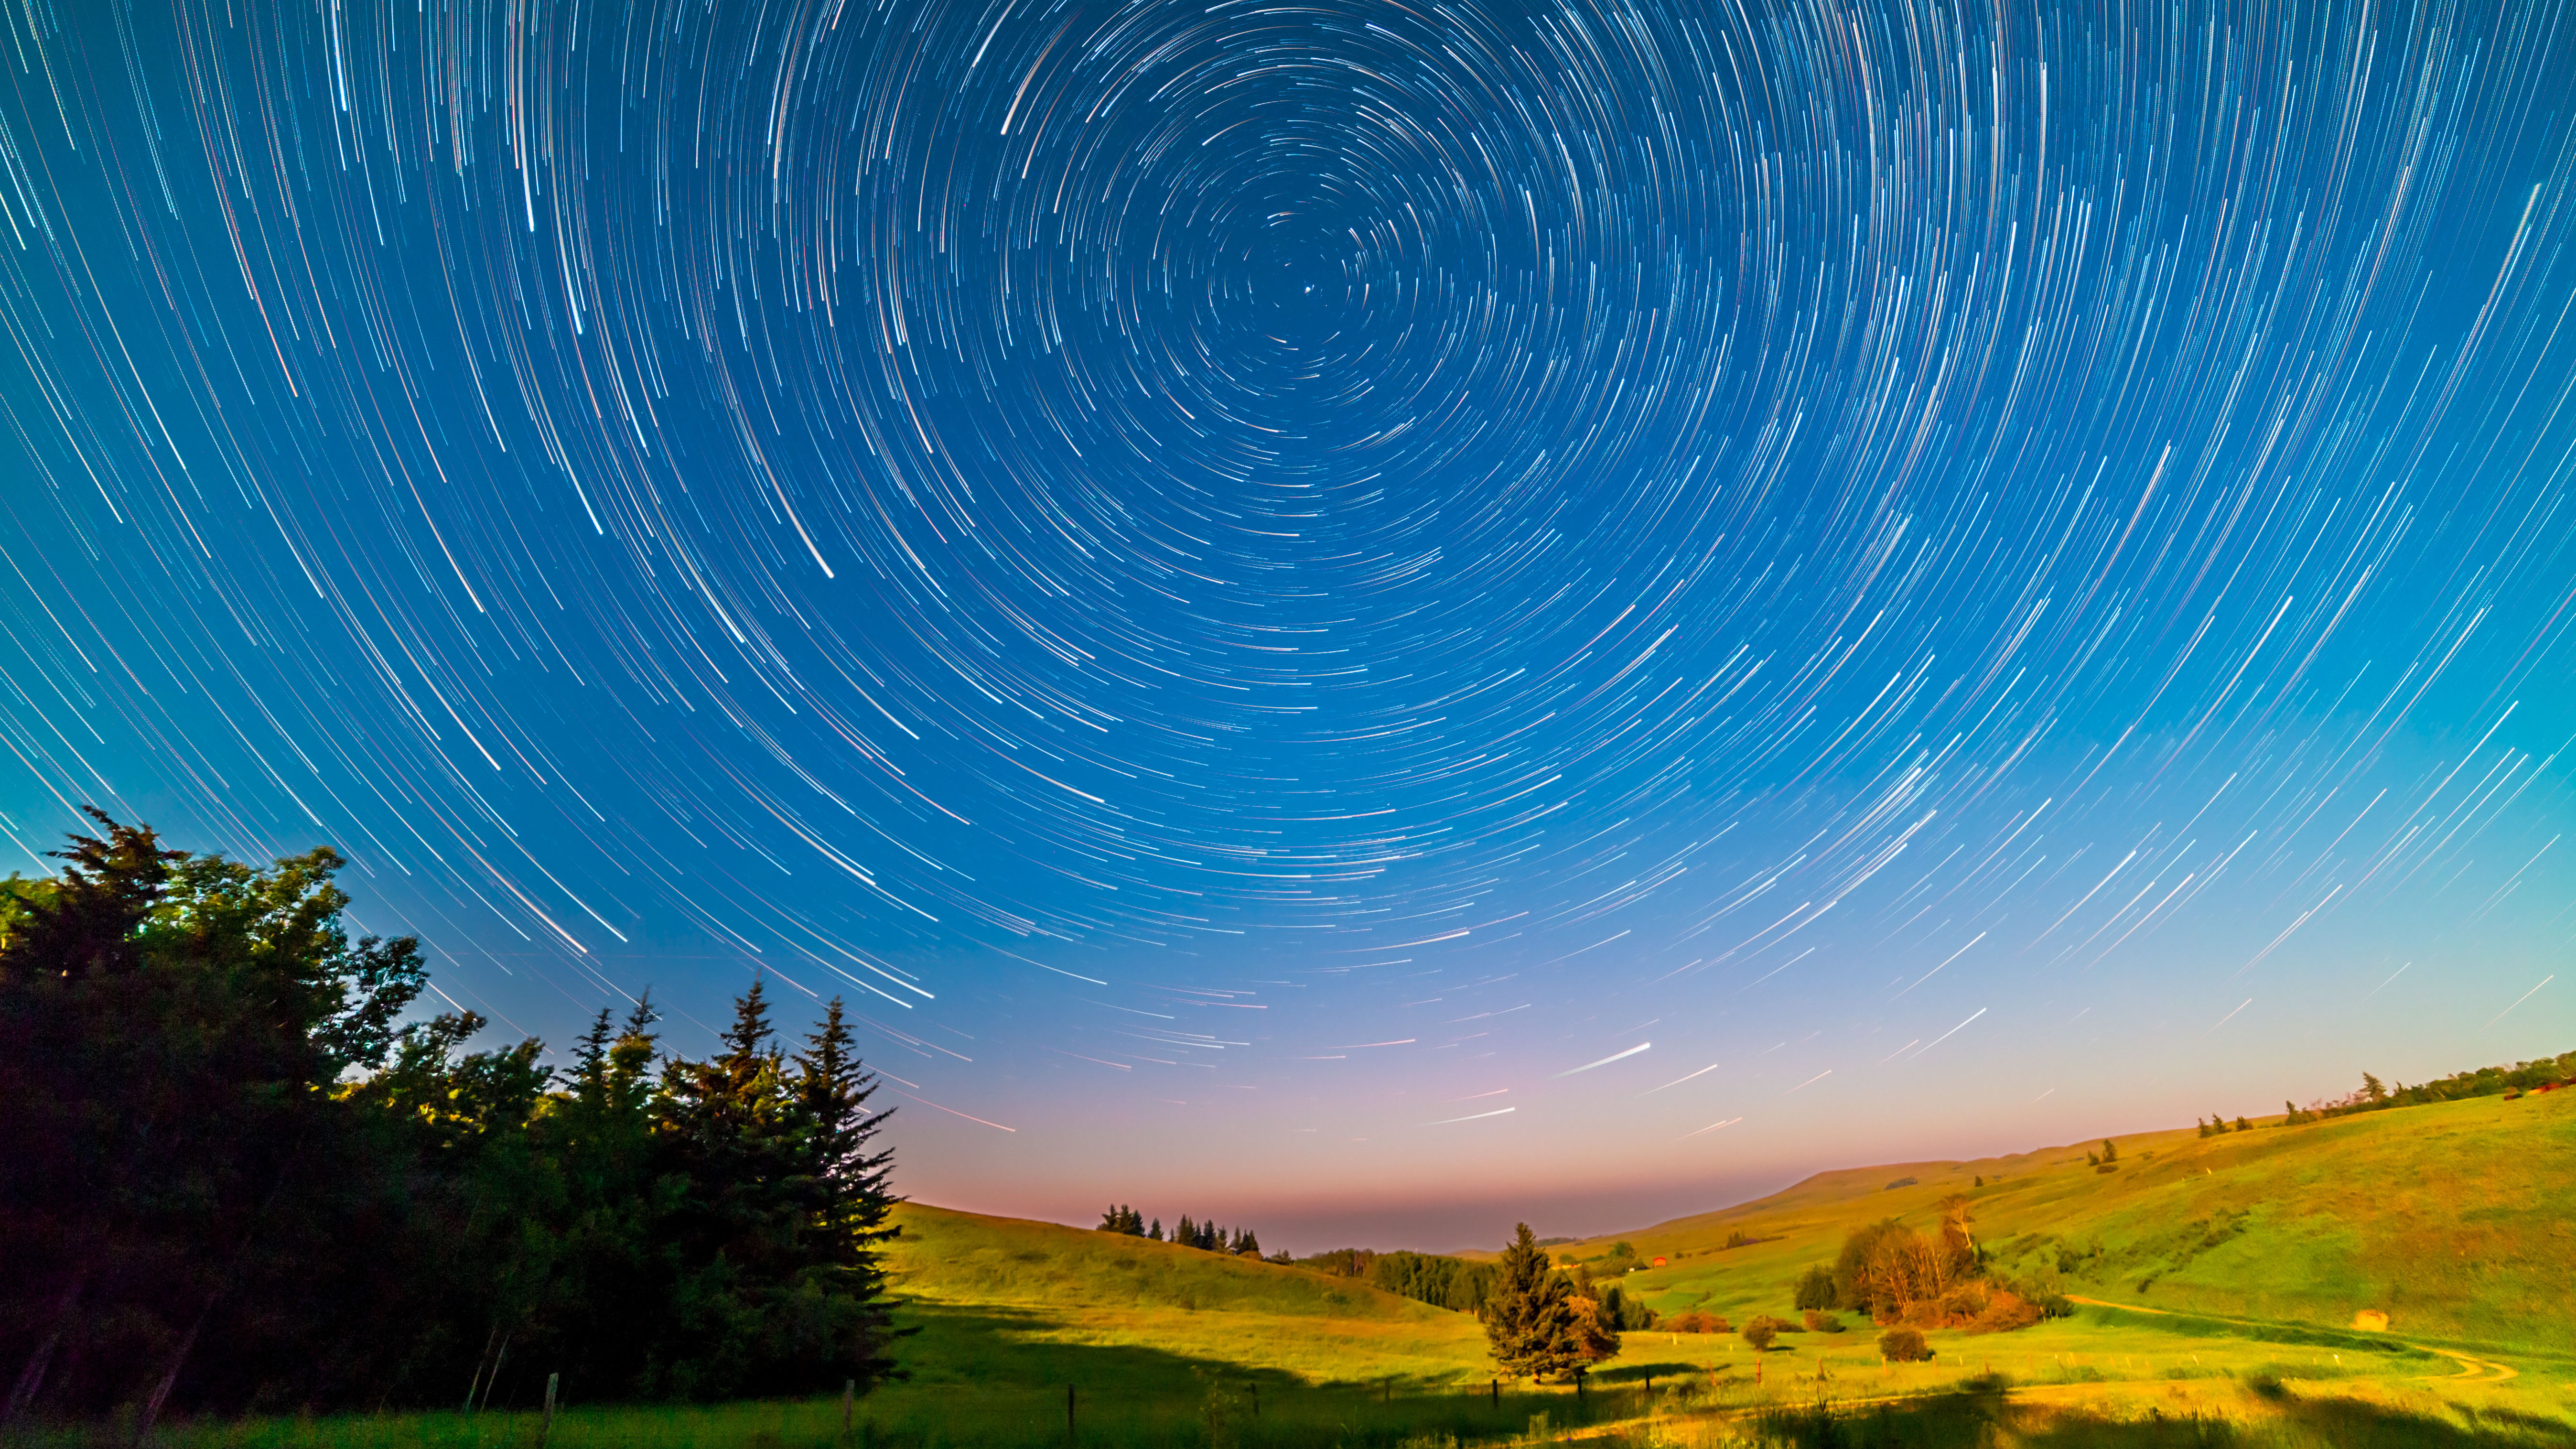
An astrophotography time-lapse video is a wonderful way of demonstrating your night photography skills. It can take a little while to get things right, but with some patience and practice you'll soon be time-lapsing like a pro. These skills can also be applied to many other types of photography, so it's well worth learning how to put a video together.
The basic idea of any time-lapse is to take multiple images in the exact same spot with a moving element of the scene. For astrophotography, this could be the moon, the Milky Way or some other wonder of the night sky. Or for normal landscapes, this could mean a cityscape, or perhaps a harbor, with rolling clouds or wheeling stars above.
Do I need any special equipment?
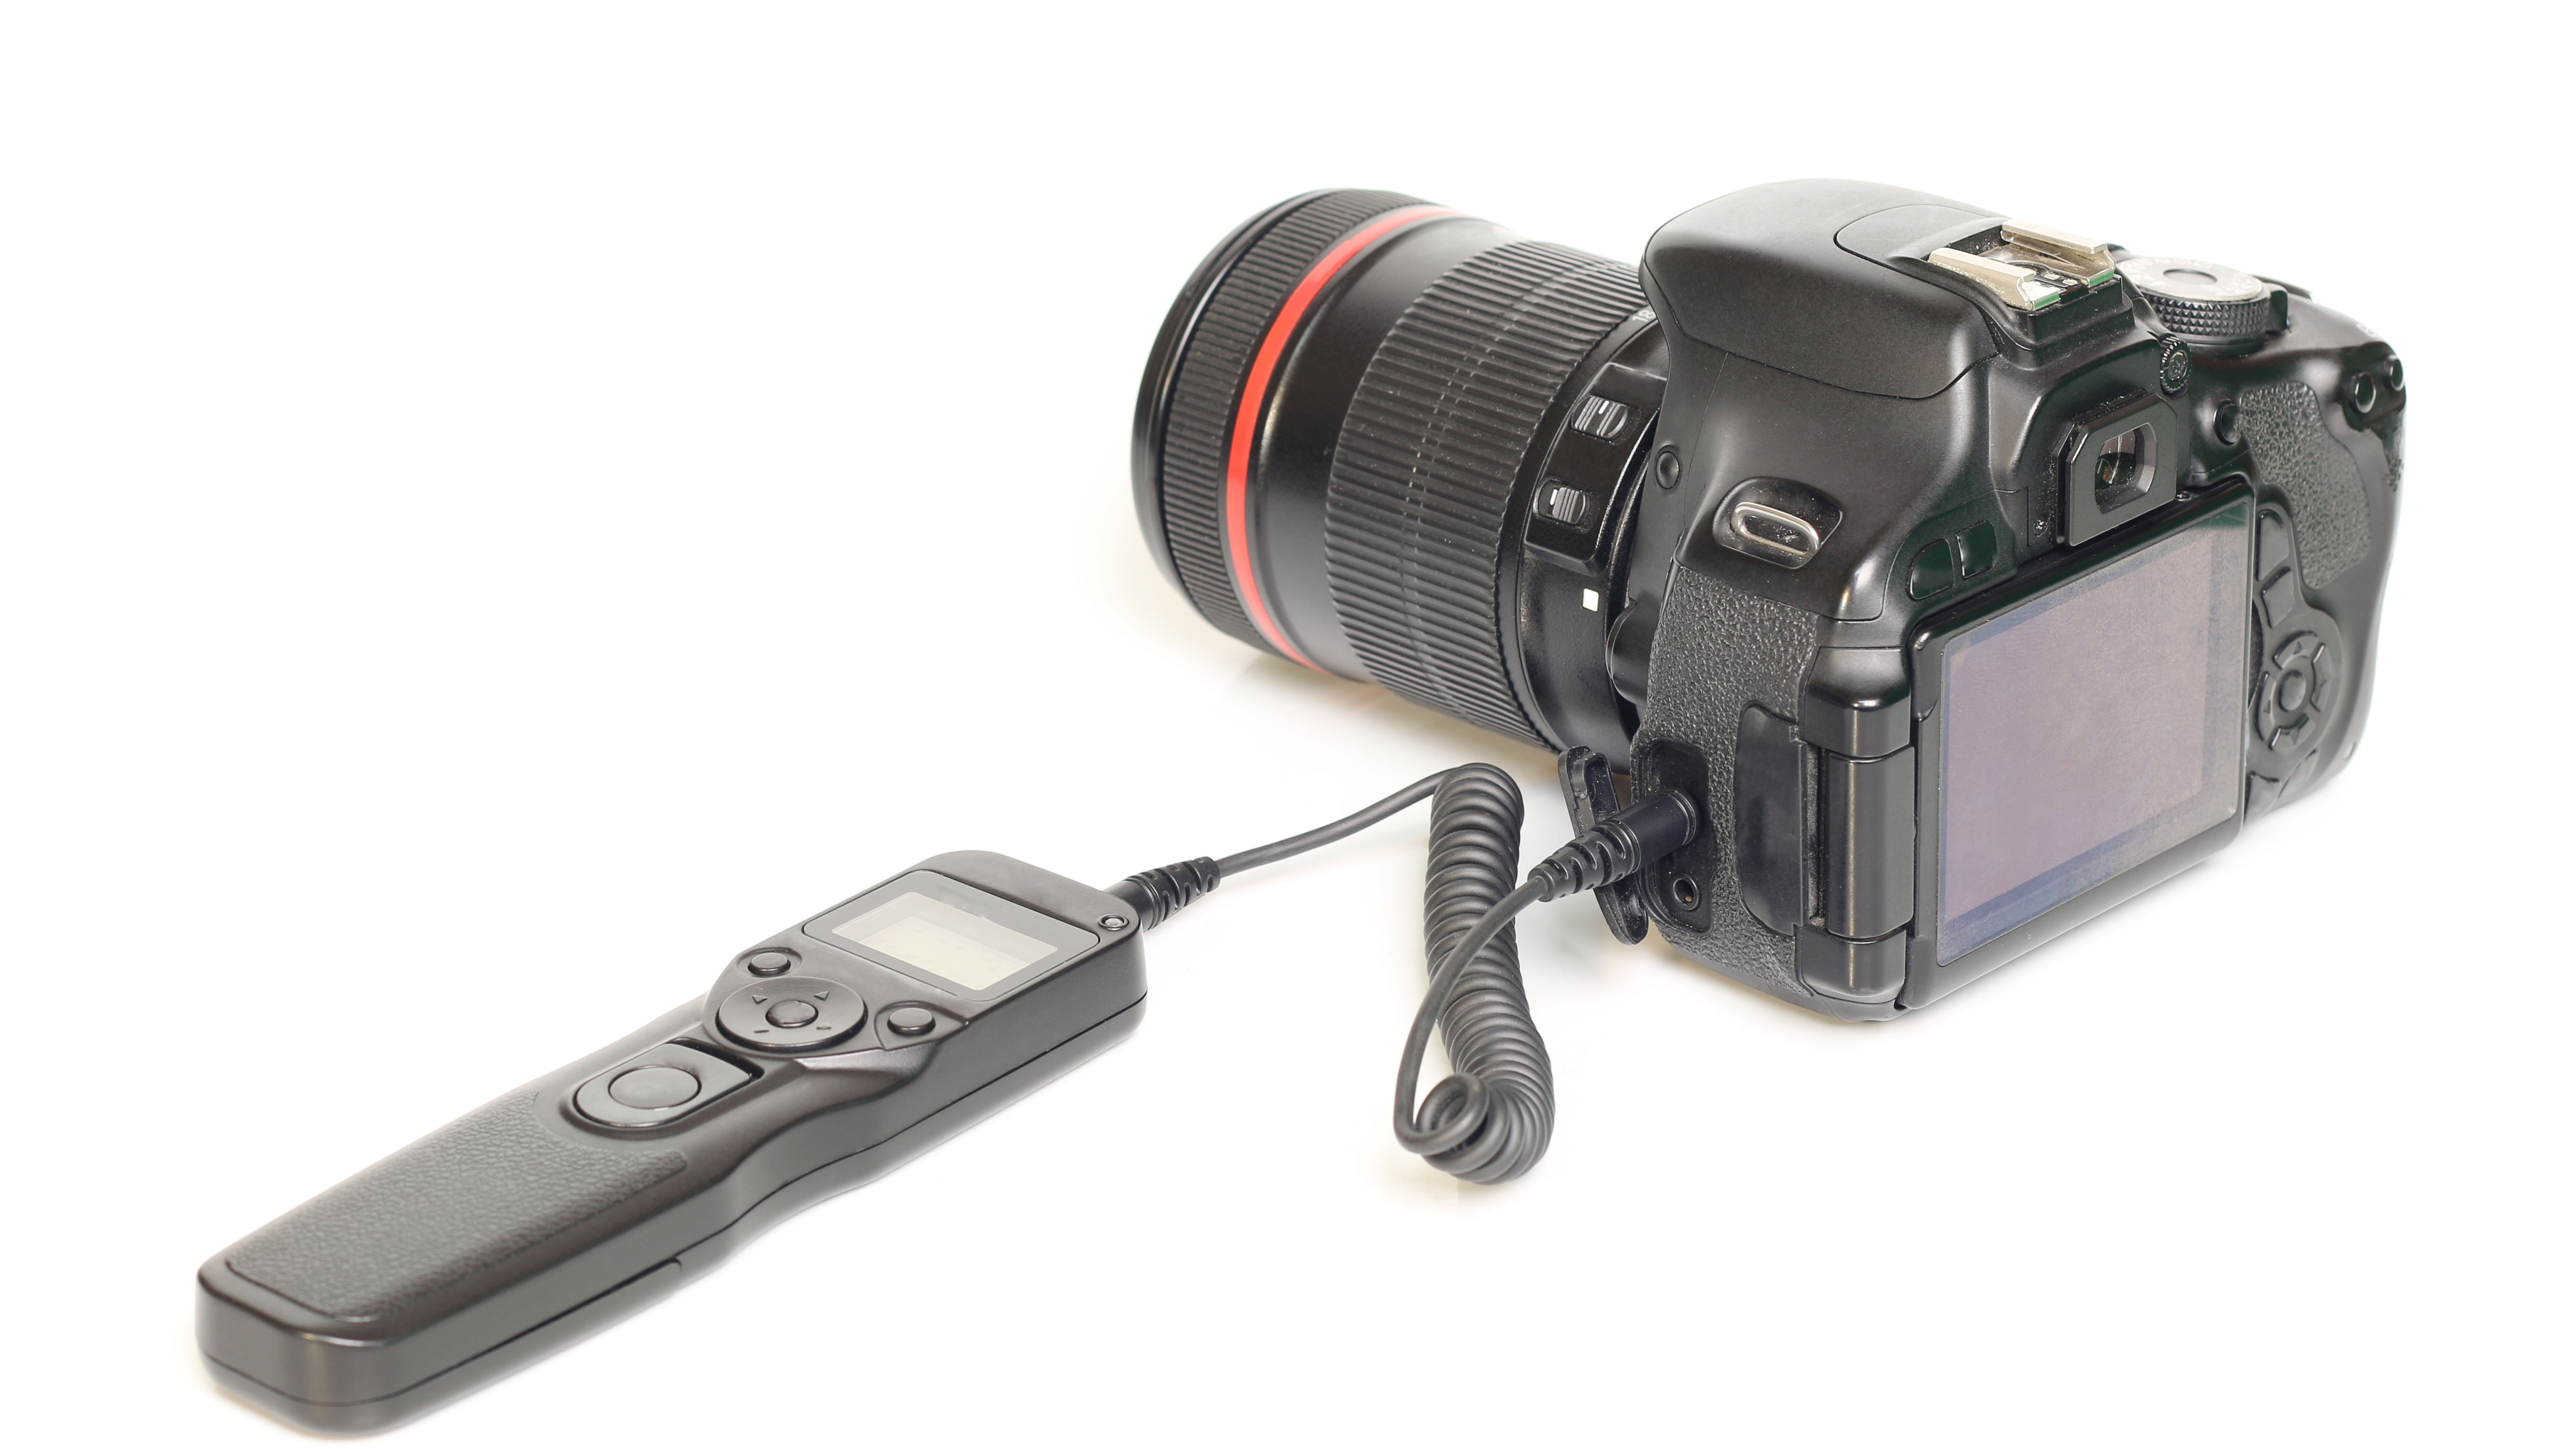
For shooting a night-sky time-lapse you'll need all the standard equipment (see our handy guide on astrophotography for beginners and how to photograph the Milky Way for more info) but importantly you will also need a way of taking multiple images without interacting with the camera.
You can always do this manually but, for astrophotography in particular, your images may be taken over a number of hours so this isn’t always practical. For the best results you will need some sort of intervalometer. This will either be built into your camera as an interval shooting mode or you can purchase a relatively inexpensive external one. You can then use this to time the intervals between your photos. Check out our reviews of best cameras for astrophotography.
How many pictures do I need?
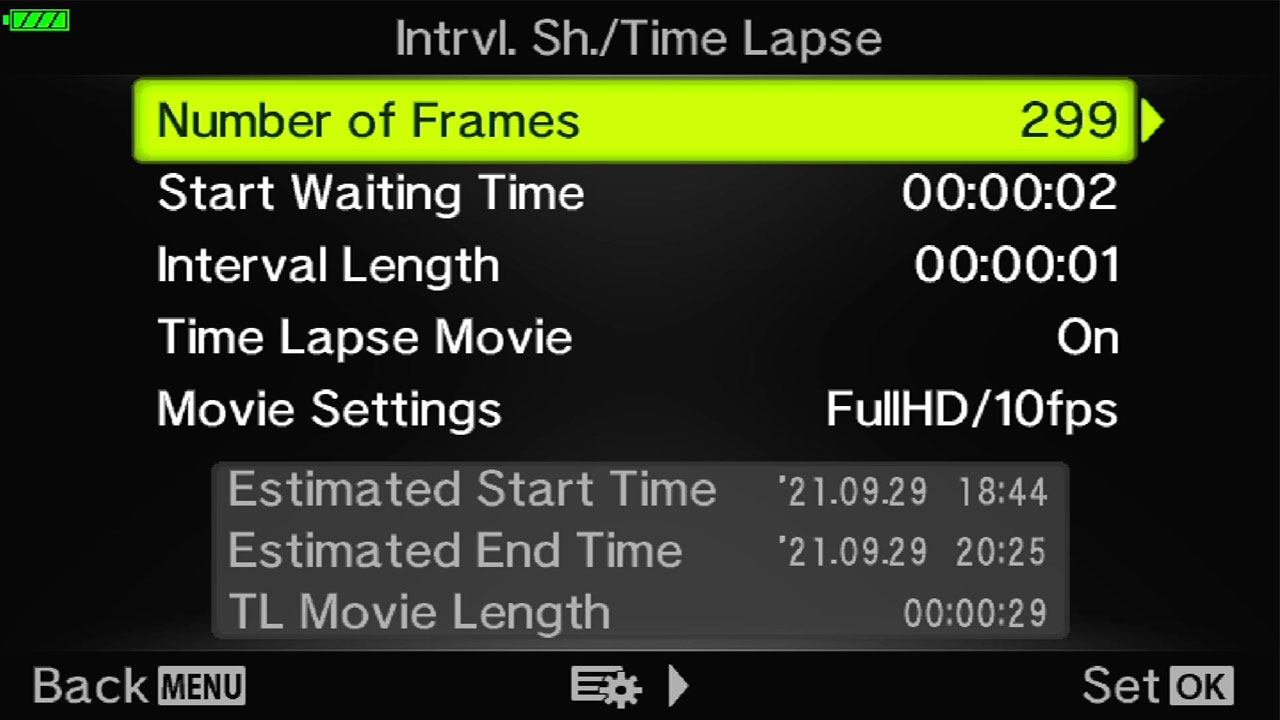
The simple answer is as many as you can take, as the more images you have the smoother the final time-lapse will be. The more precise answer is derived from the number of frames per second and how many seconds your time-lapse needs to be.
As a minimum we like to have a 10 second clip at 10 frames a second, so we would need 100 images. An ideal clip might be around 15 seconds long at a standard 24 frames per second, which at 360 images could take quite some time to capture with long night time exposures - 15 x 24 x 21 (20 second exposure + 1 second interval between shots) = 7560 seconds or 126 minutes (which on a late night in March can get very chilly so wrap up warm!)
How to compose the shot
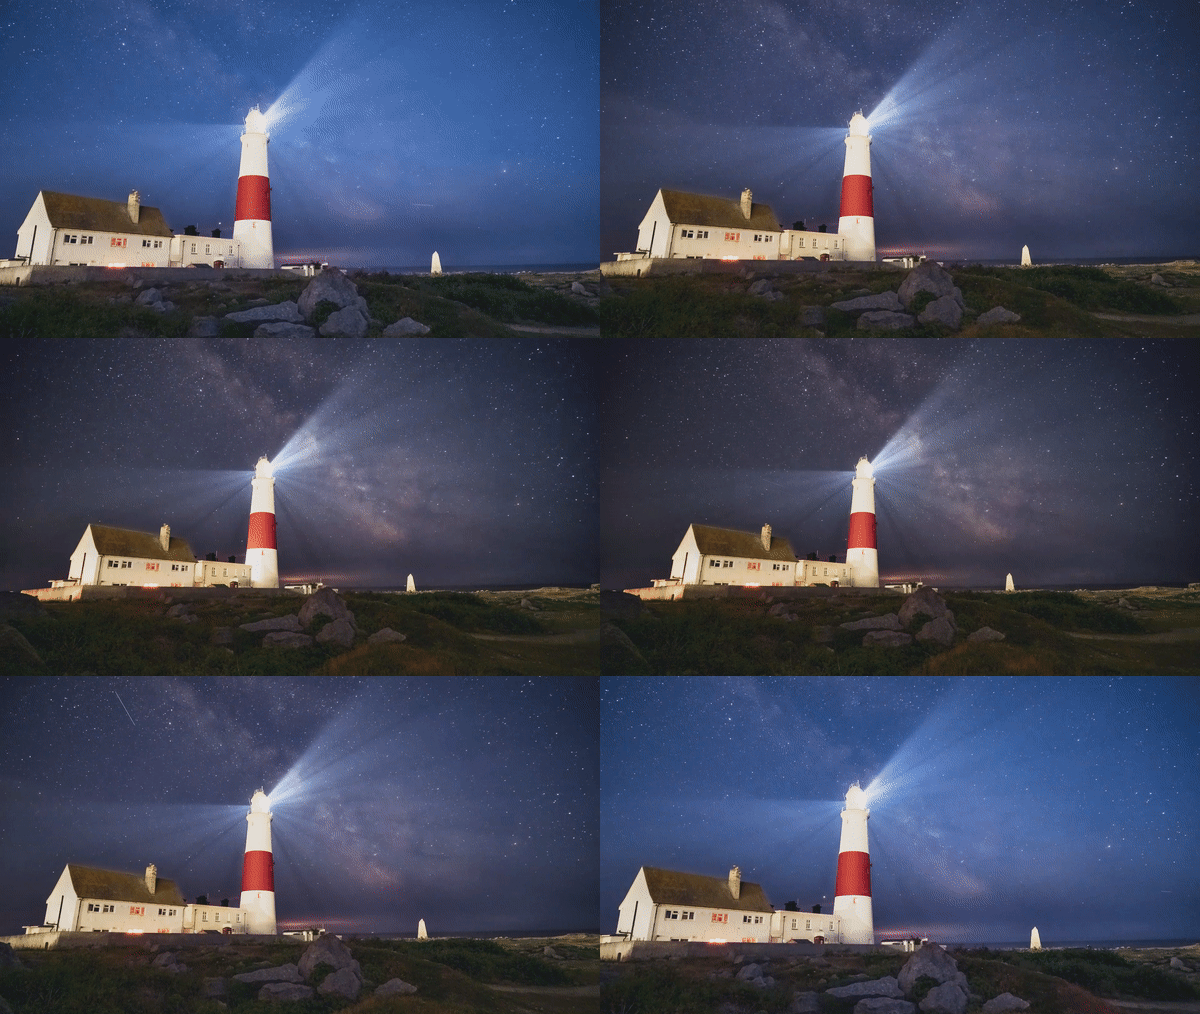
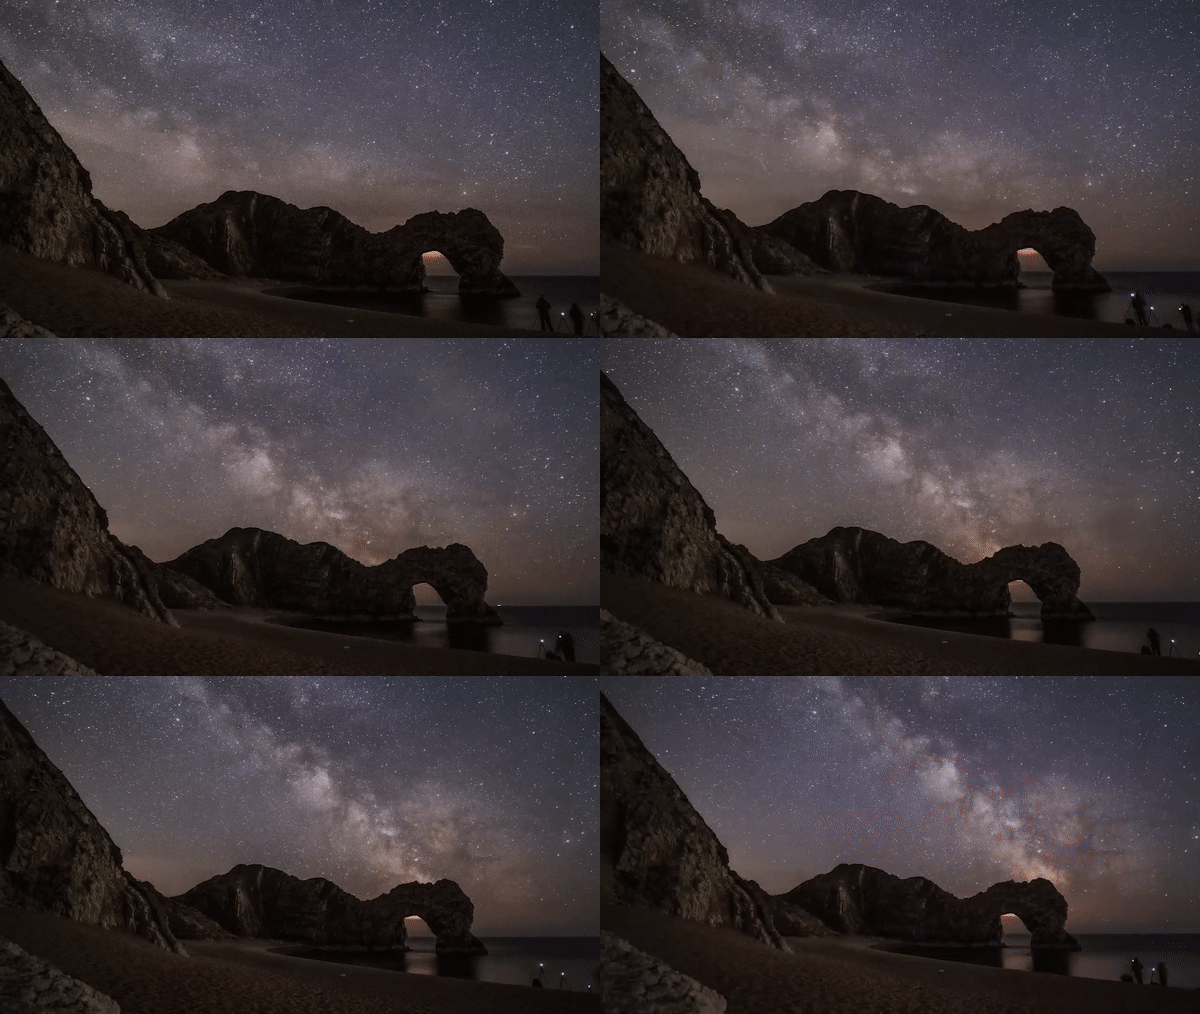
To really highlight the sense of motion, it is a good idea to try to include a static element in your composition as well. Try and find a landmark or structure to add extra interest to the view and emphasise the movement in the rest of the composition. You'll see a lighthouse and a rock formation included in the time-lapse clips on this page, which add a static focal point to the images.
How to edit the sequence
Once you have downloaded your images, you need to edit them consistently, so that the final sequence looks natural and minimises flicker. Most editing software allows you to either synchronise or copy the edit settings to multiple images at once. Always use an image from the middle of your sequence as your base edit.
How to stitch the images together
There are many software packages - some of them we consider the best photo editing apps - that will do this for you automatically but in nearly all instances you first need all the pictures in a single folder and numbered sequentially. Export your images from your editing software and look for an export setting that will add a number sequence automatically (Lightroom is great for this).
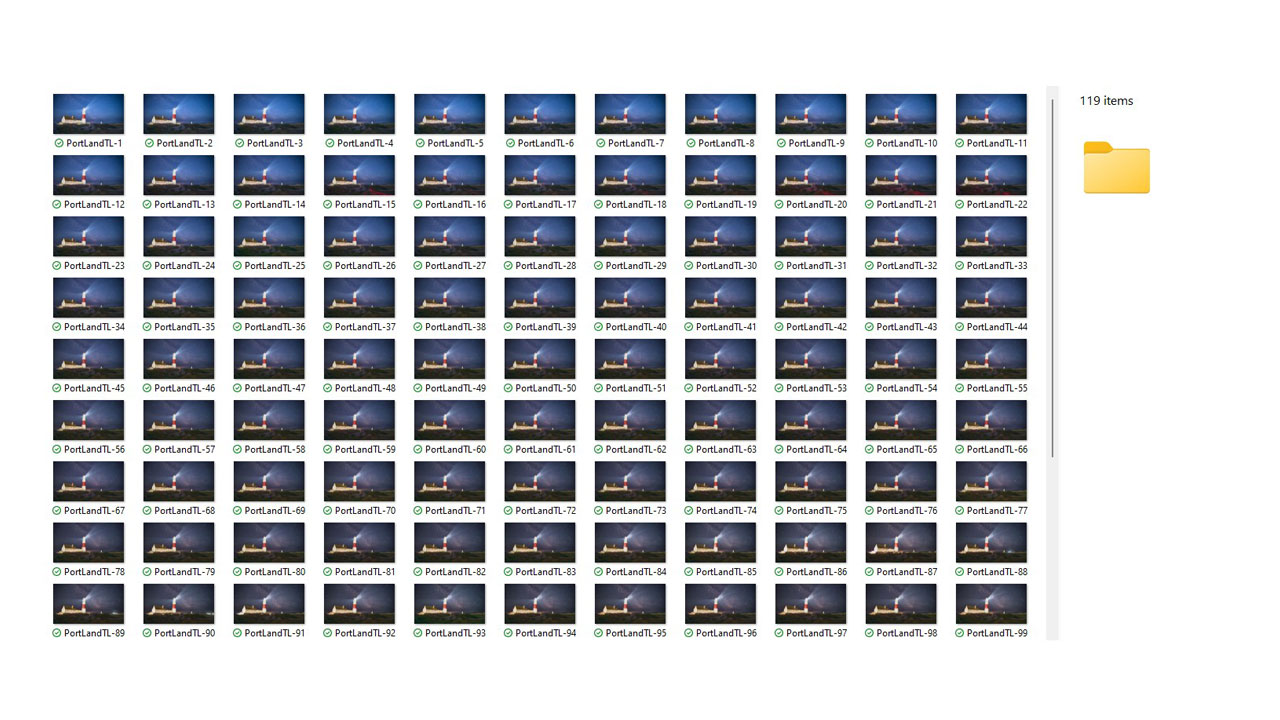
Lightroom Classic (Slideshow), Photoshop (Image Sequence), Premier and Davinci Resolve (our personal favourite) all have time-lapse features of some sort. If you get serious about your time-lapses there is also a neat Lightroom extension called LRTime-lapse (free for non-commercial use). Some packages will also allow you to add music which can really add to the clips final impact.
Join our Space Forums to keep talking space on the latest missions, night sky and more! And if you have a news tip, correction or comment, let us know at: community@space.com.
Breaking space news, the latest updates on rocket launches, skywatching events and more!
Family man Tom lives in Bournemouth on the south coast of England. As an Olympus OM-D Mentor and Astrophotography workshop/webinar leader he spends a large amount of time sharing his knowledge and passion for the night sky and landscape photography. Tom is well known for his enthusiasm and friendliness, encouraging the social side of photography as much as the creative and technical aspects.
