How to photograph meteors and meteor showers
Meteors and meteor showers make excellent subject matter for astrophotographers. This guide shows you how to capture them at their very best.
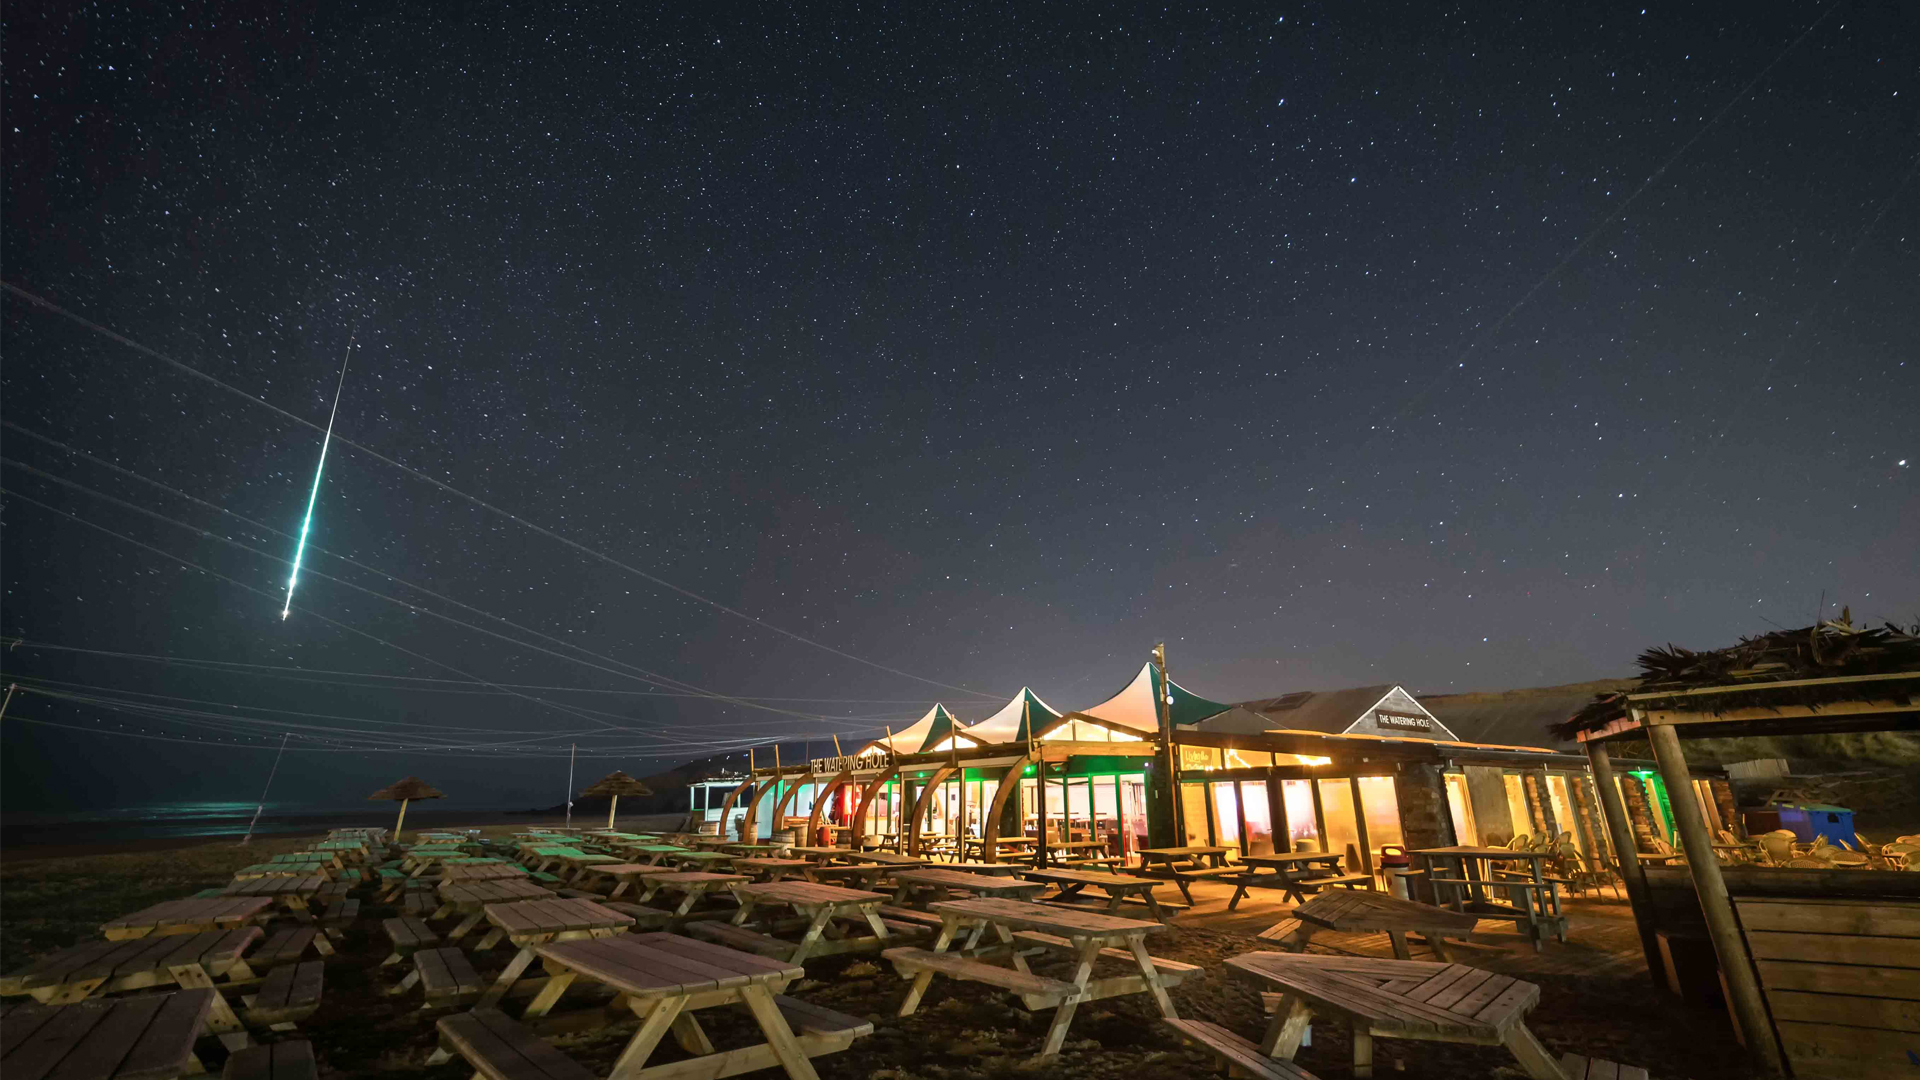
Catch the Perseid meteor shower at its peak tonight, Aug. 12, 2024.
Meteors and meteor showers are some of the most exciting events you can see in the night sky, but they can be incredibly tricky to photograph, especially without prior planning. In former years you would have needed to spend a small fortune on rolls of film and developing costs just to capture one decent image, and even then, it would have been difficult to know exactly where to point your camera in order to get a high-quality shot in such a fleeting amount of time.
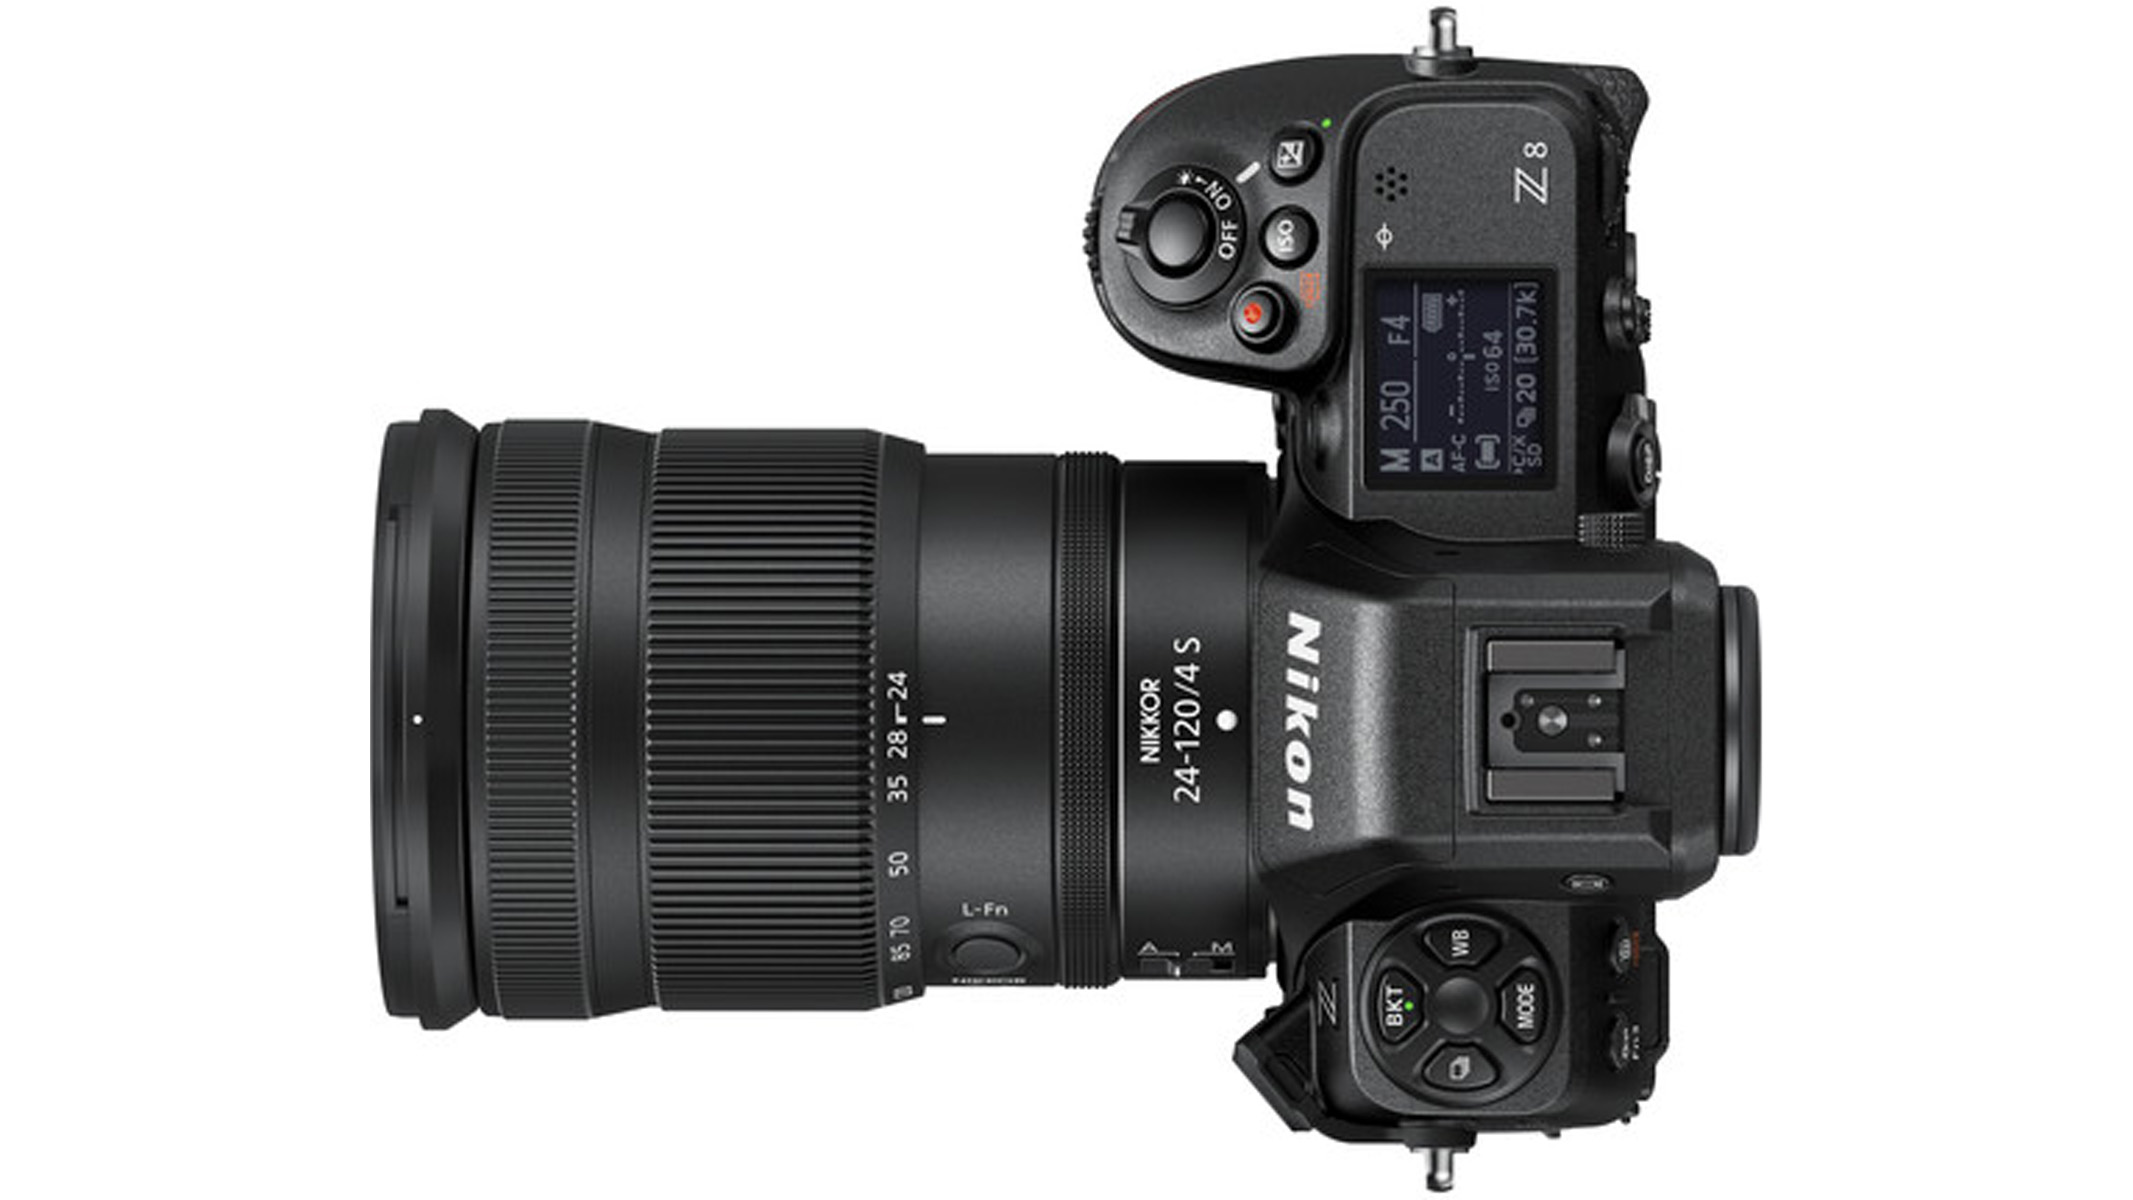
If you're looking for a great camera to photograph meteors, we recommend the Sony A7R IV, which we've named the best mirrorless camera in our guide to the best cameras for astrophotography.
Luckily for us, there is now a host of technology that you can use to increase your chances of securing that awe-inspiring meteor image you're seeking, and this guide will help you arm yourself with the knowledge and tactics to set yourself up for success. Although the perfect shot is sometimes still a case of luck, regardless of how much you prepare, with these tools at your disposal you should have the best chance to be able to come home from your night-time shoot with a collection of impressive images to be proud of.
Related: Meteor showers: When is the next one?
This guide on how to photograph meteors is part of a range of instructional guides on Space.com to help you improve your night sky photography. We also have tips on, amongst others, how to photograph the moon, how to shoot the Milky Way, how to photograph the ISS, how to shoot Starlink and a guide on how to shoot the aurora borealis.
Choosing a meteor shower
It's helpful to understand more about what a meteor is if you want the best chance of capturing one on camera. Although solitary meteors can occur, you'll probably want to focus your attention on meteor showers, which occur when small fragments of space rock (called meteoroids) enter the Earth's atmosphere at very high speeds. Most of these fragments burn up upon entry, creating the bright streaks of light across the sky that are commonly known as 'shooting stars'. Meteors can sail through our atmosphere at around 48,280 kph (30,000 mph) and heat up to around 3,000 degrees Fahrenheit (1,648 degrees Celsius), resulting in the impressive light display that we can see from Earth.
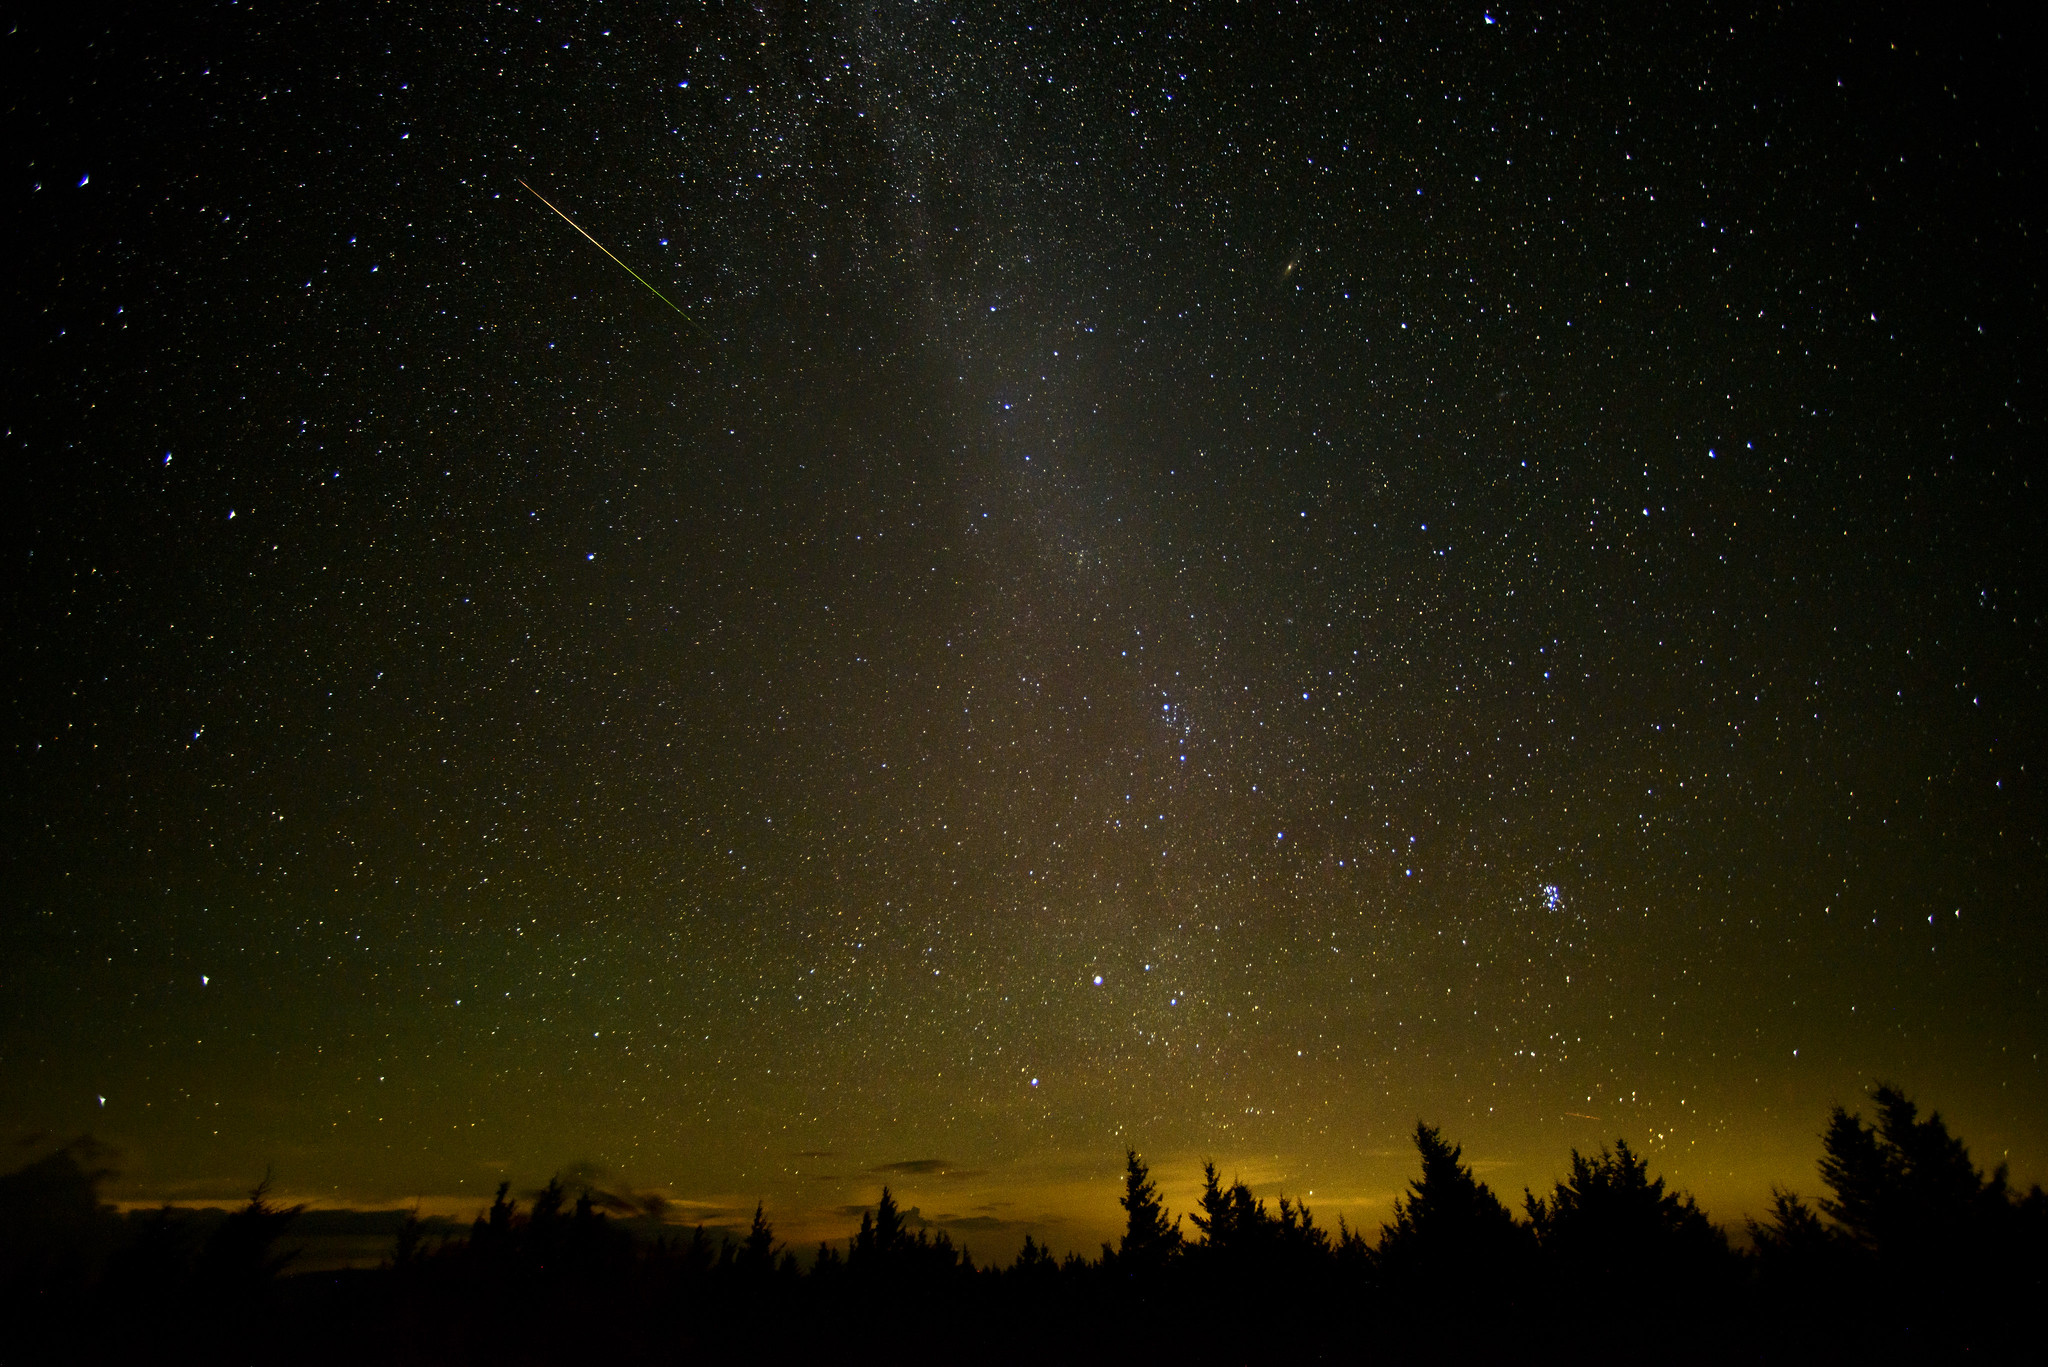
As this rocky matter tends to come mostly from comets and asteroids, astronomers can predict when one of these meteor showers will happen based on when the Earth passes through the dusty trail of comets orbiting the Sun. Meteor showers are generally named after the constellation nearest to the origin point of the meteors in the night sky as it is viewed from Earth. Probably the best-known meteor shower is the Perseids, originating in the region of the constellation Perseus and peaking in mid-August. Other significant meteor showers are the Orionids, Leonids, Geminids, Taurids, Aquarids, Quadrantids and Lyrids. To see what meteor showers might be crossing your skies in the near future, be sure to check out our meteor shower calendar.
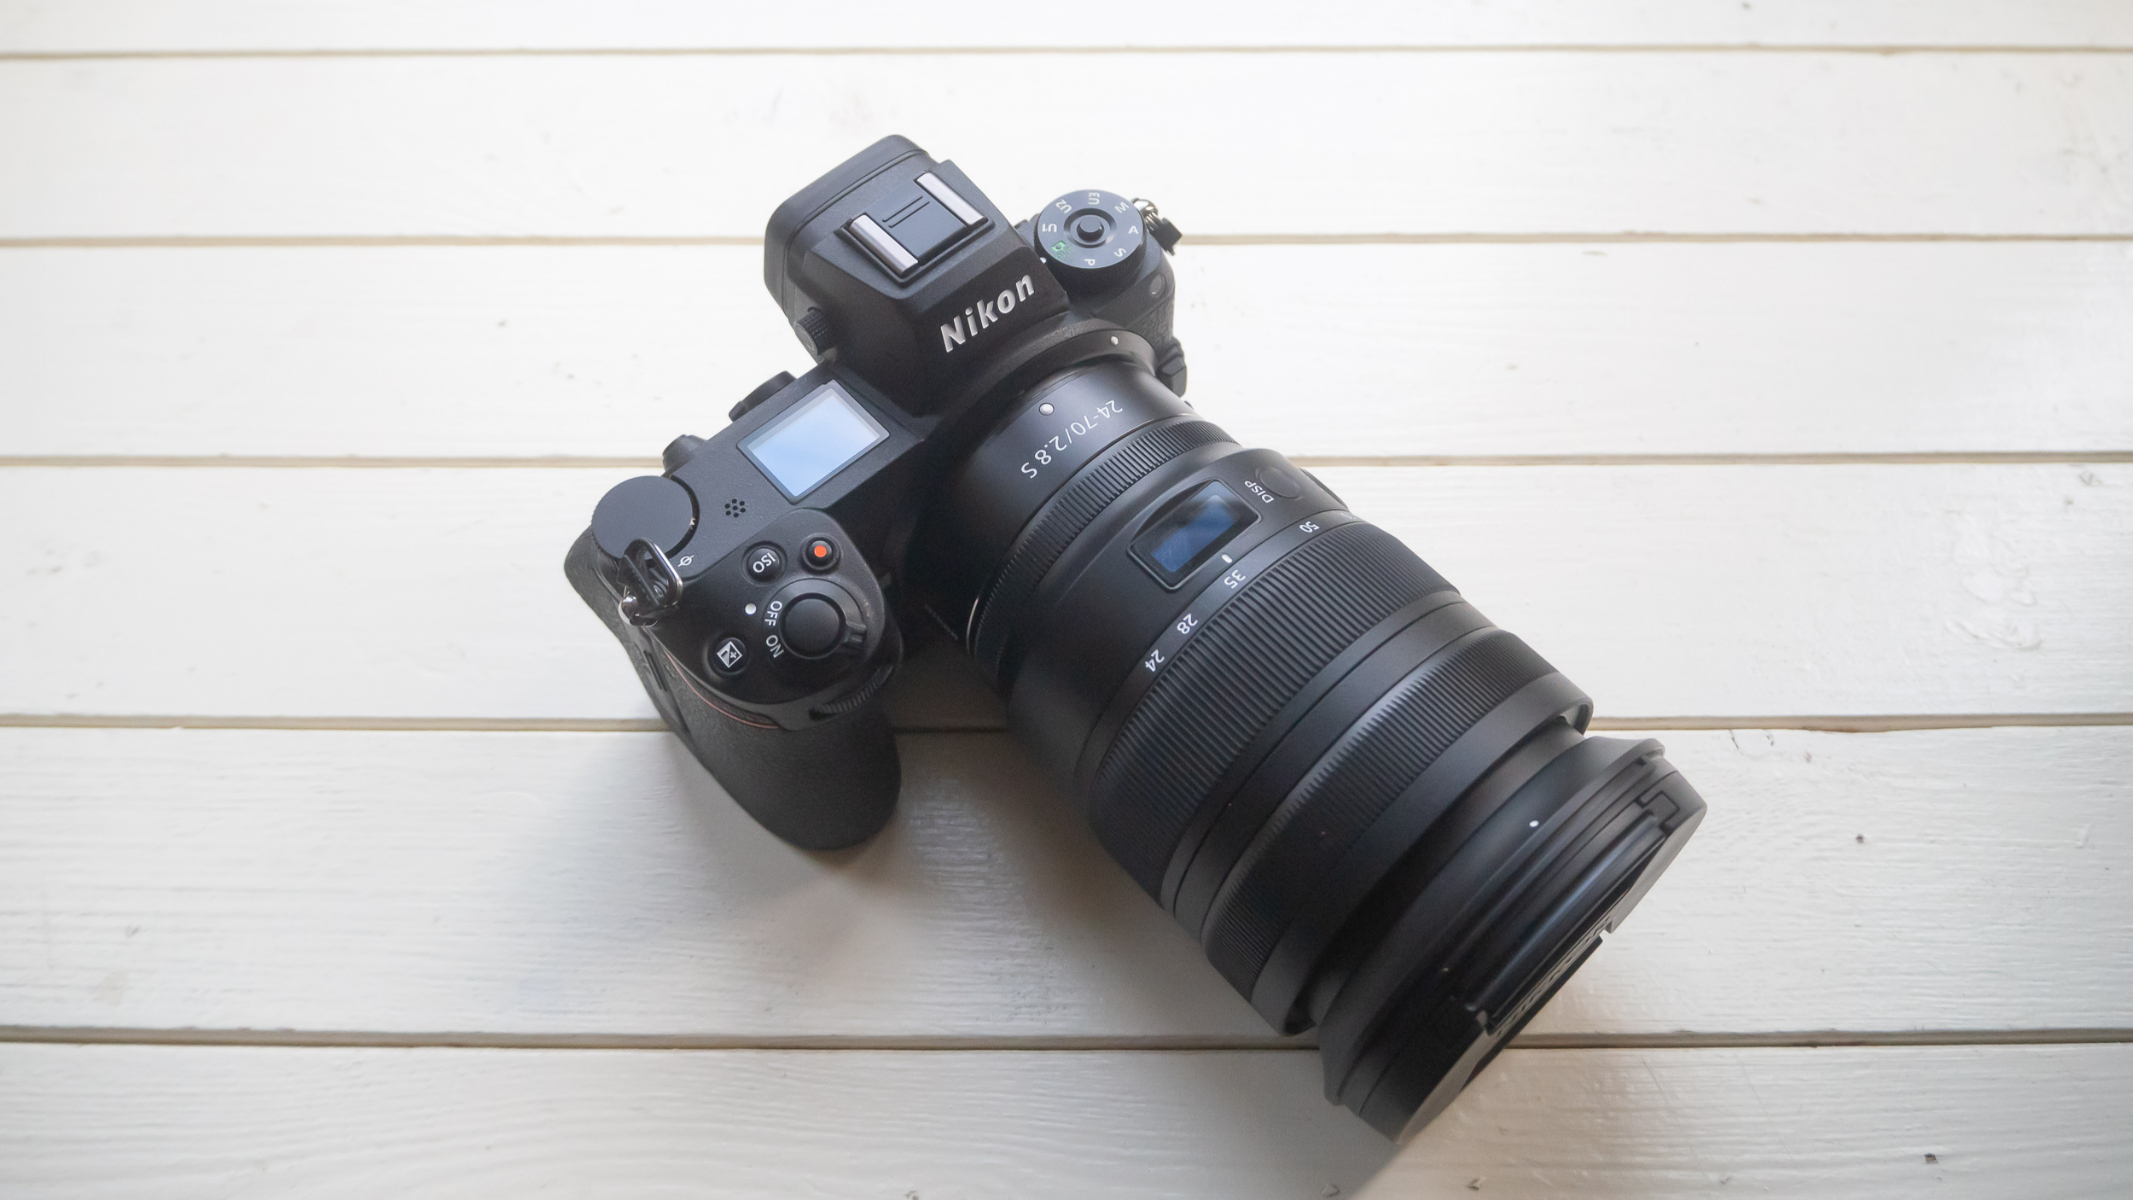
The Nikon Z6 II is another fantastic option for photographing meteor showers, particularly given its rugged design. Find out what else we loved about it in our Nikon Z6 II review.
There are several other great resources you may want to investigate if you're set on capturing some fantastic images of meteor showers across the year. The American Meteor Society offers a very detailed calendar of current and upcoming meteor showers, including precise measurements for pinpointing the part of the sky where the meteor shower will emerge from (known as the 'radiant') and details about the moon phase at the time of the shower's peak.
This is important information to note because the size of the moon on your shooting day will have a significant effect on how well you can view the meteor shower and how well your photos turn out. A bright full moon is likely to outshine any fainter meteors, making it best to choose a time that coincides with a new moon where possible. As with all astrophotography, you'll also want to select a dark location well away from any light pollution. The Photopills app is another very handy tool for deciding on the best time and location to plan your night-time meteor shoot.
What do you need?
Now that we've decided when to shoot, let's take a brief look at the equipment you'll need:
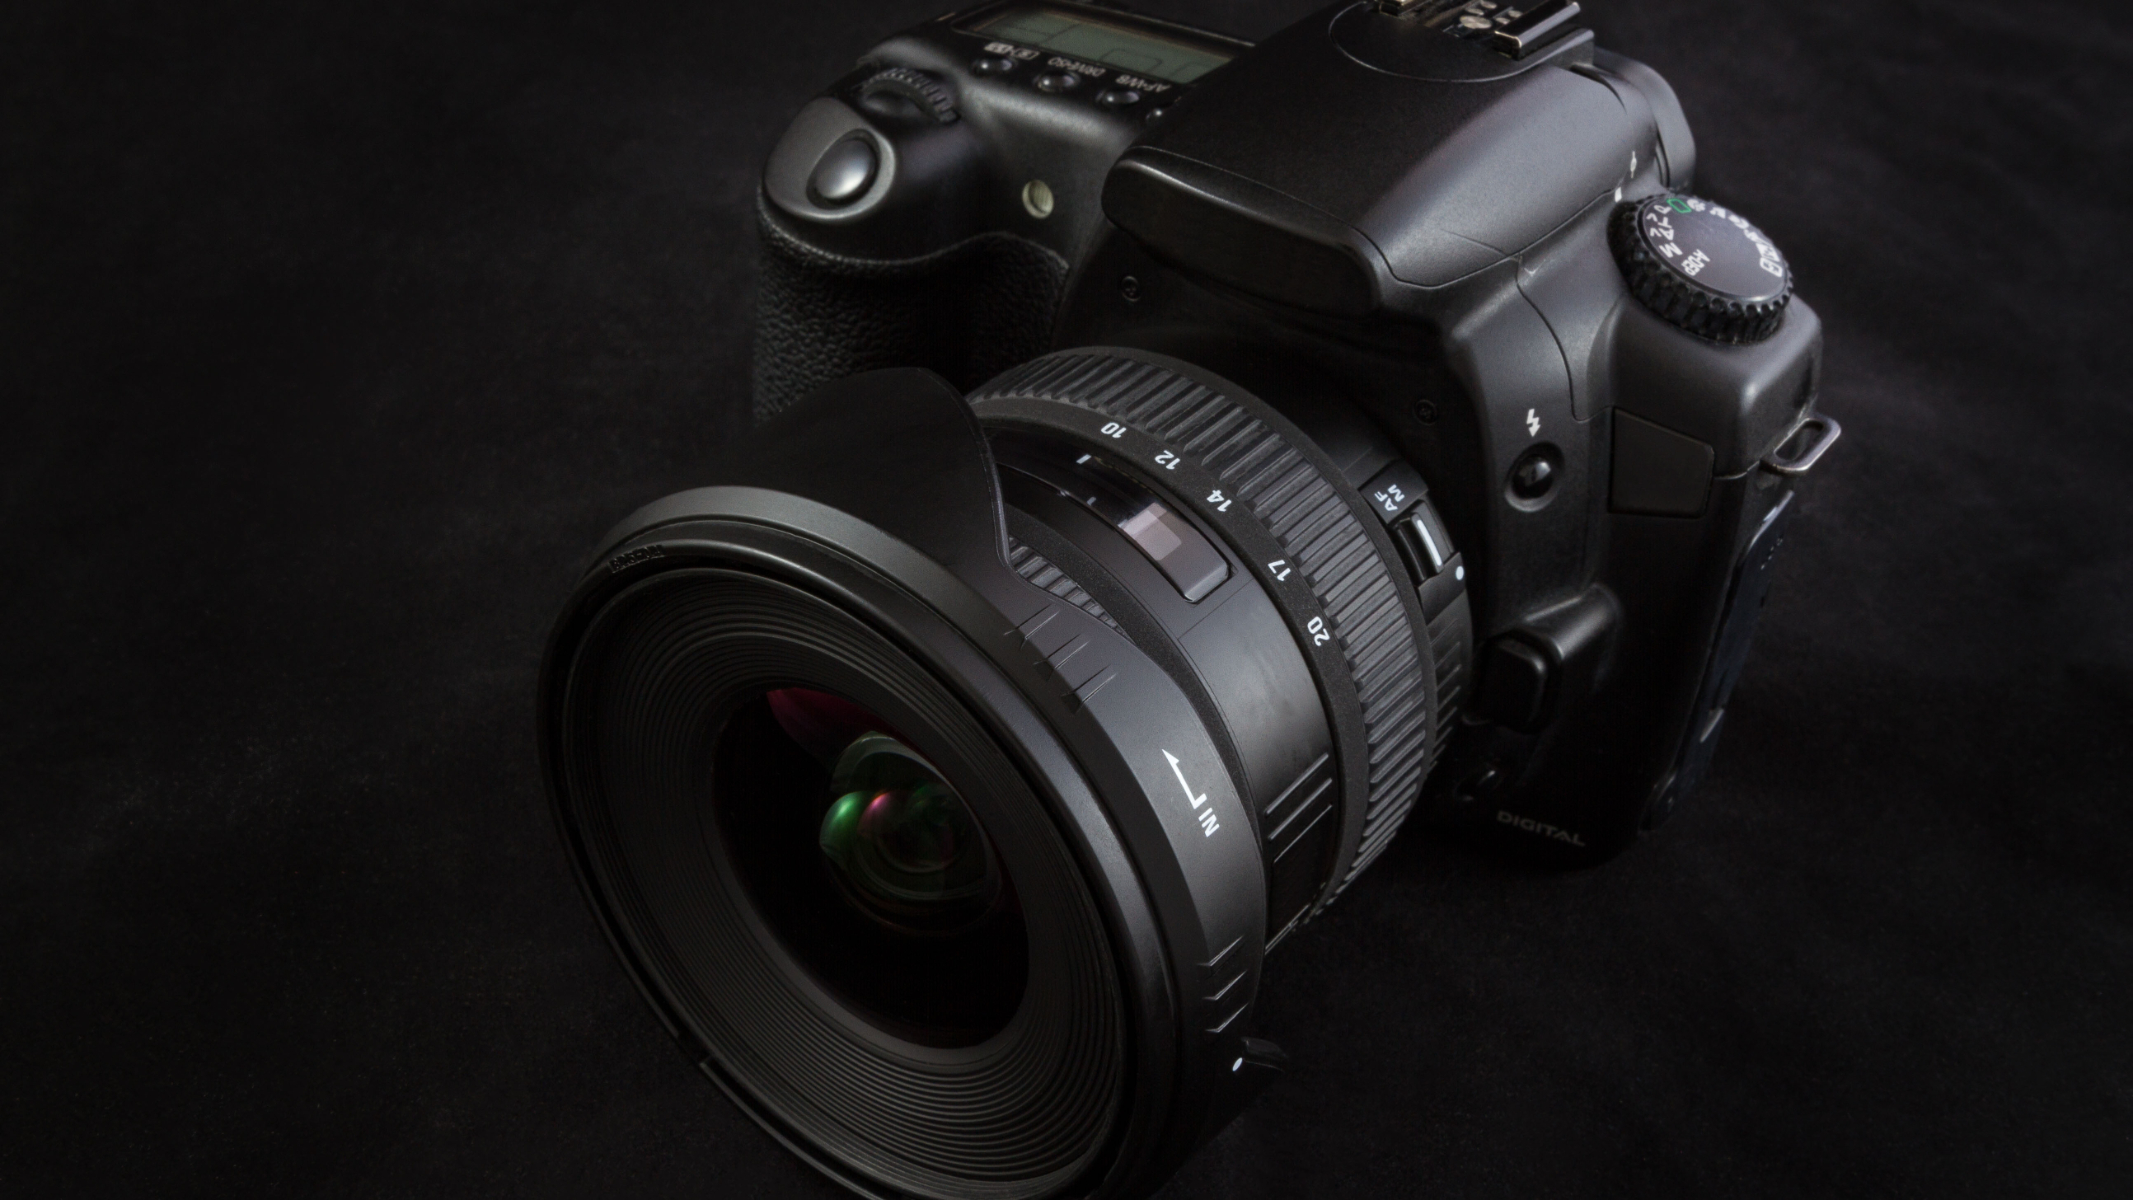
Camera: A modern digital camera with a Manual mode. Full frame, APS-C and Micro Four Thirds type cameras are ideal.
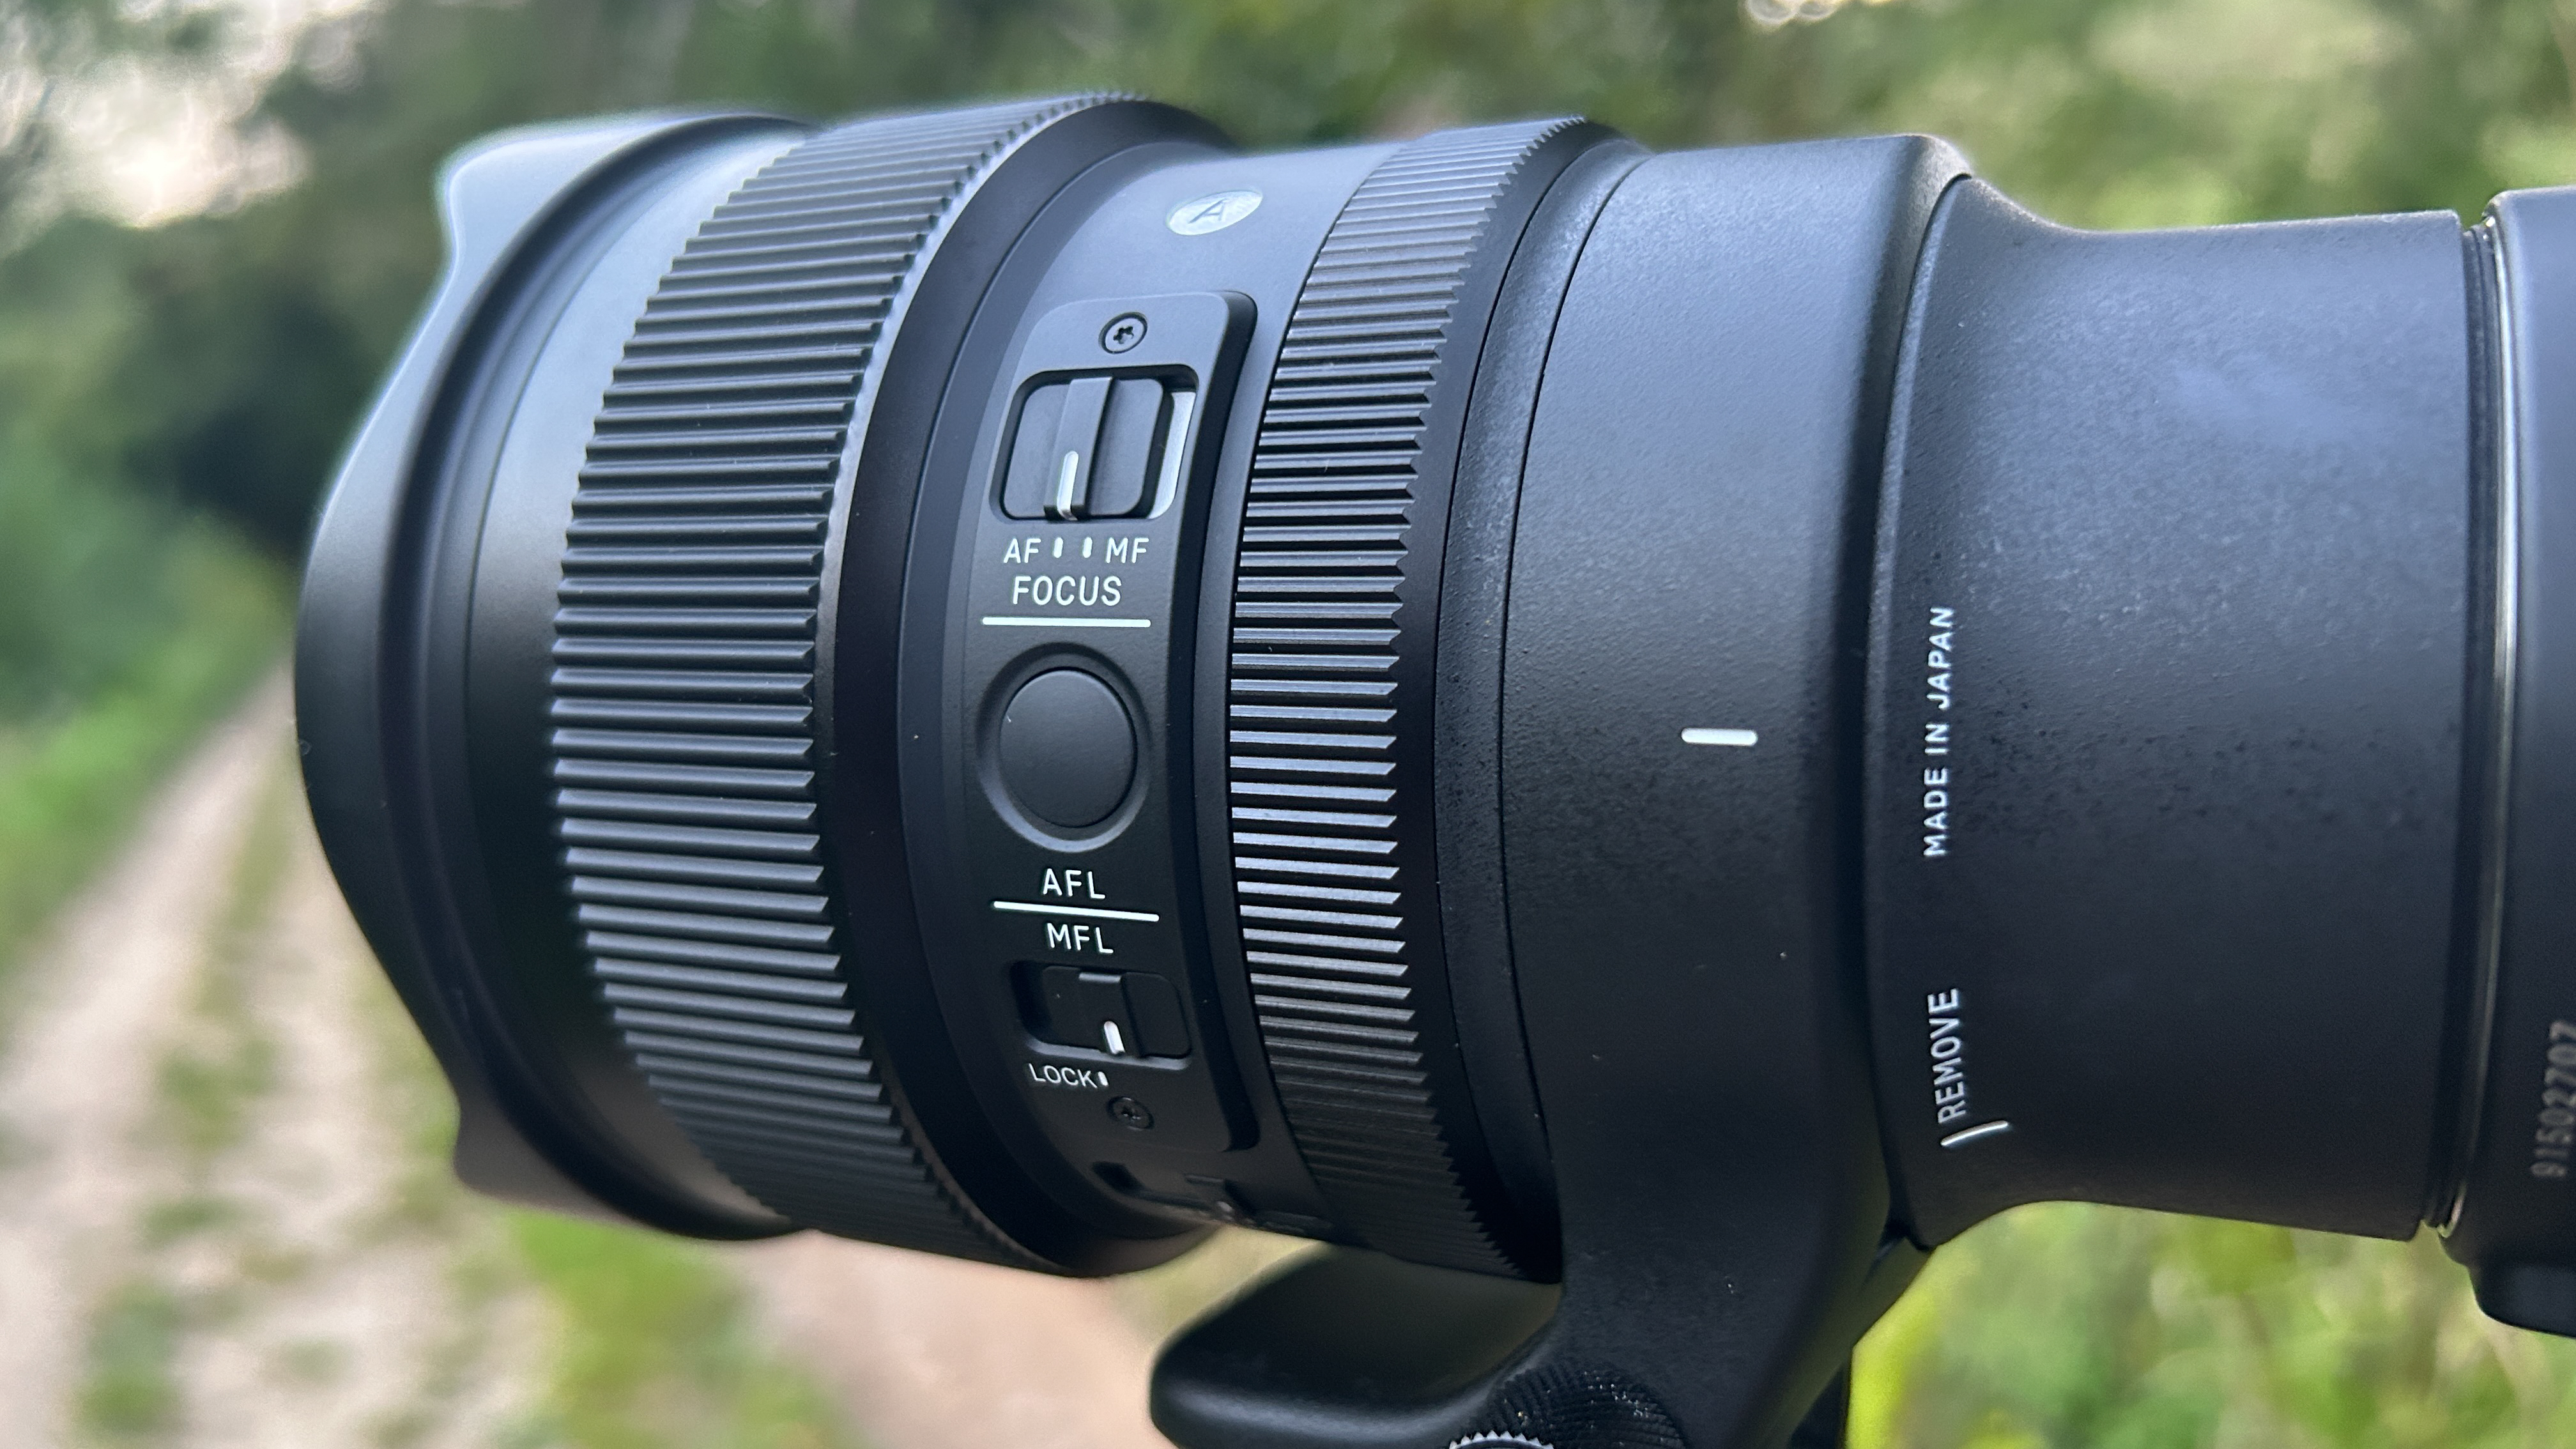
It's hard to beat the Sigma 14mm f/1.4 DG DN Art lens for photographing meteors. This incredible lens sits at the top of our best lenses for astrophotography guide, and with good reason.
Lens: You'll want a wide or super-wide-angle lens to shoot meteor showers. Keep in mind that the shorter your focal length, the wider your field of view will be, thereby increasing your chances of capturing a meteor in your frame. Lenses in the range of 14mm to 35mm for full frame (or around 10mm to 50mm for APS-C) with a widest aperture of f/2.8 or below are perfect for the job. Shoot at the lowest f-stop available.
Tripod: The sturdier, the better to maintain shake-free shooting. Check out our best tripods guide for our top picks.
Intervalometer: You will be taking multiple frames one after another for an extended period of time so you will need an intervalometer, either as a plug-in accessory or by using the internal intervalometer that some camera models support. They're typically between $20-40 from most stores.
Lens/dew heater: There's nothing worse than shooting continuously for several hours before realizing your lens fogged up a long time ago, rendering many of the images useless. It can get cold at night, even in the summer months, so it's important to keep your lens dew-free for the duration of your photography session. A dew heater is a battery-powered heated element that wraps around your lens to keep it toasty and ward off the dew. Again, these aren't much more than about $20-30 in cost.
Spare battery and power bank: Continuous shooting will drain your battery, particularly in the cold, so make sure you have a backup battery in case you run out of juice. You might want to invest in one of the best power banks to enable you to charge your devices on the go and enjoy even more hours of shooting.
Warm clothes: Spending hours in the cold is no fun if you're not prepared for the weather conditions. Layer up to keep yourself warm and comfortable throughout your shoot.
Where should I point my camera?
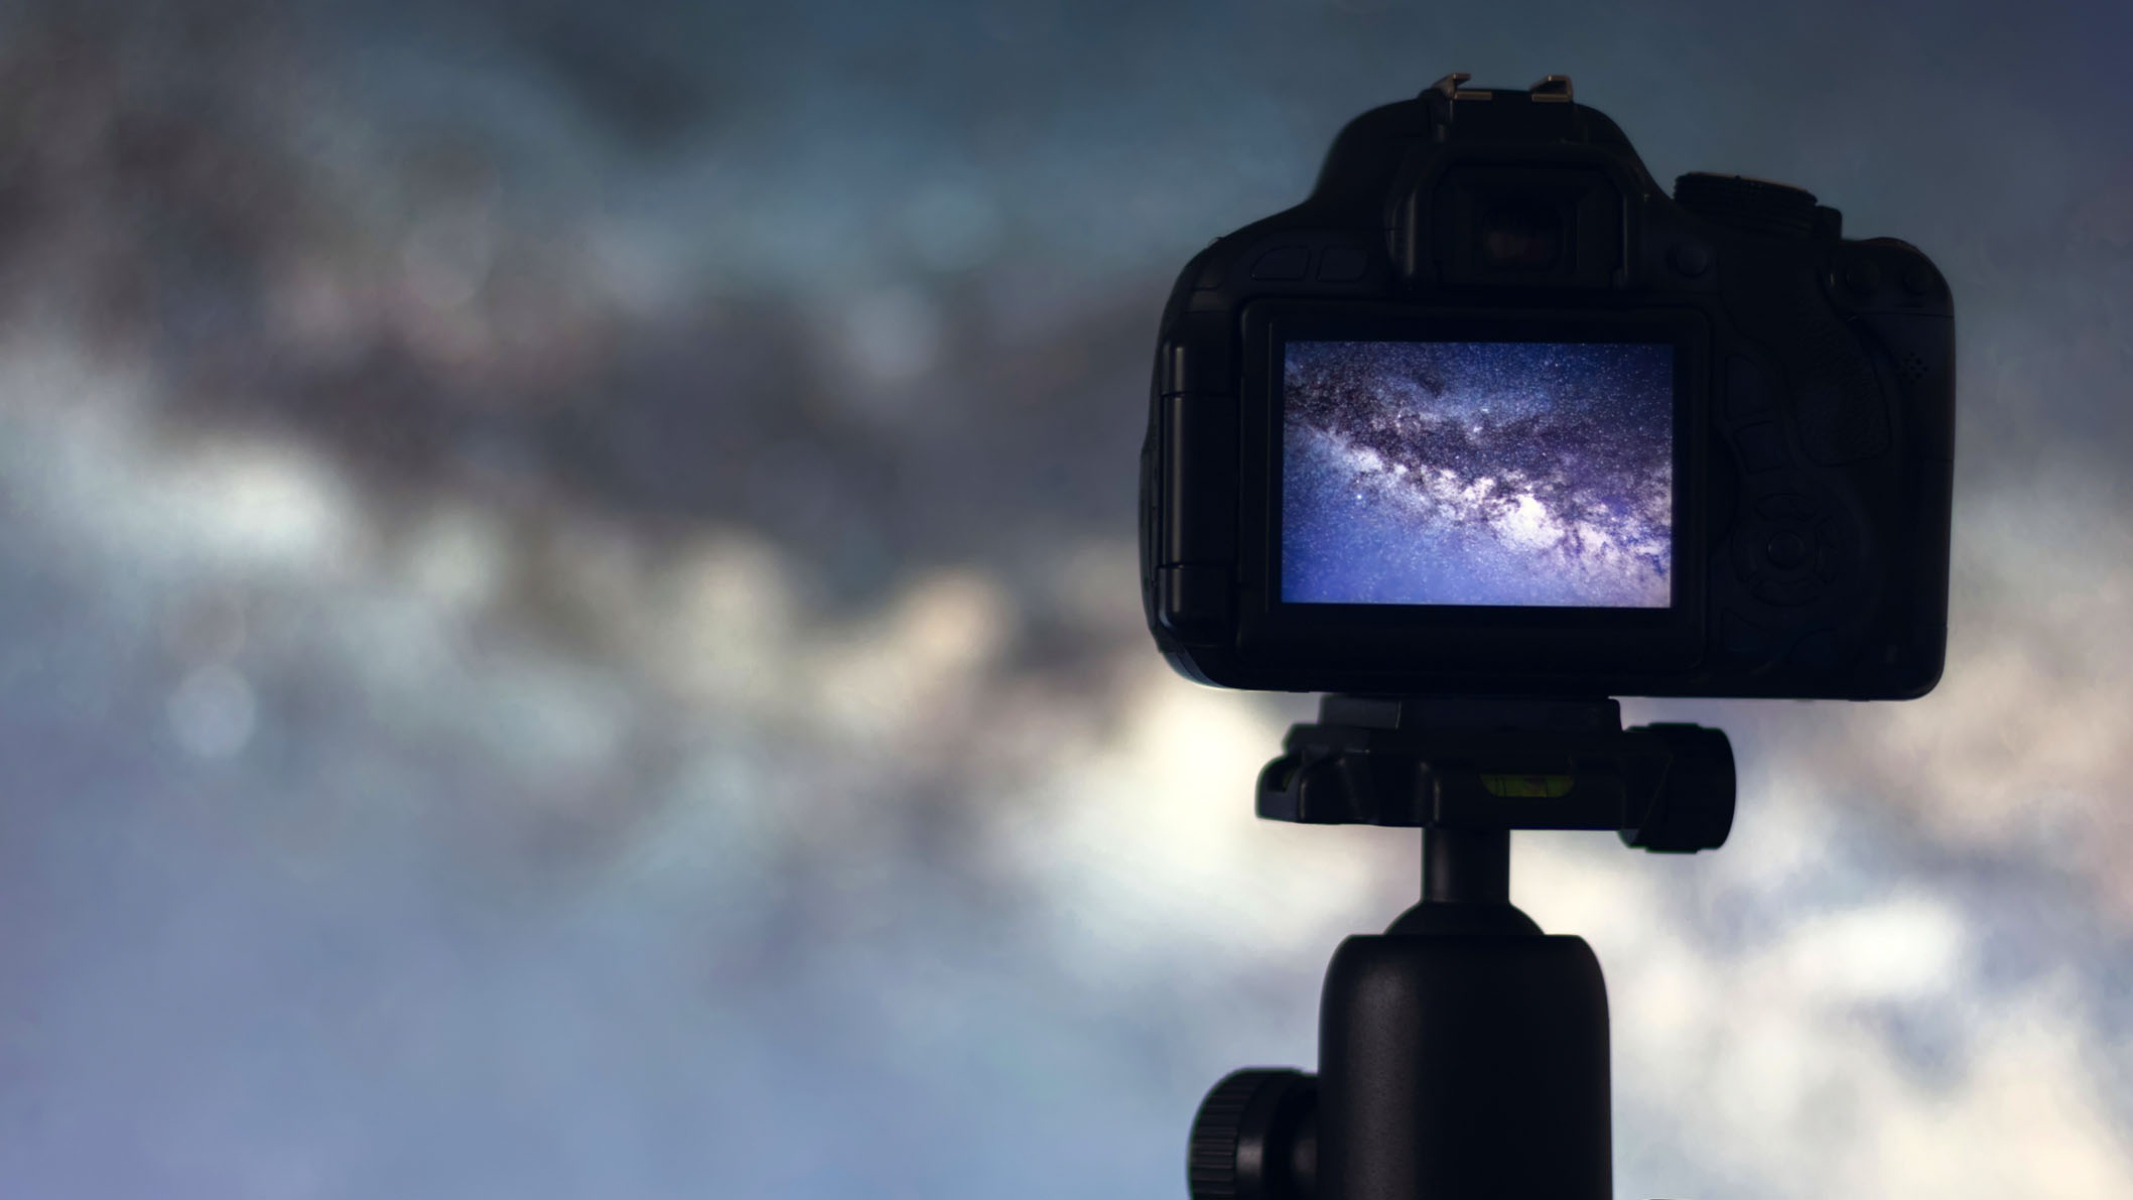
Meteors can be seen anywhere in the sky. As we discussed earlier, meteor showers have a point in the sky from which they appear to originate — the 'radiant'. Use the online tools and phone apps at your disposal to locate the position of the radiant for the time and date of the meteor shower you have chosen to shoot.
Although it's tempting, try not to aim your camera directly towards the radiant, as the meteors closest to the radiant will appear small and unimpressive. Instead, position the radiant towards the edge of the frame, roughly at an angle of around 40 to 60 degrees from the radiant. If you aim your camera about 60 degrees up, your wide-angle lens should cover a large area of sky. Try to also include some land for some added scale and interest to the composition.
Camera settings
The process of photographing meteors is very similar to that used for general night photography. We won't cover the settings in great detail here, but you can find more information on recommended settings in our guide on astrophotography for beginners.
Firstly, make sure you are shooting in 'Manual'. If you plan to post-process your images later, make sure you are shooting in RAW file format. Large JPEG file format is fine if you don't plan to process your shots, though you'll probably regret not shooting RAW.
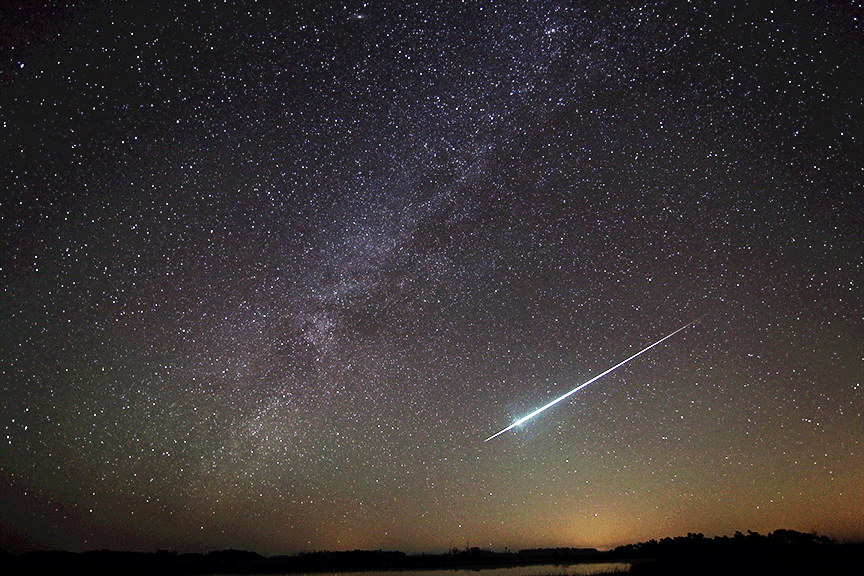
Once you've framed your composition of the sky, use the Live View function of your camera to digitally zoom into a star or distant light source to manually set your focus. If you have a dew heater, it's a good idea to do this with it on so that the focus point is not accidentally shifted when it's attached. You can also stick some tape on your lens to stop the focus ring from moving.
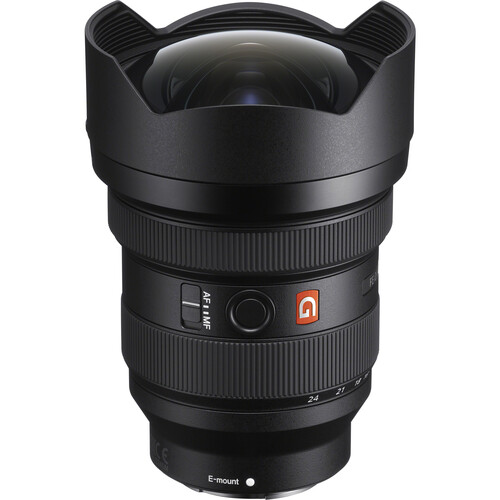
A strong competitor for the Sigma, the Sony FE 12-24mm f/2.8 G Master lens would make a great choice for photographing meteors and scored very well in our best lenses for astrophotography guide.
With your lens aperture at f/2.8 or lower, use the '500-rule' to set your shutter speed. Start with an ISO of 3200 or 6400 and adjust from there (take a few test shots to find out what works best for your location). If you have Long Exposure Noise Reduction (LENR) enabled on your camera, switch this off… you are guaranteed to miss the best meteors while your camera is creating a noise reduction frame!
You are now primed for action! Set your intervalometer to run for as long as you can, with two or three second intervals between exposures to maximize your chances of capturing a streaking meteor or fireball. Get comfortable, sit back and enjoy the celestial entertainment while your camera does all the hard work!
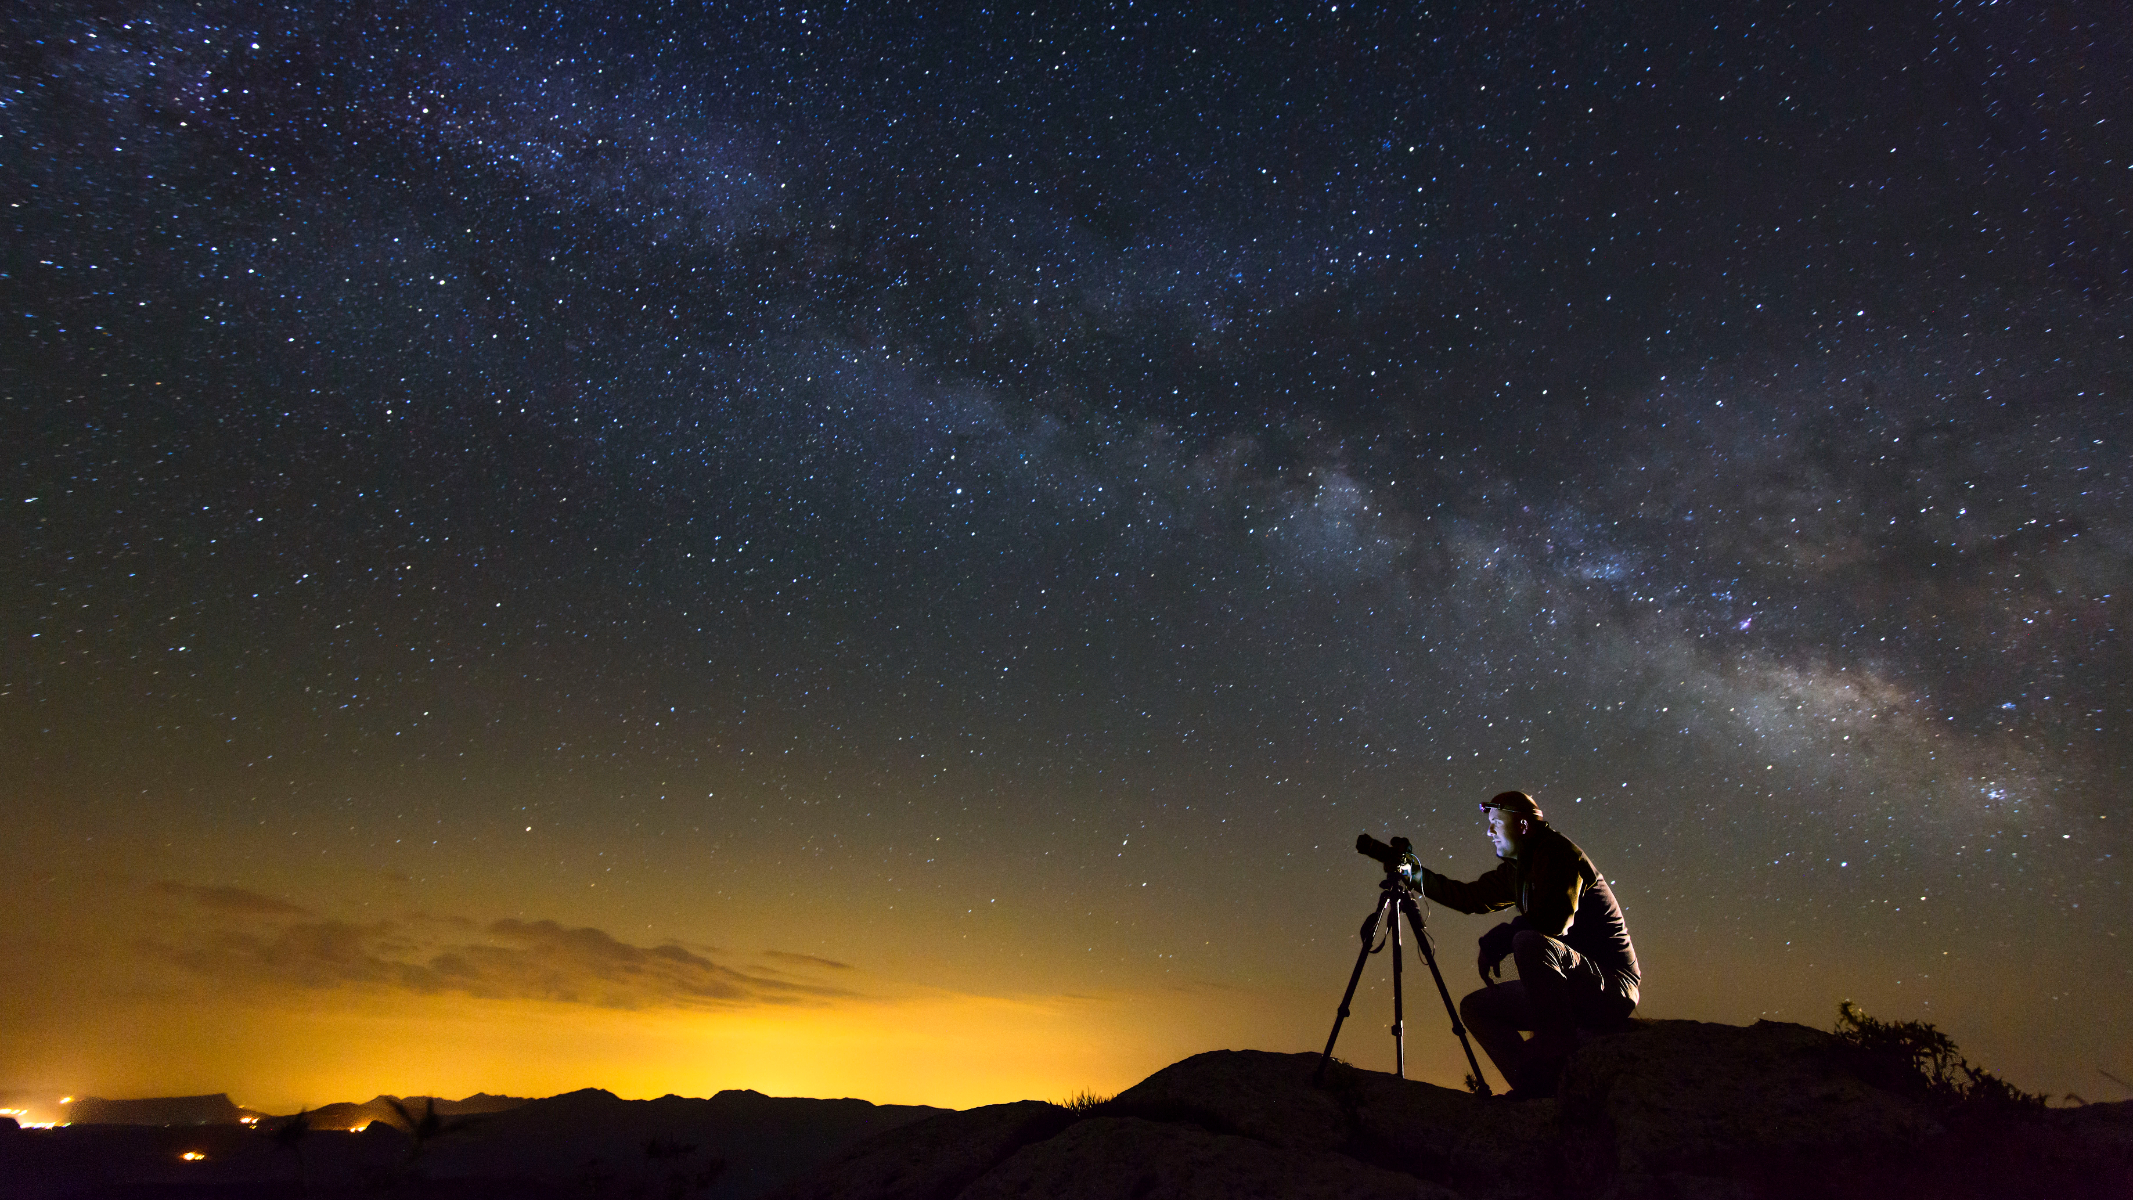
Creative ideas for your meteor images
After following all this guidance for your photoshoot, you should have many images on your memory card, hopefully with several meteors and, if you're lucky, maybe even a fireball or two. If you are post-processing your images, you could composite multiple meteors into a single image so that the meteors you captured all point back to the radiant, which you included in your composition. Alternatively, you could create a star trail using a stack of your images or even a stunning time-lapse of the night.
Join our Space Forums to keep talking space on the latest missions, night sky and more! And if you have a news tip, correction or comment, let us know at: community@space.com.
Breaking space news, the latest updates on rocket launches, skywatching events and more!
Stuart is a landscape and night sky photographer based in Cornwall, UK. Having always had a keen interest in photography and space, he has refined his photography skills in recent years by combining the two passions to create a portfolio of beautiful landscape, night sky and drone images. Inspired by the rugged Cornish coastline, Stuart has had his work featured in several national publications, including a front page photo credit in The Times.
- Tantse WalterContributing Writer

